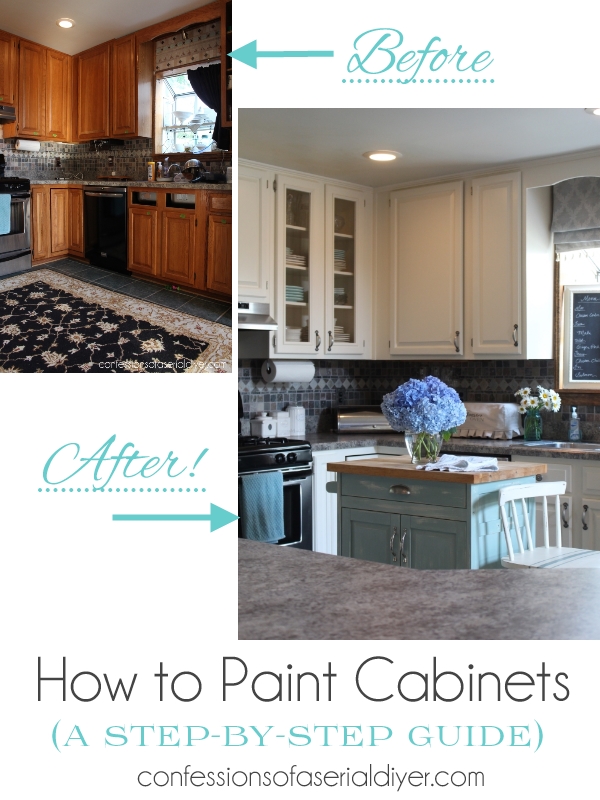
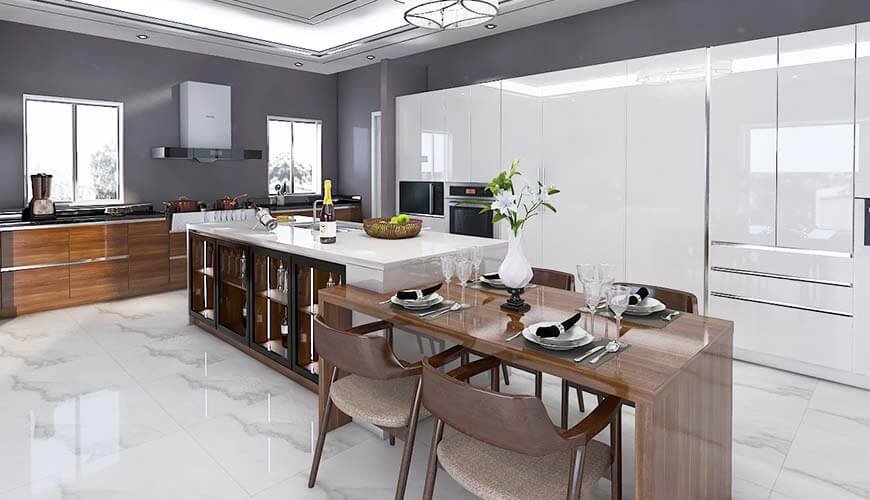
Yes, sealing kitchen cabinets after painting is highly recommended. It protects the paint and enhances durability.
Painting kitchen cabinets can transform your kitchen. To maintain the fresh look, sealing the cabinets is crucial. Sealant offers a protective barrier against moisture, stains, and daily wear and tear. It ensures the paint stays intact and looks new for longer.
This step is especially important in kitchens, where humidity and spills are common. Choosing the right sealant is key; options include polyurethane, lacquer, and water-based sealers. Each has its benefits, so select one that matches your needs. Proper sealing not only safeguards your hard work but also extends the life of your cabinets, making it a worthwhile investment.
Table of Contents
ToggleReasons To Seal Cabinets
Sealing kitchen cabinets after painting prevents moisture damage and enhances durability. It also offers a sleek, professional finish that lasts longer.
Painting kitchen cabinets can transform your kitchen. But sealing them after painting is crucial. Sealing ensures the paint job lasts longer. It also protects against daily wear and tear.
Protecting The Paint
Sealing your cabinets protects the paint from chipping and fading. Kitchen cabinets endure a lot of use. The sealant acts as a shield against spills, stains, and moisture. This layer keeps the paint looking fresh and vibrant. Without a sealant, the paint may wear down quickly. Frequent cleaning can also strip off the paint. A sealant helps in maintaining the paint’s integrity. It reduces the need for frequent touch-ups.
Enhancing Durability
A sealant enhances the durability of your kitchen cabinets. It provides an extra layer of protection. This layer guards against scratches and dents. Cabinets face daily challenges from cooking, cleaning, and constant opening and closing. Sealed cabinets withstand these challenges better. The sealant makes the surface harder and more resilient. This means fewer repairs and less maintenance over time. Here is a quick comparison of sealed vs. unsealed cabinets:
| Feature | Sealed Cabinets | Unsealed Cabinets |
|---|---|---|
| Durability | High | Low |
| Resistance to Stains | Excellent | Poor |
| Maintenance | Low | High |
| Appearance Over Time | Lasting | Fading |
Sealing kitchen cabinets is a smart investment. It keeps your kitchen looking new for longer. Protect your hard work by adding a sealant after painting. “`
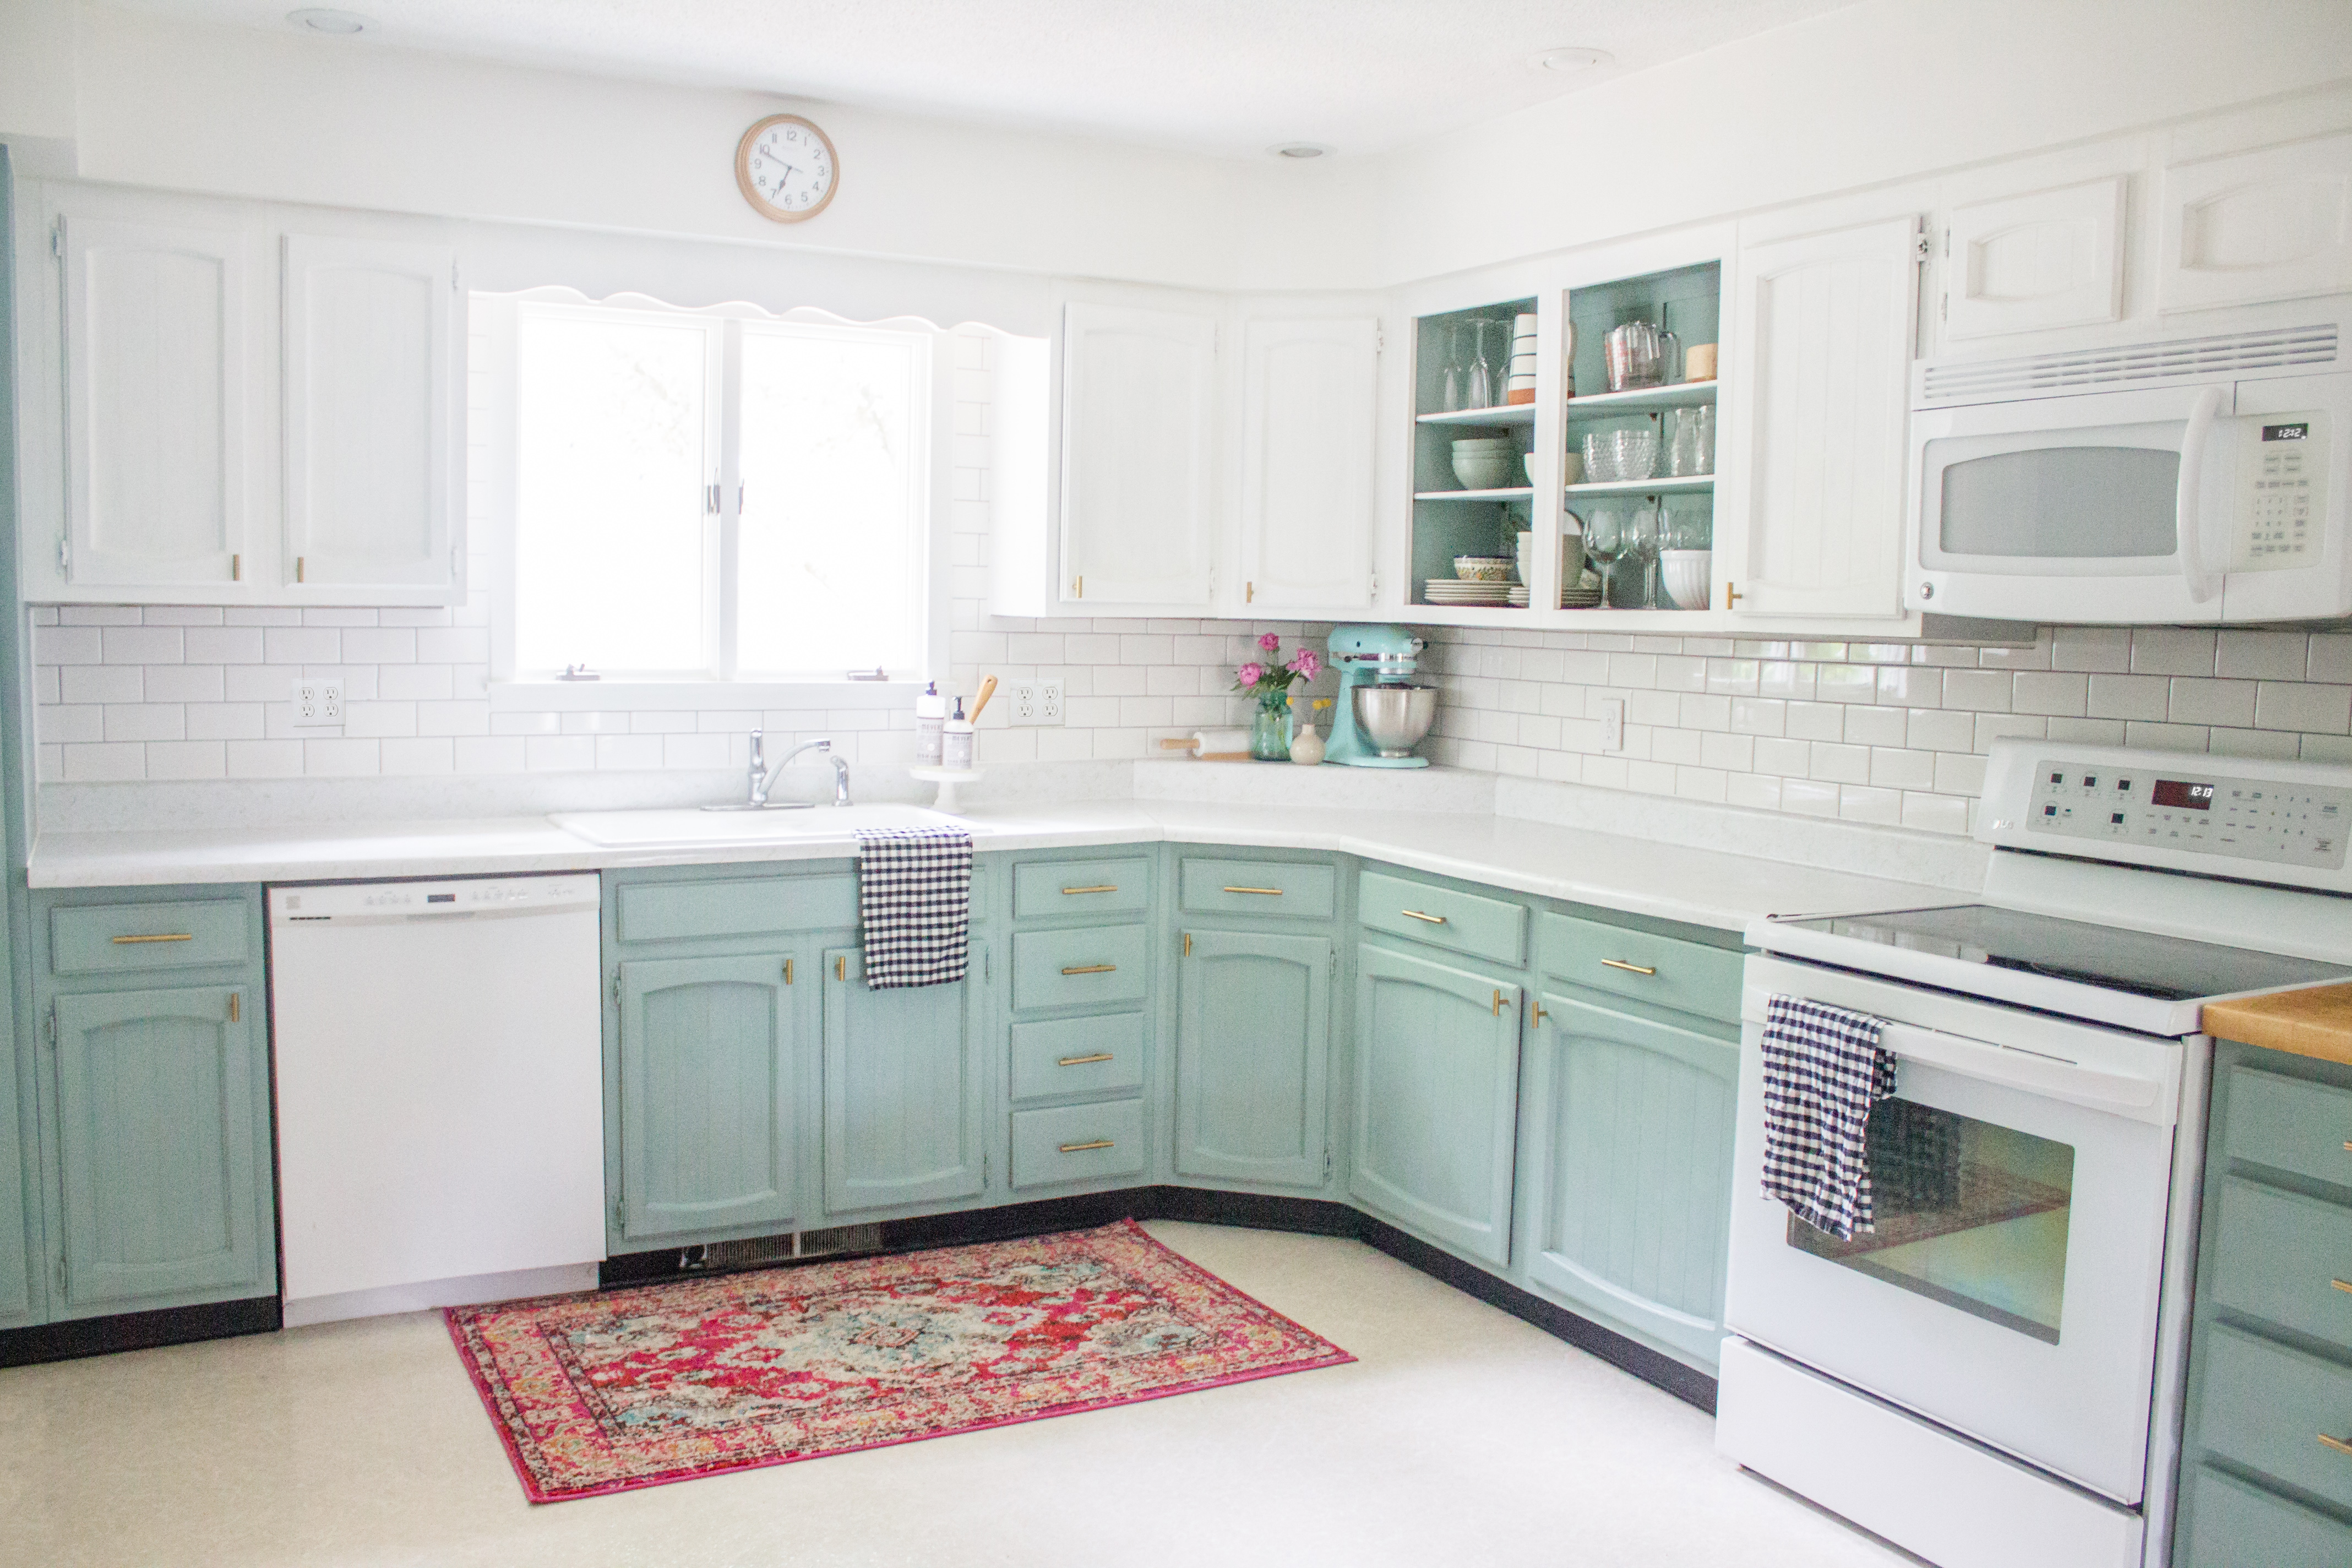
Types Of Sealants
After painting your kitchen cabinets, the right sealant can protect the finish. Different sealants offer unique benefits and qualities. Here, we’ll explore three main types: Polyurethane, Wax, and Water-Based Sealants.
Polyurethane
Polyurethane is a popular choice for sealing painted kitchen cabinets. It provides a tough, durable finish. It can be either oil-based or water-based.
- Oil-based polyurethane offers a warm, amber hue. It is highly durable but takes longer to dry.
- Water-based polyurethane dries clear and fast. It is less odorous and easier to clean up.
Both types offer excellent protection against moisture and stains.
Wax
Wax is another option for sealing cabinets. It gives a soft, hand-rubbed look and feel.
- Wax is easy to apply with a cloth or brush.
- It dries quickly and can be buffed to a shine.
Wax works well for a matte or low-gloss finish. It’s not as durable as polyurethane.
Water-based Sealants
Water-based sealants are eco-friendly and low in VOCs. They provide a clear finish and dry quickly.
- These sealants are easy to apply and clean up.
- They are less likely to yellow over time.
Water-based sealants are ideal for lighter paint colors. They offer good protection and a smooth finish.
Choosing The Right Sealant
Sealing kitchen cabinets after painting is crucial. The right sealant will protect your work. It adds durability and extends the life of your paint job. Choosing the right sealant depends on the cabinet material and finish type.
Cabinet Material
Different materials need different sealants. Here are some common types:
| Material | Recommended Sealant |
|---|---|
| Wood | Water-based polyurethane |
| MDF | Shellac-based sealant |
| Laminate | Oil-based polyurethane |
Wood cabinets absorb sealant better. Water-based polyurethane is best for wood. MDF needs a shellac-based sealant for a smooth finish. Laminate cabinets require an oil-based sealant for durability.
Finish Type
The finish type also dictates the sealant choice. Here are the common finishes and their suitable sealants:
- Matte Finish: Use a matte or satin polyurethane sealant.
- Satin Finish: Choose a satin or semi-gloss polyurethane sealant.
- Gloss Finish: Opt for a high-gloss polyurethane sealant.
Matte finishes need a matte or satin sealant. Satin finishes require a satin or semi-gloss sealant. For gloss finishes, use a high-gloss sealant.
Sealants enhance the finish and protect the paint. Choose the right one for your cabinet material and finish type.
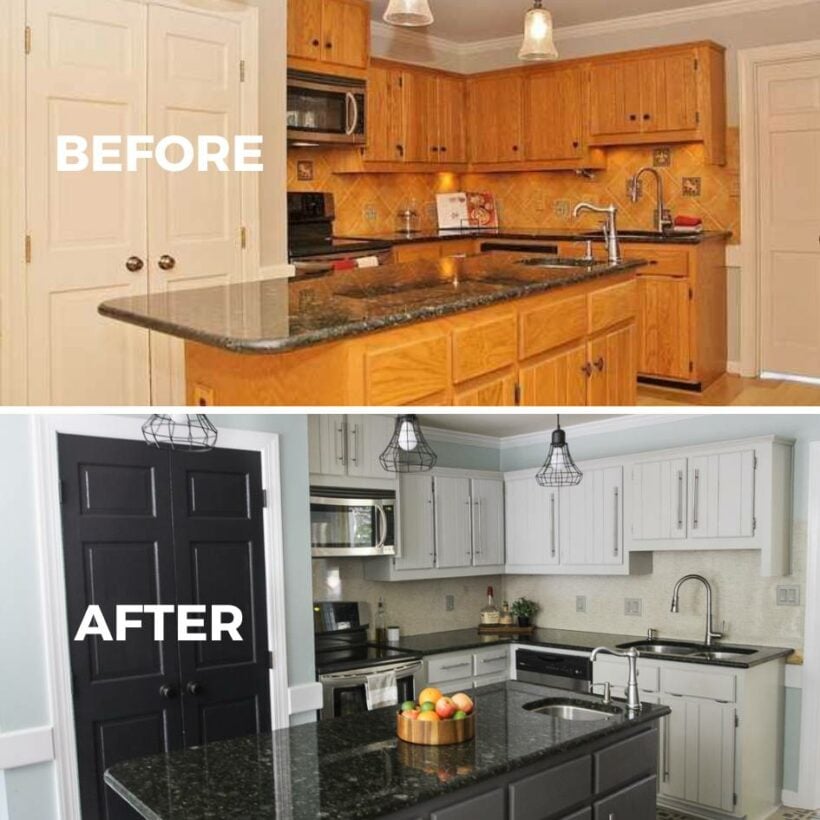
Application Process
Sealing your kitchen cabinets after painting adds durability and shine. This process ensures long-lasting beauty and protection from daily wear and tear. Follow these steps for a successful application.
Preparing The Surface
Start by cleaning the cabinets thoroughly. Remove all dust, grease, and debris. Use a damp cloth and mild detergent. Let the cabinets dry completely.
Next, lightly sand the painted surface. This helps the sealant adhere better. Use fine-grit sandpaper for a smooth finish. Wipe away any sanding dust with a tack cloth.
Applying The Sealant
Select a high-quality, clear sealant. Ensure it is compatible with your paint type. Read the manufacturer’s instructions carefully.
Apply the sealant with a clean, synthetic brush. Start at the top and work your way down. Use even, smooth strokes. Avoid over-brushing as it can cause bubbles.
Allow the first coat to dry completely. This usually takes a few hours. Lightly sand the surface again, and clean off any dust.
Apply a second coat of sealant for added protection. Repeat the same brushing technique. Let the cabinets cure for at least 24 hours before use.
| Step | Action |
|---|---|
| 1 | Clean the cabinets |
| 2 | Sand the surface |
| 3 | Wipe away dust |
| 4 | Apply first coat of sealant |
| 5 | Let dry and sand again |
| 6 | Apply second coat |
| 7 | Allow to cure |
By following these steps, your painted kitchen cabinets will look stunning and last longer.
Drying And Curing
Painting kitchen cabinets is a rewarding project. But, sealing them ensures durability. The terms drying and curing often confuse many. Understanding these stages is crucial for a long-lasting finish. Below, we break down the drying and curing times for painted cabinets.
Drying Time
Drying time refers to the period the paint needs to feel dry to the touch. This process usually takes a few hours. Factors like temperature and humidity affect drying time.
- Temperature: Higher temperatures speed up drying.
- Humidity: Lower humidity helps paint dry faster.
Using a fan can also reduce drying time. Most paints require 2-4 hours to dry. Always check the paint manufacturer’s instructions.
Curing Time
Curing time is the period for paint to fully harden. This process can take several weeks. While drying makes the paint touchable, curing makes it durable.
- Most paints cure within 21-30 days.
- During curing, avoid heavy use of cabinets.
- Light use is usually okay after a few days.
Patience is key during curing. Allowing full cure time ensures the finish remains intact. Here’s a table to summarize the differences:
| Stage | Time Frame | Action |
|---|---|---|
| Drying | 2-4 hours | Touchable |
| Curing | 21-30 days | Fully hardened |
Understanding drying and curing times ensures a successful painting project. Sealing your kitchen cabinets after painting enhances their longevity and appearance.
Common Mistakes
Sealing kitchen cabinets after painting is essential. But many make mistakes that affect the final look and durability. Knowing what to avoid can save you time and effort.
Over-application
One common mistake is applying too much sealant. Over-application can lead to a thick, uneven layer. This can make your cabinets look messy and unprofessional.
Use thin, even coats for the best results. Apply with a high-quality brush or sprayer. This ensures a smooth finish.
Check the drying time between coats. Rushing can cause the sealant to clump. Always follow the manufacturer’s instructions.
Skipping Sanding
Skipping sanding is another frequent mistake. Sanding helps the sealant adhere better. It also smooths out any imperfections in the paint.
Use fine-grit sandpaper for this step. Sand lightly to avoid removing too much paint. Wipe off any dust before sealing.
Many think sanding is not necessary. This can lead to peeling or chipping later. Taking the time to sand ensures a lasting finish.
Maintenance Tips
Maintaining freshly painted kitchen cabinets can extend their life and beauty. Proper care is essential for keeping the finish intact and vibrant. Here are some valuable maintenance tips to help you keep your kitchen cabinets in top condition.
Cleaning Methods
Regular cleaning is crucial for painted kitchen cabinets. Use a soft, damp cloth to wipe off dirt and grime. Avoid abrasive cleaners which can damage the paint. Mild dish soap mixed with water works well for tougher stains.
- Use a microfiber cloth for daily cleaning.
- Mix a few drops of dish soap with warm water for deeper cleaning.
- Avoid scrubbing too hard to preserve the paint finish.
Dry the cabinets immediately with a clean, dry cloth. This prevents water damage and streaks.
Periodic Re-sealing
Sealing your kitchen cabinets after painting helps protect the finish. Over time, the sealant may wear off. Regular re-sealing ensures long-lasting protection.
| Sealant Type | Re-Sealing Frequency |
|---|---|
| Polyurethane | Every 2-3 years |
| Wax | Every 6-12 months |
Follow these steps to re-seal your cabinets:
- Clean the cabinet surface thoroughly.
- Lightly sand the surface with fine-grit sandpaper.
- Apply a thin layer of sealant using a brush or cloth.
- Let it dry completely before using the cabinets.
Regular maintenance keeps your kitchen cabinets looking new. Enjoy a beautiful and functional kitchen for years to come.
Expert Opinions
Painting kitchen cabinets can transform your kitchen. But should you seal them after painting? Experts have weighed in on this topic. They offer insights into the benefits and drawbacks of sealing painted cabinets.
Pros And Cons
| Pros | Cons |
|---|---|
|
|
Real-life Examples
Jane painted her cabinets a bright white. She decided to seal them. After a year, her cabinets still look new. The sealant made cleaning spills easy.
Tom chose not to seal his cabinets. He used high-quality paint. Three years later, his cabinets still look great. He did not face any chipping or yellowing.
Emily used a darker paint. She did not seal her cabinets. She noticed scratches and wear within six months. She now plans to repaint and seal them.
Frequently Asked Questions
Should You Seal Painted Kitchen Cabinets?
Yes, sealing painted cabinets protects them from moisture, stains, and scratches, extending their lifespan.
What Is The Best Sealer For Painted Cabinets?
Polyurethane and polycrylic are popular choices. Both provide durable, clear finishes that protect the paint.
How Long After Painting Can You Seal?
Wait at least 24 hours. Ensure the paint is fully dry before applying the sealer.
Is Sealing Necessary For Chalk-painted Cabinets?
Yes, chalk paint is porous and requires sealing to prevent damage and stains.
Can You Use Wax To Seal Cabinets?
Wax can be used but isn’t as durable as polyurethane or polycrylic. It’s better for low-traffic areas.
How Many Coats Of Sealer Are Needed?
Two coats are generally recommended. This ensures optimal protection and durability for the cabinets.
Does Sealing Affect The Cabinet’s Color?
No, clear sealers should not alter the color. They enhance the paint’s appearance by adding a slight sheen.
Can You Seal Over Old Paint?
Yes, but ensure the surface is clean and lightly sanded for better adhesion of the sealer.
What Tools Do You Need To Seal Cabinets?
A high-quality brush or foam roller works best for applying sealers evenly without streaks.
Is Sanding Required Before Sealing?
Yes, lightly sand the painted surface to ensure the sealer adheres well and provides a smooth finish.
Conclusion
Sealing kitchen cabinets after painting is a wise choice. It extends the paint’s life and enhances durability. Protect your hard work with a reliable sealant. Enjoy a polished, lasting finish in your kitchen. Make this small effort now for long-term benefits.
Your beautiful cabinets will thank you.
