
To repair kitchen cabinets with water damage, first dry the affected area thoroughly. Then, sand and refinish or replace damaged parts.
Water damage in kitchen cabinets can be a major issue, leading to structural problems and an unsightly appearance. Identifying and addressing the damage promptly ensures your cabinets remain functional and attractive. Start by thoroughly drying the area to prevent further damage and mold growth.
Once dry, inspect the damage to determine whether sanding and refinishing are sufficient or if parts need replacement. Using quality materials and proper techniques can restore your cabinets and extend their lifespan. Regular maintenance and quick repairs can help keep your kitchen cabinets in excellent condition for years to come.
Identifying Water Damage
Water damage in kitchen cabinets can cause long-term problems. It is crucial to identify it early. Knowing the signs and causes helps you act quickly. This guide explains how to spot water damage and its common causes.
Signs To Look For
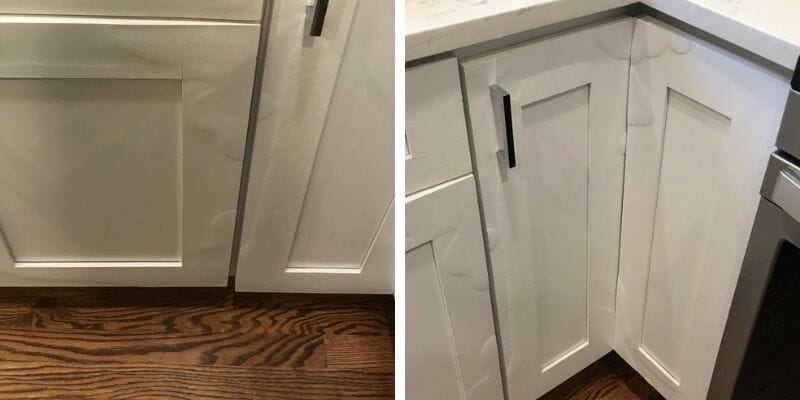
Recognizing water damage in kitchen cabinets is essential. Here are key signs to look for:
- Discoloration: Look for dark spots or stains.
- Warping: Check if the wood is bending or twisting.
- Softness: Press gently to see if the wood feels soft or mushy.
- Mold: Look for black or green patches, often with a musty smell.
- Peeling Paint: Check if the paint is bubbling or peeling away.
Common Causes
Understanding the common causes of water damage helps in prevention. Here are some typical reasons:
| Cause | Description |
|---|---|
| Leaks | Leaking pipes or faucets under the sink. |
| Spills | Water spills that are not cleaned up quickly. |
| Condensation | Moisture build-up from cooking or dishwashers. |
| Flooding | Water entering from outside sources like heavy rain. |
| High Humidity | Consistently high humidity in the kitchen. |
Gathering Essential Tools
Repairing kitchen cabinets with water damage starts with preparation. The right tools make the job easier and faster. Below, we will discuss the basic tools and safety equipment you need.
Basic Tools Needed
To repair your kitchen cabinets, gather these tools first:
- Screwdriver: For removing cabinet doors and hardware.
- Pry Bar: To gently lift damaged parts.
- Hammer: Useful for small fixes and adjustments.
- Wood Filler: Fills holes and cracks in the wood.
- Sandpaper: Smooths out surfaces after repairs.
- Utility Knife: For cutting away damaged sections.
- Clamps: To hold pieces together while they dry.
- Paint or Stain: Matches the repaired area to the rest of the cabinet.
Safety Equipment
Always prioritize safety. Have these safety items ready before starting:
- Safety Glasses: Protect your eyes from debris.
- Gloves: Shield your hands from splinters and chemicals.
- Dust Mask: Keeps you from inhaling dust and particles.
- Hearing Protection: Essential if using power tools.
Preparing The Workspace
Before repairing kitchen cabinets with water damage, set up the workspace. A well-prepared area ensures safety and efficiency. Follow these steps to create an ideal workspace.
Clearing The Area
- Remove all items from the cabinets.
- Take out dishes, pots, and pans.
- Move small appliances to another room.
- Clear the countertops for easy access.
- Ensure the floor is free of obstacles.
Protecting Surfaces
Protecting surfaces prevents further damage and keeps your workspace clean. Use the following materials:
| Material | Purpose |
|---|---|
| Drop cloths | Cover floors and countertops |
| Painters tape | Secure drop cloths in place |
| Plastic sheets | Protect walls and large surfaces |
| Old newspapers | Line shelves and drawers |
Ensure to cover all surfaces. This avoids any spills or debris.
Removing Damaged Parts
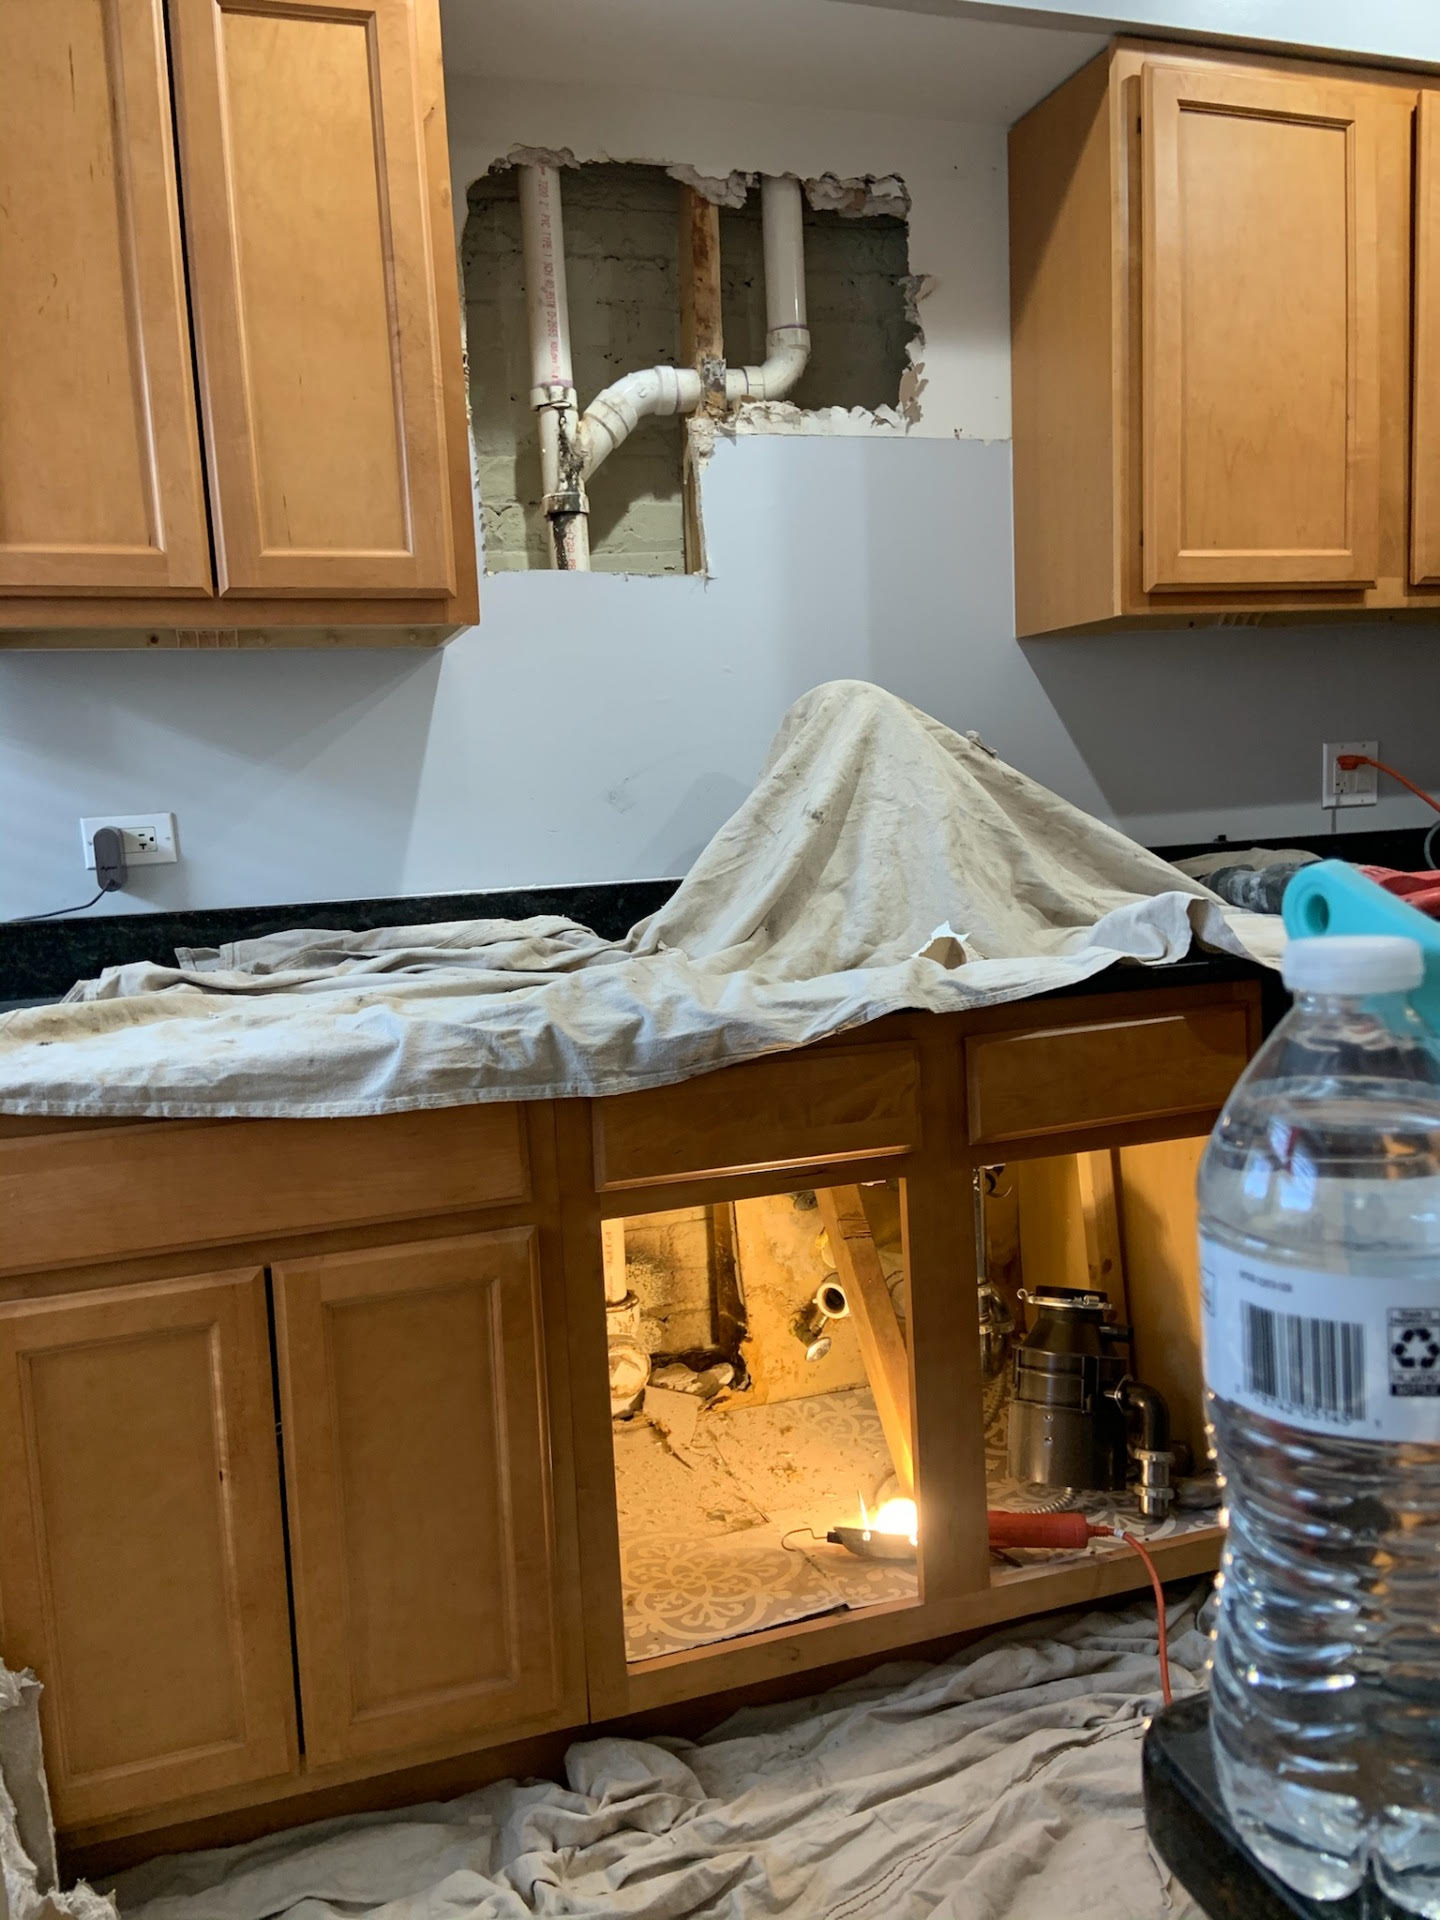
Water-damaged kitchen cabinets can be a nightmare. Removing the damaged parts is the first step to restoring them. Start by assessing the damage. Identify which parts need removal. This might include doors, shelves, or the entire cabinet structure.
Detaching Cabinet Doors
Begin with the cabinet doors. Open each door fully. Locate the hinges connecting the door to the cabinet frame. Use a screwdriver to carefully remove the screws. Keep the screws in a safe place. Gently lift the door off the hinges.
- Open the cabinet doors fully.
- Locate the hinges.
- Unscrew the hinges using a screwdriver.
- Place screws in a safe container.
- Lift the door carefully off the hinges.
Taking Out Shelves
Next, focus on the shelves. Check how the shelves are fixed. Some shelves rest on pegs, while others are screwed in place. If on pegs, lift the shelf off the pegs. For screwed shelves, use a screwdriver to remove the screws. Gently pull the shelf out.
- Identify how the shelves are attached.
- If on pegs, lift the shelf off.
- For screwed shelves, use a screwdriver.
- Remove the screws carefully.
- Pull the shelf out gently.
Ensure all damaged parts are removed before you start repairs. This makes the restoration process easier and more effective.
Drying And Cleaning
Water damage to kitchen cabinets can cause serious problems. Drying and cleaning are the first steps to repair. Removing moisture and cleaning affected areas is essential. Follow these steps to restore your kitchen cabinets.
Using Dehumidifiers
Start by using a dehumidifier to remove excess moisture. Place the dehumidifier near the affected cabinets. Run it continuously for 24-48 hours. This will help dry out the wood and prevent further damage.
Open cabinet doors and drawers. This allows better air circulation. You can also use fans to speed up the drying process. Ensure proper ventilation in the kitchen to avoid mold growth.
Cleaning Mold And Mildew
Mold and mildew can grow on wet surfaces. Clean these areas thoroughly to prevent health issues. Use a mixture of water and vinegar or a commercial mold cleaner. Apply the solution using a cloth or sponge.
Scrub the moldy areas gently. Avoid using too much water as it can worsen the damage. After cleaning, dry the area with a clean, dry cloth. Dispose of any contaminated cleaning materials properly.
If the mold infestation is extensive, consider professional help. They have the tools and knowledge to handle severe cases.
Repairing The Structure
Water damage can severely affect the structure of your kitchen cabinets. It’s crucial to address structural issues promptly to prevent further deterioration. This section will guide you through replacing wood panels and fixing loose hinges.
Replacing Wood Panels
Wood panels often bear the brunt of water damage. Follow these steps to replace them effectively:
- Assess the Damage: Identify all affected panels.
- Remove the Damaged Panels: Use a screwdriver to unscrew the panels.
- Measure and Cut New Panels: Use the old panel as a template.
- Sand the Edges: Ensure a smooth finish for the new panels.
- Attach the New Panels: Screw them in place securely.
Replacing damaged wood panels can restore the appearance and strength of your cabinets.
Fixing Loose Hinges
Loose hinges can make cabinet doors sag or misalign. Here’s how to fix them:
- Tighten Screws: Use a screwdriver to tighten loose screws.
- Fill Screw Holes: Use wood filler for stripped screw holes.
- Reinforce with New Screws: Use longer screws for better grip.
Fixing loose hinges ensures that your cabinet doors function correctly.
Sealing And Painting
Repairing kitchen cabinets with water damage involves several steps. One crucial step is sealing and painting the cabinets. This step not only restores the appearance but also adds a layer of protection. A well-sealed and painted cabinet can resist future damage and look brand new.
Applying Sealant
Before applying any sealant, ensure the cabinet surface is clean and dry. Any moisture or dirt can affect the sealant’s effectiveness.
- Use a fine-grit sandpaper to smooth out rough spots.
- Wipe down the surface with a damp cloth to remove dust.
- Allow the cabinet to dry completely.
Next, choose a water-resistant sealant. Apply it evenly across the cabinet surface using a brush or roller. Make sure to cover all edges and corners. Allow the first coat to dry before applying a second one for added protection.
Choosing The Right Paint
Selecting the right paint is vital. Opt for a high-quality, water-resistant paint. This type of paint will withstand moisture and last longer.
- Choose a paint color that matches your kitchen’s decor.
- Consider using a primer to enhance paint adhesion.
- Apply the paint in thin, even coats to avoid drips.
Using a primer before painting can make the paint job more durable. It also helps in achieving a smooth finish. Let each coat dry thoroughly before applying the next one. This ensures a long-lasting, beautiful finish.
| Step | Material | Purpose |
|---|---|---|
| Cleaning | Damp Cloth | Remove Dust |
| Sanding | Fine-Grit Sandpaper | Smooth Surface |
| Sealing | Water-Resistant Sealant | Protect Surface |
| Painting | High-Quality Paint | Finish Look |

Reassembling The Cabinets
Reassembling the cabinets is the final step in repairing water damage. This step brings your kitchen back to life. With the right tools and a bit of patience, you can achieve a professional look.
Reattaching Doors
Before you reattach the doors, ensure they are completely dry. Align the doors with the hinges. Use a screwdriver to secure the screws. Tighten the screws evenly to keep the doors straight. It helps to have a helper hold the door steady.
- Align the doors with the cabinet frame.
- Insert the screws into the hinge holes.
- Tighten the screws with a screwdriver.
Check the door alignment once attached. Adjust the hinges if needed. This ensures smooth opening and closing.
Installing New Hardware
New hardware can give your cabinets a fresh look. First, remove the old hardware. Use a screwdriver to unscrew handles and knobs. Choose new hardware that matches your kitchen style.
- Select hardware that complements your kitchen design.
- Align the new hardware with the existing holes.
- Screw in the new handles or knobs using a screwdriver.
Ensure all screws are tight. Loose screws can cause handles to wobble. Double-check the alignment of each piece.
| Step | Tools Needed |
|---|---|
| Reattaching Doors | Screwdriver, Screws |
| Installing New Hardware | Screwdriver, New Handles/Knobs |
Reassembling your cabinets is a rewarding process. Your kitchen will look refreshed and functional. Enjoy the new look and feel of your kitchen space.
Preventing Future Damage
After repairing your kitchen cabinets, it’s important to prevent future water damage. Taking a few proactive steps can help you maintain the integrity and appearance of your cabinets.
Improving Ventilation
Good ventilation is key to keeping your kitchen dry. Proper airflow helps reduce moisture buildup. Here are some tips:
- Install a range hood to vent steam outside.
- Use exhaust fans when cooking.
- Open windows to allow fresh air in.
Regular Maintenance Tips
Regular maintenance can prevent water damage. Follow these tips to keep your cabinets in top shape:
| Maintenance Task | Frequency |
|---|---|
| Inspect for leaks | Monthly |
| Wipe spills immediately | As needed |
| Check caulking | Quarterly |
Other useful tips include:
- Seal cabinet edges to prevent moisture entry.
- Avoid placing wet items inside cabinets.
- Ensure plumbing is in good condition.
By improving ventilation and performing regular maintenance, you can extend the life of your kitchen cabinets.
Frequently Asked Questions
How Do I Identify Water-damaged Cabinets?
Check for discoloration, warping, and a musty smell. Soft or swollen wood is also a sign.
Can I Repair Water-damaged Cabinets Myself?
Yes, you can. Remove damaged areas, dry thoroughly, and replace or refinish affected parts.
What Tools Do I Need For Cabinet Repair?
You’ll need a screwdriver, sandpaper, wood filler, paint or stain, and possibly new hinges or screws.
How Do I Dry Out Wet Cabinets?
Use fans, dehumidifiers, and towels. Ensure complete dryness to prevent mold growth.
What Materials Can Replace Damaged Cabinet Parts?
Use plywood or medium-density fiberboard (MDF). Both are durable and can be painted or stained.
How Do I Prevent Future Water Damage?
Regularly check for leaks, seal cabinet edges, and maintain proper ventilation in your kitchen.
Can Water-damaged Cabinets Cause Mold?
Yes, mold can thrive in wet wood. Dry cabinets quickly to prevent mold growth.
Should I Paint Or Stain Repaired Cabinets?
Both are good options. Paint offers a fresh look while stain enhances natural wood grain.
What Type Of Wood Filler Should I Use?
Use a high-quality wood filler that matches your cabinet’s color. It should be sandable and paintable.
How Long Does Cabinet Repair Take?
It depends on the damage extent. Simple repairs may take a few hours; more complex ones could take days.
Conclusion
Repairing kitchen cabinets with water damage is manageable with the right approach. Assess the damage, gather your tools, and follow the steps carefully. Regular maintenance helps prevent future issues. By taking these steps, your kitchen cabinets will look as good as new in no time.
Happy repairing!

