
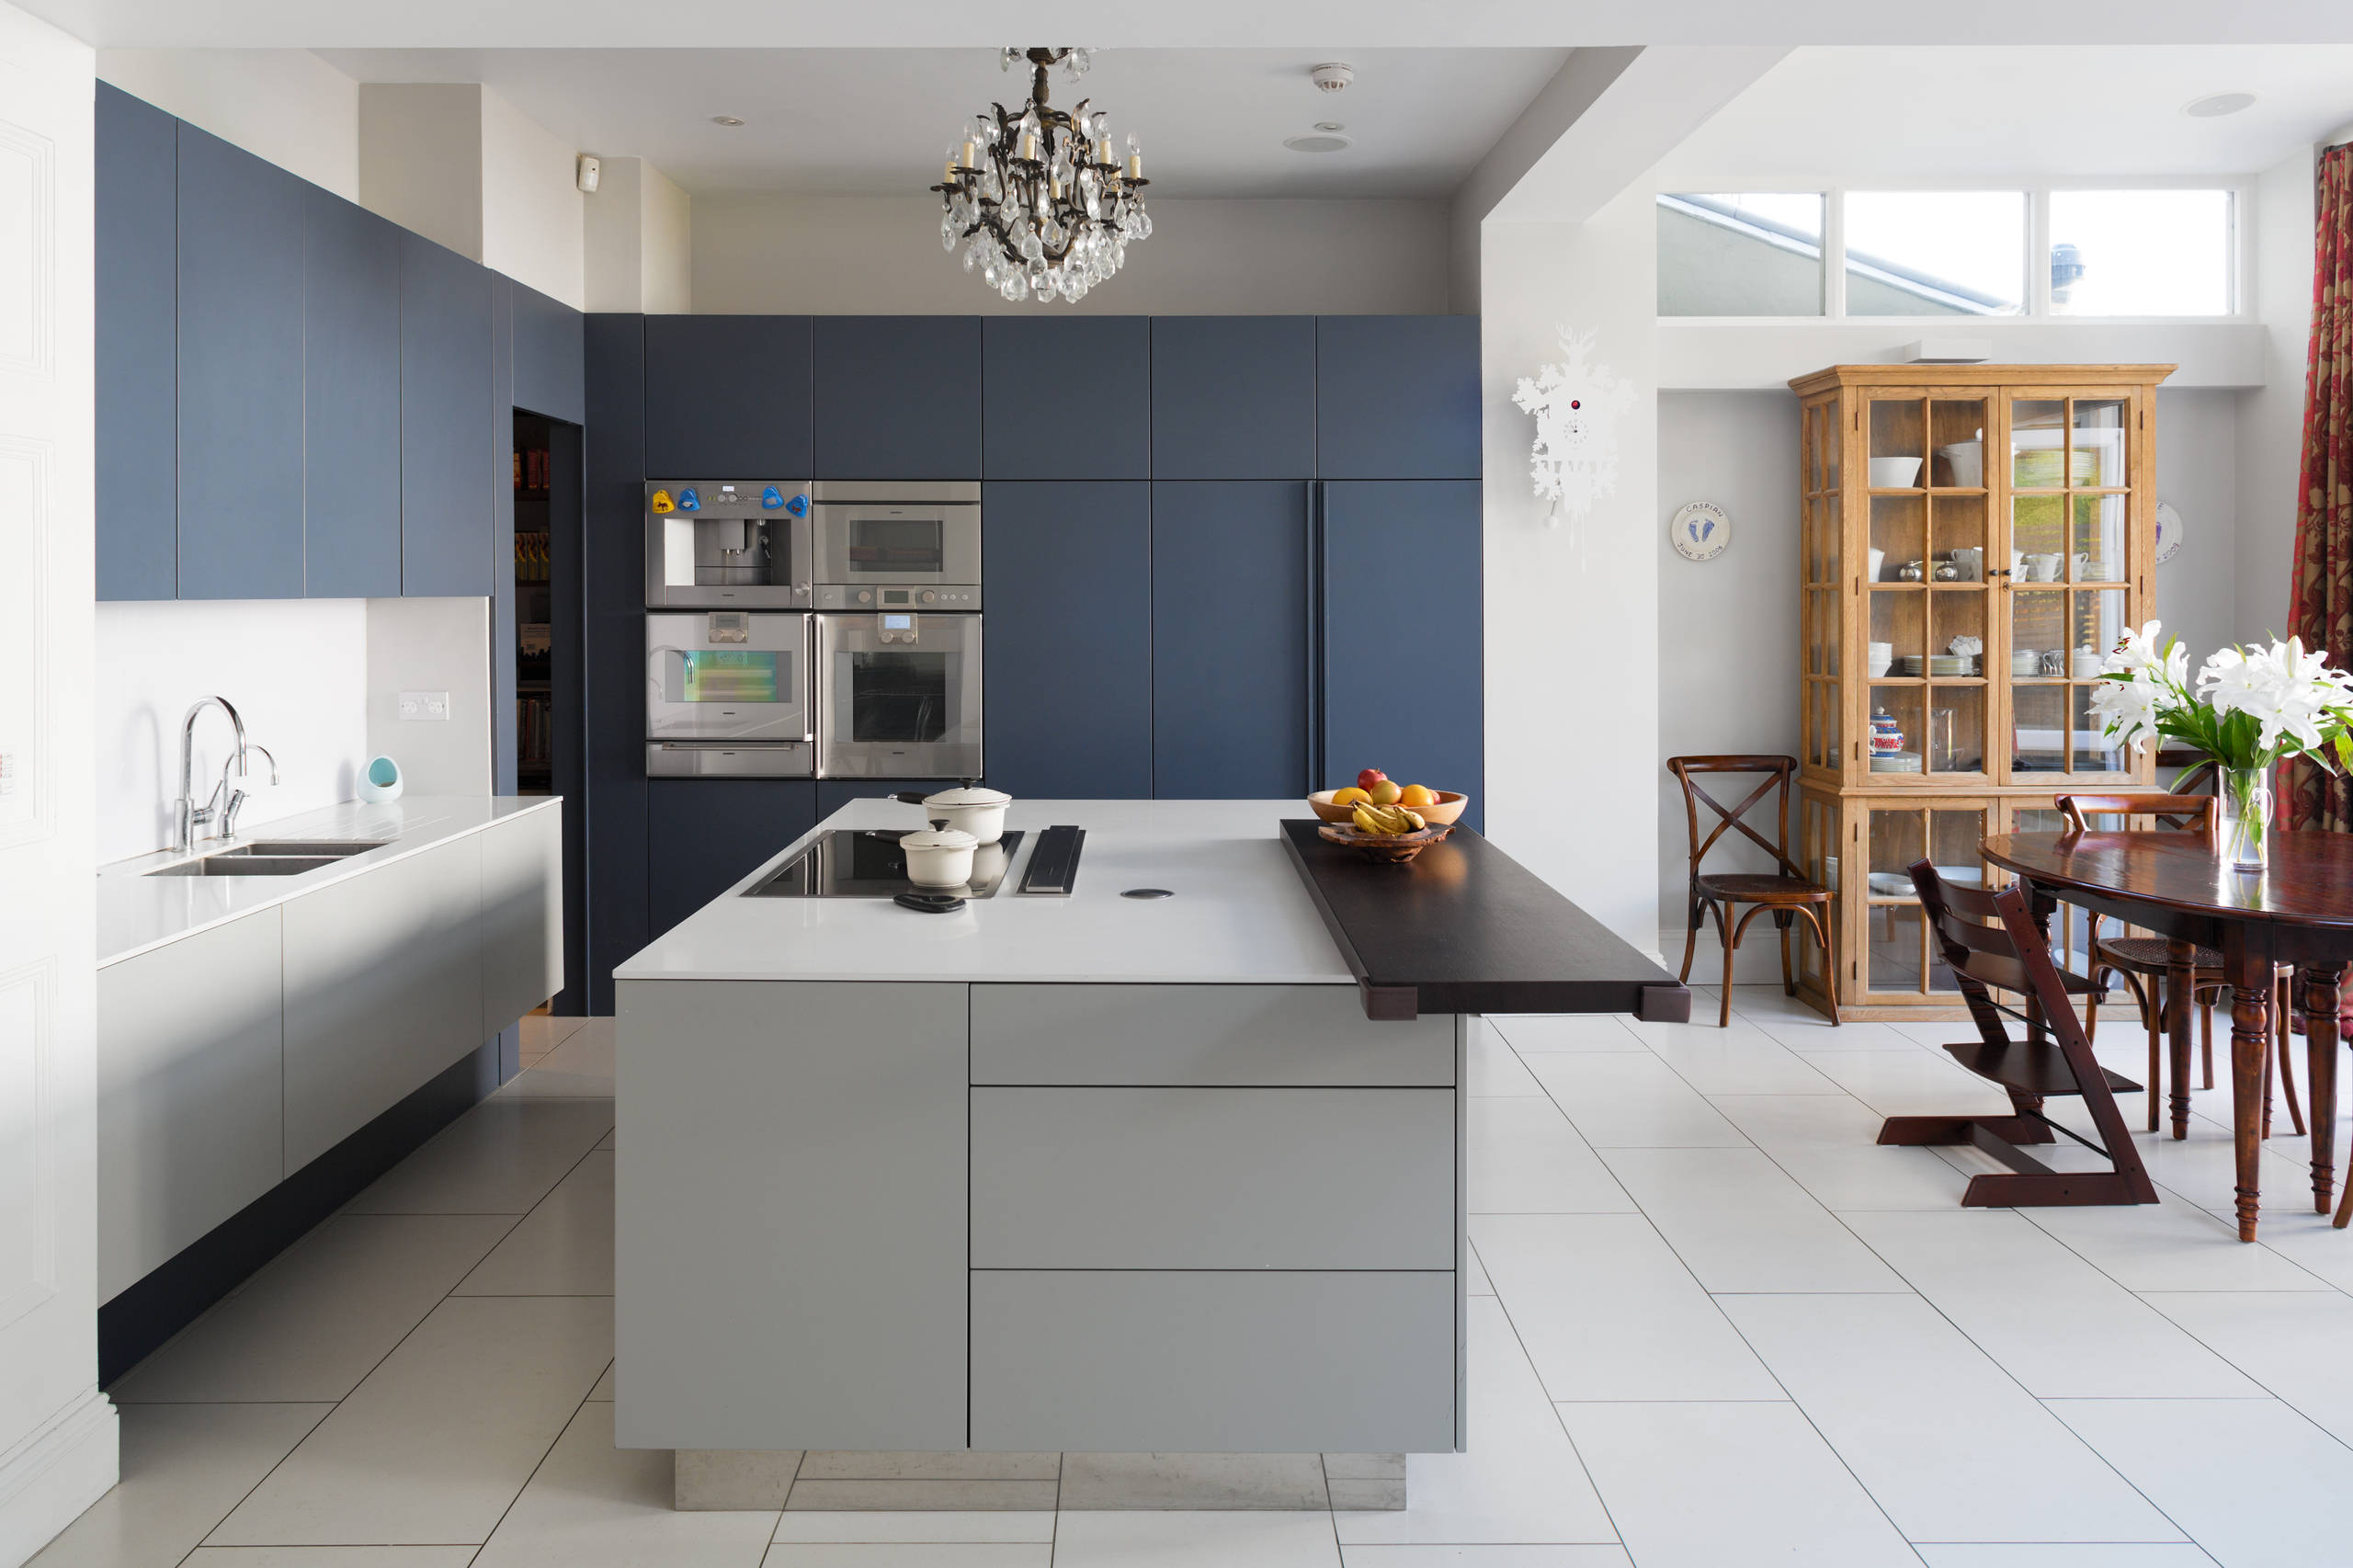
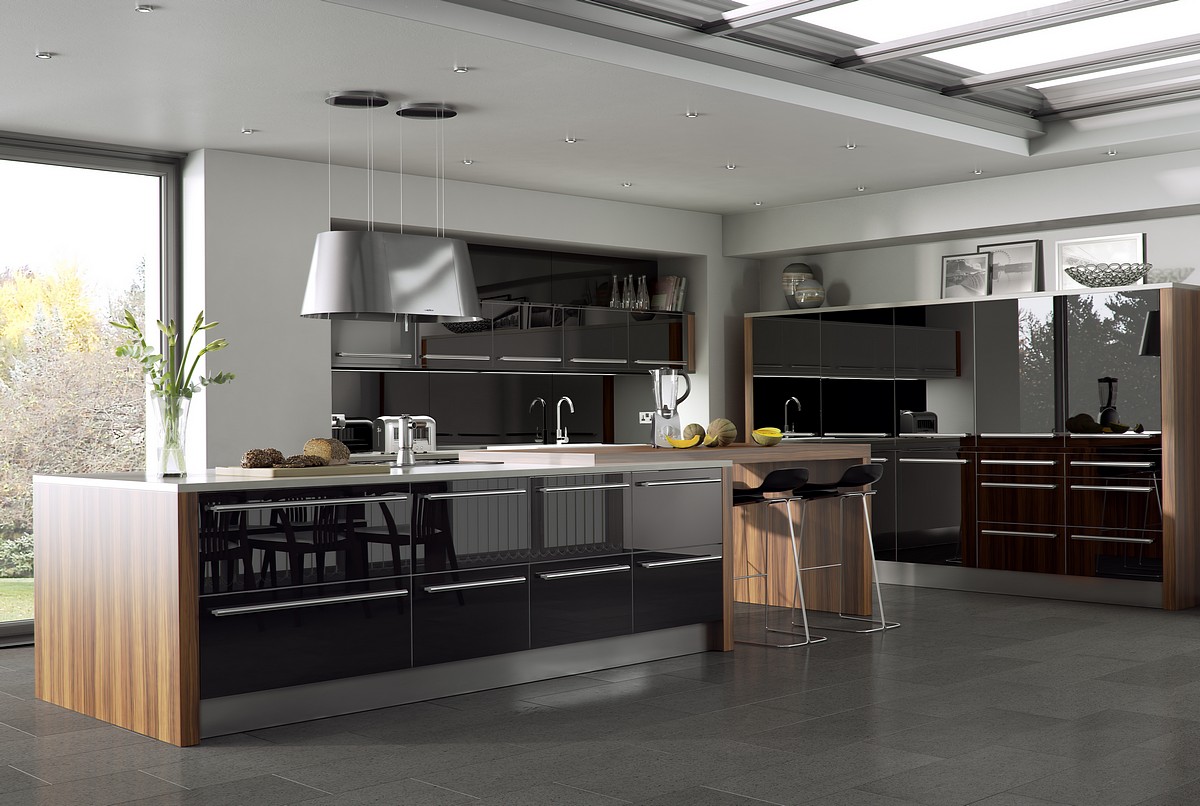
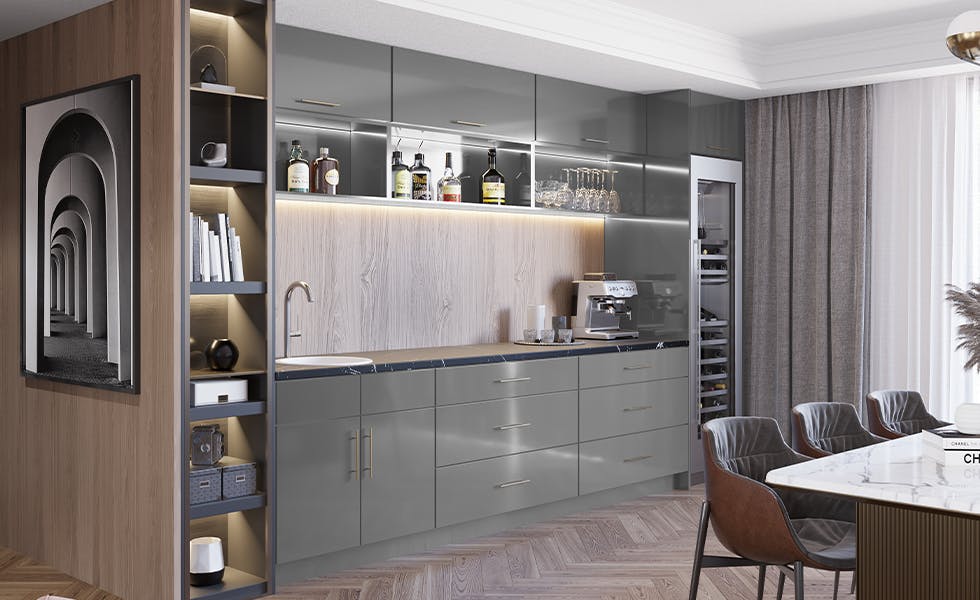
Apply a high-gloss paint or lacquer and polish the cabinets with a microfiber cloth. These methods enhance the shine and appearance.
Kitchen cabinets can lose their luster over time. To revive their glossy finish, use high-gloss paint or lacquer. This not only provides a sleek look but also protects the wood. Polishing with a microfiber cloth after painting adds extra shine.
Regular maintenance keeps the cabinets looking new and attractive. For best results, clean the surfaces thoroughly before starting. Remove any grease or dirt to ensure smooth application. Choose quality products designed for kitchen use. A little effort can transform dull cabinets into glossy, eye-catching features in your kitchen.
Choosing The Right Paint
Choosing the right paint is crucial for glossy kitchen cabinets. This will ensure a sleek, modern finish. The right paint can make a huge difference. Let’s dive into the details to make your cabinets shine.
Types Of Glossy Paint
There are several types of glossy paint to consider. Each type has its own benefits and features. Here’s a quick comparison:
| Type of Paint | Pros | Cons |
|---|---|---|
| High-Gloss Latex Paint | Easy to clean, quick drying | May need multiple coats |
| Semi-Gloss Latex Paint | Durable, less shiny | Requires primer |
| Oil-Based Paint | Super smooth finish, durable | Longer drying time, strong odor |
Color Selection Tips
Choosing the right color is just as important. Here are some tips to help you decide:
- Match with Kitchen Décor: Ensure the color complements your existing kitchen design.
- Consider Light: Lighter colors reflect light and make the space look bigger.
- Test Samples: Apply small patches of paint to see how it looks in your kitchen light.
- Go Bold: Dark, bold colors can make a statement but may show more dirt and fingerprints.
Proper color selection will enhance the beauty of your kitchen. Always test your chosen color before fully committing.
Preparing The Cabinets
Making your kitchen cabinets look glossy starts with proper preparation. This step ensures the final finish is smooth and shiny. Let’s dive into the essential steps to prepare your cabinets for a glossy makeover.
Cleaning The Surface
The first step is to clean the cabinets thoroughly. Dust, grease, and grime can ruin the finish. Use a gentle cleaner like a mixture of water and mild soap. Avoid harsh chemicals that could damage the wood.
| Cleaning Materials | Purpose |
|---|---|
| Soft Cloth | Wipe away dust and dirt |
| Mild Soap | Remove grease |
| Water | Rinse the surface |
After cleaning, let the cabinets dry completely. Any moisture can affect the sanding process.
Sanding Techniques
Sanding is crucial for a smooth and glossy finish. Start with a coarse-grit sandpaper to remove old paint or varnish. Progress to finer grits for a smoother surface.
- Use 120-grit sandpaper for initial sanding.
- Switch to 220-grit for a finer finish.
- Always sand in the direction of the wood grain.
After sanding, wipe the surface with a damp cloth to remove dust. Ensure the surface is completely smooth before moving to the next step.
Repeat these steps if necessary. Proper preparation ensures your cabinets will look glossy and new.
Priming For Gloss
Priming is a crucial step to achieve glossy kitchen cabinets. It ensures the paint adheres well and gives a smooth finish. Skipping primer can lead to uneven and dull surfaces. In this section, we will discuss the importance of primer and the best primers for a glossy finish.
Importance Of Primer
Primer plays a key role in the painting process. It prepares the surface for the topcoat and helps in sealing any imperfections. Here are some reasons why primer is important:
- Adhesion: Primer helps the paint stick better to the cabinet surface.
- Smooth Finish: It creates a smooth base for the paint, reducing the appearance of brush strokes.
- Sealant: Primer acts as a sealant, preventing stains and odors from penetrating the paint.
- Durability: It increases the longevity of the paint job, making it more resistant to wear and tear.
Best Primers For Glossy Finish
Choosing the right primer is essential for a glossy finish. Here are some of the best primers available:
| Primer | Features |
|---|---|
| Zinsser Bulls Eye 1-2-3 | Stain blocking, mold and mildew resistant, excellent adhesion. |
| KILZ Premium High-Hide | High hiding, mildew resistant, water-based formula. |
| Benjamin Moore Fresh Start | Superior adhesion, smooth finish, quick drying. |
These primers ensure a glossy and durable finish for your kitchen cabinets. Apply them evenly and let them dry completely before painting.
Applying The Paint
Painting kitchen cabinets can give your kitchen a fresh look. Applying the paint correctly is crucial for a glossy finish. Follow these steps for the best results.
Tools And Equipment
You will need the right tools to apply paint:
- High-quality paintbrushes
- Paint rollers
- Primer
- Glossy paint
- Painter’s tape
- Sandpaper (medium and fine grit)
- Drop cloths
- Cleaning rags
Step-by-step Application
- Prepare the Area: Lay down drop cloths. Tape edges and hardware.
- Clean the Cabinets: Wipe down cabinets with a damp cloth. Remove all grease.
- Sand the Surface: Use medium-grit sandpaper to remove old paint. Follow with fine-grit for smoothness.
- Apply Primer: Use a high-quality primer. Allow it to dry completely.
- Sand Again: Lightly sand the primed surface. Wipe away the dust.
- First Coat of Paint: Use a paintbrush for corners. Rollers are best for flat surfaces.
- Dry and Sand: Let the first coat dry. Sand lightly to remove imperfections.
- Second Coat of Paint: Apply the second coat. Ensure even coverage for a glossy finish.
- Allow to Dry: Let the cabinets dry fully. This ensures a durable finish.
Remember, patience is key. Rushing can ruin the glossy look.
Drying And Curing
Drying and curing are critical steps in making kitchen cabinets look glossy. Proper drying ensures a smooth finish, while curing solidifies the durability of the gloss.
Optimal Drying Conditions
Achieving a glossy finish requires optimal drying conditions. Follow these guidelines:
- Maintain a temperature between 65-75°F.
- Ensure low humidity, ideally below 50%.
- Use fans to promote air circulation.
- Avoid direct sunlight on the cabinets.
These conditions help the paint dry evenly, preventing streaks and bubbles.
Curing Time Recommendations
Proper curing is essential for a durable, glossy finish. Here are some recommendations:
| Type of Paint | Recommended Curing Time |
|---|---|
| Acrylic Latex | 21-30 days |
| Oil-Based Paint | 7-14 days |
| Chalk Paint with Wax | 30 days |
During this period, avoid heavy use of the cabinets.
Remember, patience is key for a lasting glossy finish.
Adding A Protective Coating
To make your kitchen cabinets glossy, adding a protective coating is key. This step not only enhances the shine but also increases the durability of the cabinets. The right coating can protect against moisture, scratches, and stains. Let’s dive into the types of sealants and how to apply them.
Types Of Sealants
Choosing the correct sealant is crucial. Here are some popular options:
- Polyurethane: This is a durable option. It offers a high-gloss finish.
- Varnish: Varnish provides a glossy coat and is water-resistant.
- Lacquer: Lacquer dries quickly and gives a smooth, glossy finish.
- Shellac: Shellac is easy to apply and offers a high-gloss look.
Application Methods
Applying sealant correctly is important for a glossy finish. Here are methods for each type:
| Sealant | Application Method |
|---|---|
| Polyurethane |
|
| Varnish |
|
| Lacquer |
|
| Shellac |
|
By following these methods, your kitchen cabinets will achieve a high-gloss, durable finish. Choose the sealant that best suits your needs for a beautiful kitchen makeover.
Maintaining The Gloss
Keeping your kitchen cabinets looking glossy takes some effort. Regular maintenance can make them shine like new for years. Here are some practical tips to help you.
Cleaning Tips
Regular cleaning is crucial for maintaining your cabinet’s gloss.
- Use a soft, damp cloth to wipe down surfaces.
- Mix mild dish soap with water for a gentle cleaner.
- Avoid harsh chemicals; they can dull the finish.
- Dry cabinets with a clean, soft towel immediately after cleaning.
These steps help retain the shine and prevent dullness.
Avoiding Scratches
Scratches can ruin the glossy finish of your cabinets.
- Use microfiber cloths for cleaning; they are gentle on surfaces.
- Avoid abrasive sponges or scrubbers.
- Keep sharp objects away from cabinet surfaces.
- Consider installing bumpers on cabinet doors.
These precautions help maintain the smooth, glossy finish.
Expert Tricks
Want your kitchen cabinets to look glossy and new? Discover some expert tricks to achieve that shiny, polished look. These methods are easy and effective, ensuring your kitchen cabinets always stand out. Let’s dive into the details.
Using Buffing Techniques
Buffing is a great way to make cabinets shine. Follow these steps:
- Clean the Surface: Use a damp cloth to remove dust and grime.
- Apply Buffing Compound: Use a small amount of compound on a soft cloth.
- Buff in Circular Motions: Gently buff the surface in small, circular motions.
- Wipe Off Excess: Use a clean cloth to remove any excess compound.
Buffing helps remove scratches and adds a glossy finish. You can repeat this process every few months for best results.
Alternative Gloss Enhancers
There are other ways to enhance the glossiness of your cabinets. Consider these alternatives:
- Furniture Polish: Spray a small amount on a cloth and wipe the cabinets.
- Car Wax: Apply car wax for a high-gloss finish. Buff it out with a soft cloth.
- Oil-Based Products: Use linseed oil or mineral oil to add shine. Apply and buff with a soft cloth.
These products are easy to find and use. They offer excellent results without much effort.
| Product | Application Method | Frequency |
|---|---|---|
| Furniture Polish | Wipe with cloth | Monthly |
| Car Wax | Buff with cloth | Every 3 months |
| Oil-Based Products | Apply and buff | Monthly |
Using these techniques and products will keep your kitchen cabinets looking glossy and new. Try them out and see the difference!
Frequently Asked Questions
How Can I Make My Cabinets Glossy?
Use a high-gloss paint or lacquer for a shiny finish.
What Paint Makes Cabinets Look Glossy?
High-gloss or semi-gloss paint provides a shiny appearance.
Is Gloss Or Semi-gloss Better For Cabinets?
Gloss offers more shine, while semi-gloss provides a slightly muted shine.
Can I Use Lacquer On Kitchen Cabinets?
Yes, lacquer gives a durable, high-gloss finish.
How Do I Clean Glossy Cabinets?
Use a soft cloth with mild soap and water.
Is Glossy Finish Good For Kitchen Cabinets?
Yes, it’s easy to clean and looks elegant.
How To Maintain The Gloss On Cabinets?
Regular cleaning and avoiding harsh chemicals will maintain the shine.
What Tools Do I Need For Glossy Cabinets?
Brushes, rollers, and spray guns help achieve a glossy finish.
Can I Make Old Cabinets Glossy?
Yes, sanding and applying high-gloss paint can rejuvenate them.
Do Glossy Cabinets Show Fingerprints?
Yes, but they are easier to clean compared to matte surfaces.
Conclusion
Achieving glossy kitchen cabinets is easier than you might think. By following the steps outlined, you’ll enjoy a stunning, shiny finish. Regular maintenance will keep them looking new for years. Remember, investing time in proper care pays off. Enjoy your beautiful, glossy kitchen transformation!

