
To make cabinets higher, add risers or install taller cabinets. Consider adjusting the existing cabinets’ position.
Increasing the height of your cabinets can enhance storage space and improve kitchen aesthetics. Taller cabinets allow better organization of items and create a more visually appealing look. This upgrade can also make your kitchen feel more spacious and modern.
Several methods can help achieve this, such as installing risers, repositioning existing cabinets, or opting for entirely new taller units. Each option has its benefits and considerations, depending on your budget and design preferences. Proper planning and execution are essential for ensuring a seamless integration of higher cabinets into your kitchen layout. This transformation can significantly elevate the functionality and style of your kitchen space.
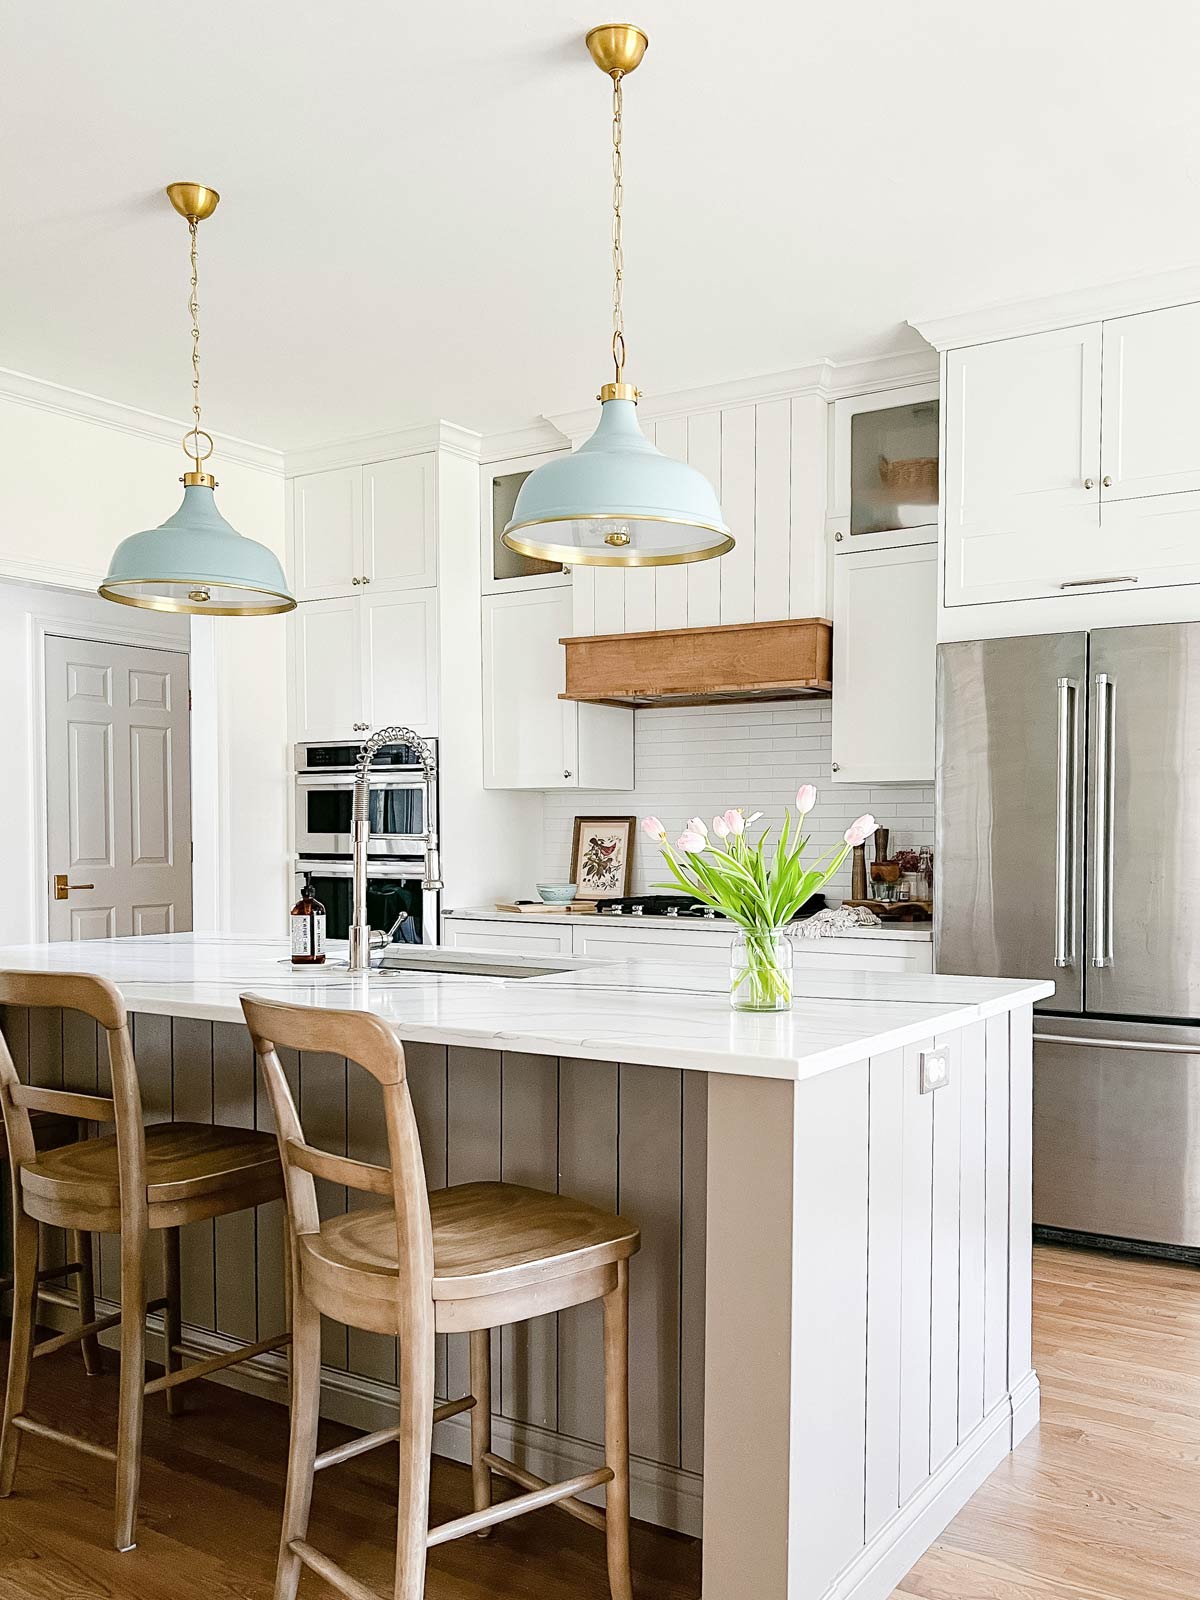
Credit: housewithhome.com
Preparation
Before making your cabinets higher, you need to prepare well. Good preparation ensures a smooth and safe process. Follow this guide to get started.
Tools Needed
Gather all the necessary tools. Having the right tools will make the job easier.
- Measuring tape
- Drill
- Screwdriver
- Level
- Hammer
- Safety goggles
- Work gloves
Materials Required
Next, gather the materials you will need. These will help you raise your cabinets.
- Wood panels
- Brackets
- Screws
- Wood glue
- Paint or stain
Safety Precautions
Safety is important. Follow these steps to stay safe.
- Wear safety goggles to protect your eyes.
- Use work gloves to protect your hands.
- Ensure your workspace is clean and well-lit.
- Keep children and pets away from the work area.
- Double-check all tools before use.
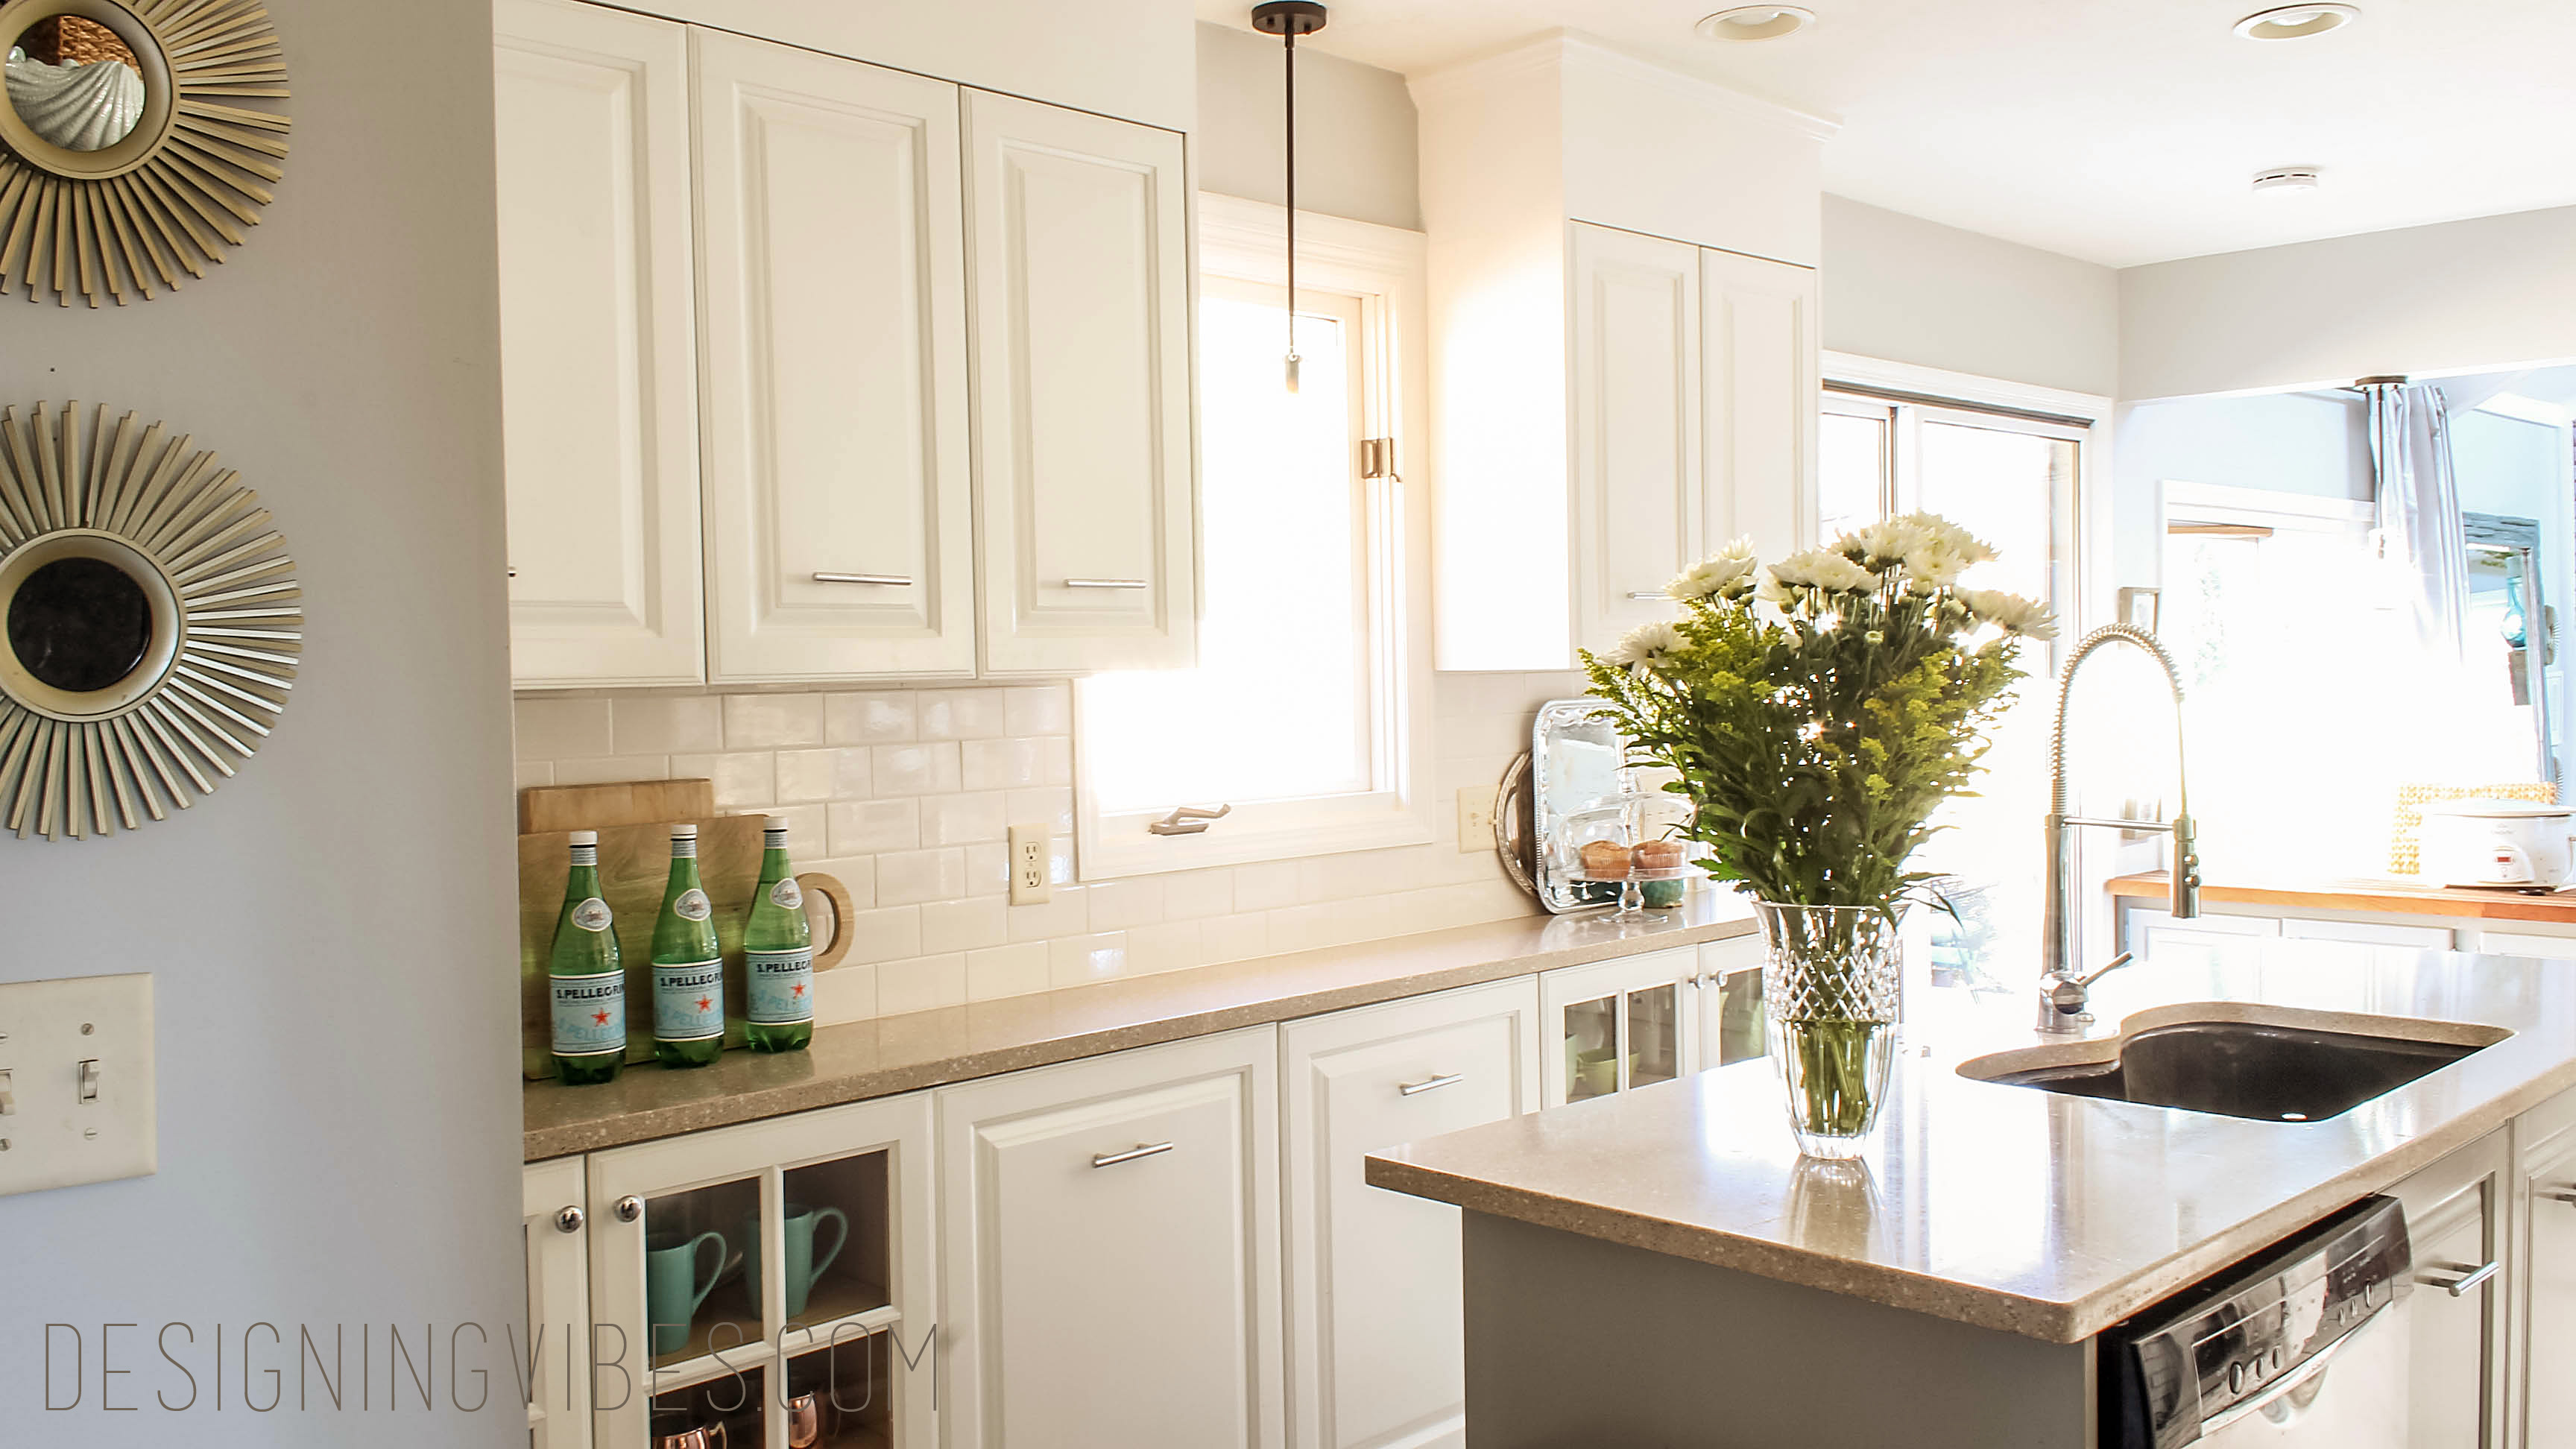
Credit: designingvibes.com
Measuring
Measuring is the first step to making your cabinets higher. Accurate measurements ensure a flawless installation. Follow these steps to measure perfectly.
Height Calculation
Start by determining the new height for your cabinets. This involves calculating the extra inches you want to add.
- Measure the current height of your cabinets.
- Decide the new total height you want.
- Subtract the current height from the new height.
- This difference is the extra height you need to add.
For example, if your cabinets are 72 inches tall and you want them to be 84 inches, you need to add 12 inches.
Marking Guidelines
Next, mark the new height on your cabinets. Accurate marking ensures precise cuts and installations.
- Use a measuring tape to mark the new height.
- Use a pencil for clear, erasable lines.
- Mark all four corners of each cabinet.
- Connect the marks with a straight line.
Double-check your measurements. Make sure all marks are level.
Use a level tool to keep the lines straight.
Following these steps ensures your cabinets will be the perfect height. Precise measurements and markings lead to a flawless installation.
Removing Cabinets
Removing cabinets is the first step in making them higher. This process requires careful planning and organization. Follow these steps to ensure a smooth removal.
Detaching Cabinets
Start by clearing out all items inside the cabinets. This makes them lighter and easier to handle. Use a screwdriver to remove the screws securing the cabinets to the wall. Keep these screws in a safe place for later use.
Ask a friend to help you hold the cabinet while you remove it. This prevents the cabinet from falling and causing damage or injury. Once all screws are removed, gently pull the cabinet away from the wall.
| Steps | Tools Needed |
|---|---|
| Empty cabinets | None |
| Remove screws | Screwdriver |
| Pull cabinet away | Helper |
Labeling Parts
Labeling parts helps you during reassembly. Use masking tape and a marker to label each cabinet piece. Label doors, shelves, and hardware.
Write clear, simple labels. For example, use “Top Left Shelf” or “Bottom Right Door.” This keeps everything organized and easy to understand.
Place screws and small hardware in labeled bags. This ensures you do not lose any essential parts. Labeling parts saves time and frustration later on.
- Use masking tape and markers for labels.
- Label each cabinet piece clearly.
- Place screws in labeled bags.

Credit: housewithhome.com
Extending Cabinet Height
Have you ever wished your cabinets were a bit taller? Extending cabinet height can provide more storage and enhance the look of your kitchen. Below, we’ll explore how to achieve this through adding extensions and installing new supports.
Adding Extensions
Adding extensions is a practical way to make your cabinets taller. You can use a variety of materials like wood or MDF. These materials are easy to work with and paint.
Here’s a simple guide to adding extensions:
- Measure the existing cabinet height.
- Decide how much taller you want your cabinets.
- Cut the extension pieces to your desired height.
- Attach the extension pieces using screws or brackets.
- Paint or stain the extensions to match your cabinets.
Using screws or brackets ensures the extensions are secure. Make sure to match the color of the extensions with the original cabinets. This ensures a cohesive look.
Installing New Supports
Installing new supports is another method to extend cabinet height. Supports can be added inside or outside the cabinets for extra stability.
Follow these steps for installing new supports:
- Choose the type of support you need. Metal brackets and wooden strips are both good choices.
- Measure and mark where the supports will be placed.
- Drill pilot holes for the screws to prevent the wood from splitting.
- Attach the supports using screws. Make sure they are level and secure.
- Test the stability by gently pushing on the extensions.
Use a level to ensure the supports are even. Uneven supports can make the cabinets unstable. Secure supports prevent the extensions from wobbling.
Whether you choose adding extensions or installing new supports, extending cabinet height can be a fun DIY project. It enhances storage and improves the kitchen’s look.
Reattaching Cabinets
Reattaching cabinets after raising them can be challenging. You need precision and care. Ensuring they are securely attached is crucial. This section will guide you through the steps of securing cabinets and checking their alignment.
Securing Cabinets
First, gather the necessary tools:
- Drill
- Screws
- Level
- Measuring tape
Use a level to check the placement. Mark the wall where the cabinets will go. Drill pilot holes in these marked spots. Lift the cabinets into place, aligning with the holes. Use screws to secure the cabinets to the wall. Ensure each screw is tight and the cabinet is firmly attached.
Checking Alignment
After securing the cabinets, check their alignment:
- Use a level to ensure they are even.
- Check if the doors open and close smoothly.
- Adjust if necessary by loosening screws and repositioning.
Alignment is crucial for functionality. Properly aligned cabinets ensure smooth operation and a professional look. Double-check all measurements and adjustments.
Finishing Touches
After raising your cabinets, the final steps are crucial. These finishing touches ensure your cabinets look polished and professional. This section covers the essential steps to complete your project.
Sanding And Painting
First, sand the cabinet surfaces. This step smooths out any rough areas. Use fine-grit sandpaper for the best results. Make sure to sand evenly to avoid bumps.
Next, apply a coat of primer. This helps the paint stick better. Let the primer dry completely. Then, choose a paint color that matches your kitchen. Apply the paint in thin, even coats. You may need two or three coats for full coverage. Let each coat dry before applying the next one.
Installing New Hardware
New hardware can transform your cabinets. Choose knobs and handles that match your kitchen style. Use a ruler to measure the placement of each piece. This ensures they are level and evenly spaced.
Drill small pilot holes for the screws. This makes installation easier and prevents wood splitting. Attach the hardware using a screwdriver. Make sure each piece is securely fastened.
These steps complete your cabinet project. Enjoy your new, higher cabinets!
Common Mistakes
Raising cabinet height can transform your kitchen. It offers more storage and a modern look. But, it’s essential to avoid common mistakes that can ruin your project. Here, we discuss the most frequent errors and how to steer clear of them.
Incorrect Measurements
One of the biggest mistakes is taking incorrect measurements. Accurate measurements are crucial for aligning your cabinets perfectly. Even a small error can lead to misalignment.
Follow these steps to measure correctly:
- Use a reliable tape measure.
- Measure the height of your current cabinets.
- Note the ceiling height.
- Plan the new cabinet height and mark it.
Double-check all measurements before starting. This avoids costly errors and extra work.
Using Wrong Tools
Using the wrong tools can complicate the project. The right tools ensure precision and a smooth process.
Here’s a list of essential tools:
- Power drill
- Level
- Stud finder
- Wood screws
- Measuring tape
Avoid using makeshift tools. They can lead to mistakes and unsafe installations. Investing in the correct tools saves time and ensures professional results.
Maintenance Tips
Maintaining your newly elevated cabinets ensures their longevity and pristine appearance. Follow these maintenance tips to keep your cabinets looking their best and functioning well.
Regular Inspection
Conduct regular inspections to spot any issues early. Check for loose screws, hinges, or brackets. Ensure that the cabinet doors align properly. Inspect the corners and edges for wear and tear. Identifying problems early can prevent larger issues later.
Cleaning Advice
Keep your cabinets clean to maintain their shine. Use a soft cloth for dusting weekly. For deeper cleaning, mix a mild detergent with warm water. Avoid harsh chemicals that can damage the finish. Wipe down the surfaces gently and dry them thoroughly.
| Cleaning Task | Frequency |
|---|---|
| Dusting | Weekly |
| Deep Cleaning | Monthly |
| Inspecting Hardware | Every 3 months |
Be mindful of water damage. Wipe up spills immediately to prevent staining. Maintain a consistent cleaning schedule to keep your cabinets in top condition.
Handling And Usage
Handle cabinet doors and drawers gently. Avoid slamming them shut. Use both hands to open large doors. Store heavier items on lower shelves. This prevents strain on the upper sections.
- Gently open and close doors.
- Store heavy items on lower shelves.
- Use both hands for large doors.
Proper usage ensures that your cabinets remain functional and beautiful for years to come.
Frequently Asked Questions
How Can I Make Cabinets Higher?
You can raise cabinets by adding height extensions or risers to the top of existing cabinets.
What Tools Do I Need To Raise Cabinets?
You’ll need a drill, screws, wood for extensions, and a measuring tape to raise cabinets properly.
Is It Difficult To Make Cabinets Higher?
It’s not difficult with basic DIY skills. Follow a step-by-step guide for best results.
Can I Add Height Without Replacing Cabinets?
Yes, you can add risers or crown molding to increase cabinet height without replacing them.
Are There Professional Services For Raising Cabinets?
Yes, many professionals specialize in modifying and raising kitchen cabinets for a fee.
What Materials Can I Use For Extensions?
Use wood, MDF, or pre-fabricated risers to extend the height of your cabinets.
Will Raising Cabinets Affect My Kitchen Layout?
Raising cabinets generally won’t affect the layout but may impact the overall aesthetic.
How Much Does It Cost To Raise Cabinets?
Costs vary but expect to spend between $100 to $500 depending on materials and professional help.
Can Raising Cabinets Add Storage Space?
Yes, raising cabinets can create extra storage space for rarely used items or decorative pieces.
Is It Possible To Diy Cabinet Raising?
Yes, many homeowners successfully raise cabinets themselves with the right tools and instructions.
Conclusion
Raising your cabinets can transform your kitchen space. With the right tools and techniques, it’s a manageable task. Follow the steps carefully for a professional finish. Enjoy the enhanced storage and aesthetic appeal. Happy renovating and make the most of your elevated cabinets!

