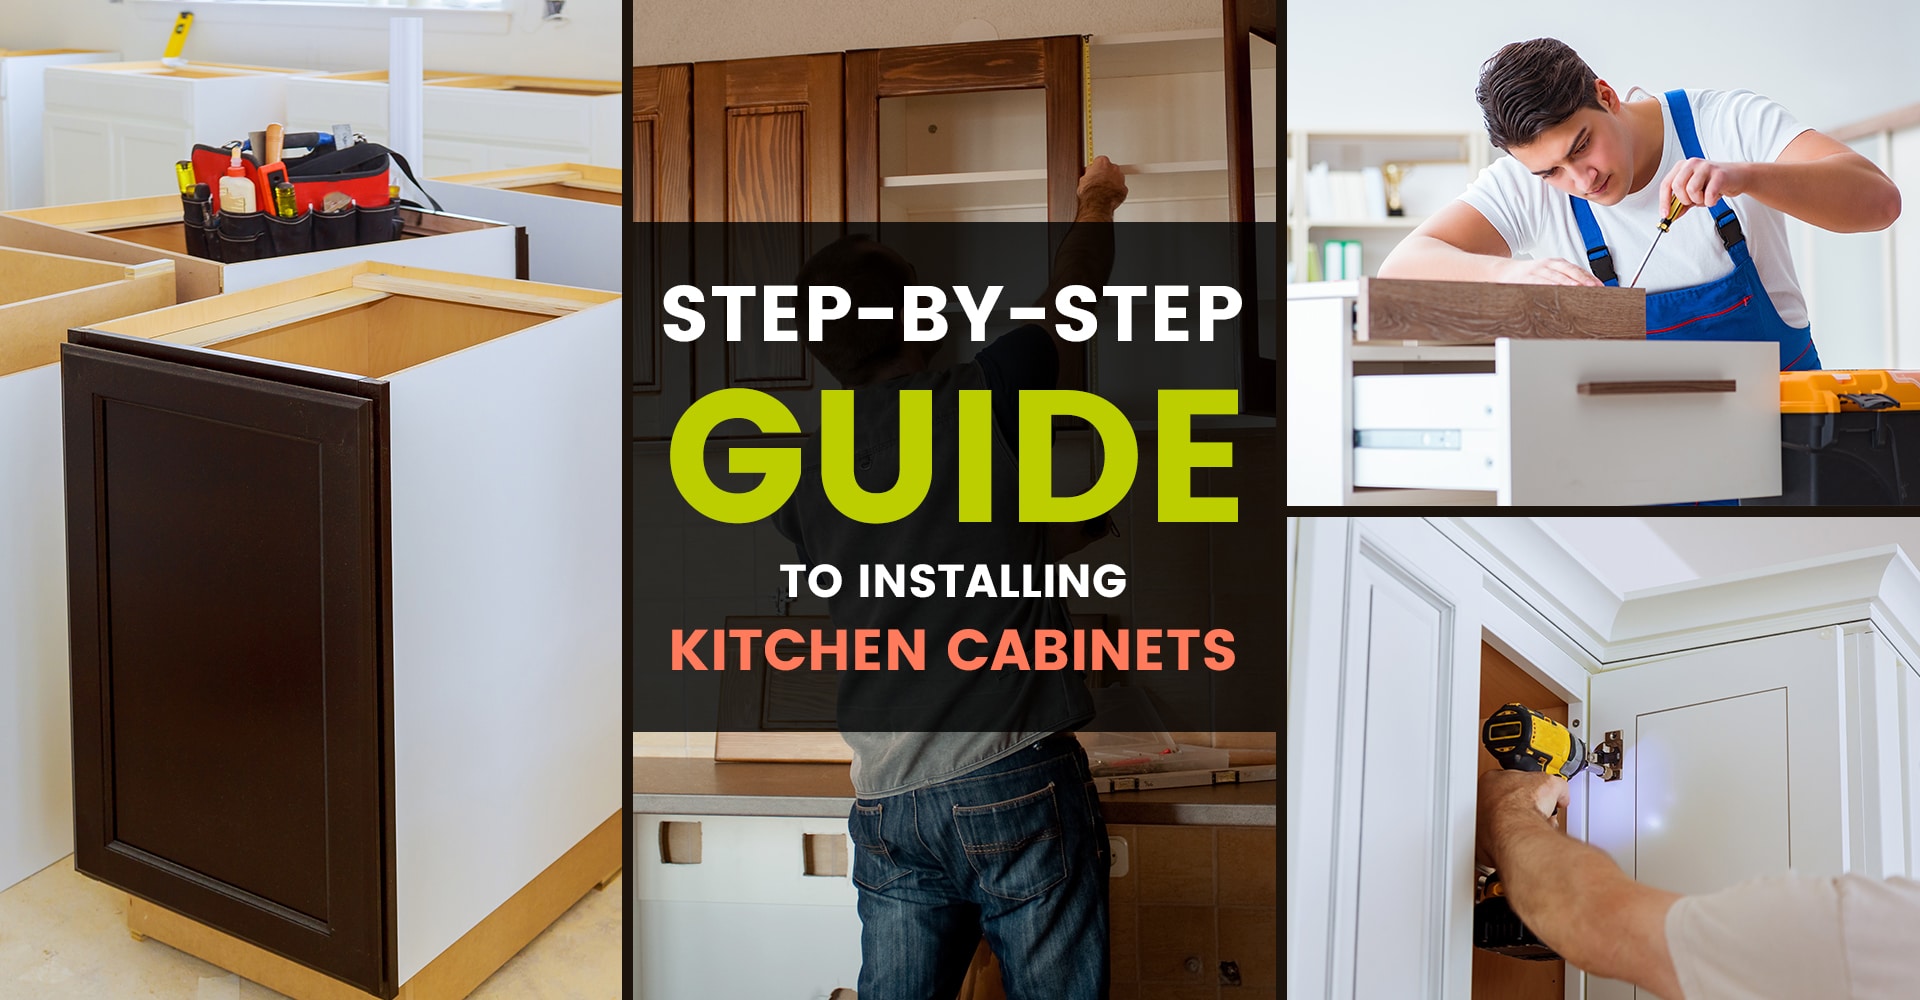
To install kitchen cabinets, secure the upper cabinets first, then move to the base cabinets. Ensure all cabinets are level and properly aligned.
Installing kitchen cabinets can transform your kitchen’s functionality and aesthetic appeal. Proper installation ensures they are sturdy and long-lasting. Start by planning the layout and measuring your space accurately. Gather essential tools like a drill, level, and measuring tape. Mark the stud locations on the wall to provide a strong anchor.
Carefully align and secure the upper cabinets before moving to the base ones. This step-by-step process requires precision and attention to detail. By following these guidelines, you can achieve a seamless, professional-looking kitchen cabinet installation that enhances your home.
Preparation
Before starting the installation of kitchen cabinets, proper preparation is essential. A well-prepared workspace ensures a smooth and efficient installation process. This section covers the crucial steps in the preparation phase.
Gathering Tools
To install kitchen cabinets, gather all necessary tools. Using the right tools makes the job easier and safer. Here is a list of essential tools you will need:
- Drill and Bits: For drilling holes and driving screws.
- Level: Ensures cabinets are aligned and even.
- Measuring Tape: For accurate measurements.
- Stud Finder: Locates wall studs for secure mounting.
- Clamps: Holds cabinets in place during installation.
- Screwdriver: Necessary for manual adjustments.
- Safety Gear: Gloves and goggles for protection.
Measuring Space
Accurate measurements are crucial to ensure cabinets fit perfectly. Follow these steps to measure your space:
- Use a measuring tape to measure the length and height of the wall.
- Mark the locations of wall studs using a stud finder.
- Measure the distance from the floor to the ceiling.
- Measure the depth of the cabinets to ensure they fit in your space.
Create a detailed sketch of your kitchen layout. Include all measurements and mark the positions of appliances and outlets.
Double-check all measurements to avoid mistakes during installation. Accurate measurements save time and prevent errors.
Removing Old Cabinets
Removing old cabinets is the first step to install new kitchen cabinets. Proper removal ensures a smooth installation process. Follow these steps for an efficient and safe removal.
Clearing Out Contents
Before detaching cabinets, clear out all items inside. Remove all dishes, utensils, and food items. This makes the cabinets lighter and safer to handle.
| Step | Action |
|---|---|
| 1 | Empty each cabinet completely. |
| 2 | Place items in boxes or on a table. |
| 3 | Label boxes for easy reorganization. |
Detaching Cabinets
Once the cabinets are empty, it’s time to detach them. Follow these steps to safely remove your old cabinets:
- Turn off power to the kitchen.
- Use a screwdriver to remove screws from cabinet doors.
- Take off the doors and set them aside.
- Locate screws attaching cabinets to the wall.
- Remove screws carefully to avoid wall damage.
- Detach the cabinets from the wall and lower them slowly.
- Ask for help if the cabinets are heavy.
After removing the cabinets, inspect the walls. Make any necessary repairs before installing new cabinets. This ensures a smooth and secure installation.
Planning Layout
Planning the layout is crucial for installing kitchen cabinets. A well-thought-out plan ensures a smooth installation. It also maximizes kitchen space and functionality.
Marking Studs
Begin by marking the wall studs. Use a stud finder to locate them. Mark each stud with a pencil. This will help you know where to anchor your cabinets. Wall studs provide the necessary support.
Usually, studs are spaced 16 inches apart. Measure and mark accordingly. If you can’t find a stud, use wall anchors. They provide extra support.
Outlining Cabinet Positions
Next, outline the cabinet positions on the wall. Start by drawing a level line. This line marks the bottom of the wall cabinets. Use a level tool to ensure accuracy. This step ensures your cabinets are straight.
Measure the width of each cabinet. Mark their positions on the wall. Use a pencil to draw the cabinet outlines. It’s helpful to create a clear visual guide.
For base cabinets, repeat the process. Draw a level line for the top of the base cabinets. This ensures they are aligned properly with the wall cabinets.
| Step | Description |
|---|---|
| 1 | Mark wall studs with a pencil. |
| 2 | Draw a level line for the bottom of wall cabinets. |
| 3 | Measure and mark cabinet positions on the wall. |
| 4 | Draw a level line for the top of base cabinets. |
By following these steps, you ensure a precise and efficient cabinet installation. Proper planning leads to a beautiful and functional kitchen.

Credit: www.familyhandyman.com
Installing Upper Cabinets
Installing upper cabinets can be a fun project. You will need some tools and a bit of patience. Follow these steps for a successful installation.
Attaching To Wall
First, find the wall studs using a stud finder. Mark the locations with a pencil. This will ensure your cabinets are securely attached.
Next, drill pilot holes into the marked studs. Use a level to ensure the holes are straight. Place the cabinet on the wall. Screw the cabinet into the studs through the pilot holes.
Tip: Have a friend hold the cabinet while you drill and screw.
Aligning Cabinets
Use a level to ensure the cabinets are straight. Adjust as needed before securing completely. Small adjustments can make a big difference.
Once aligned, connect the cabinets together. Use clamps to hold them in place. Drill pilot holes between the cabinets. Insert screws to secure them together.
Tip: Use shims to adjust for any uneven walls.
After securing, double-check alignment. Make sure the doors open and close easily. Adjust hinges if necessary.
A well-aligned cabinet looks great and functions well. Proper alignment also ensures long-lasting use.
Installing Base Cabinets
Installing base cabinets is a crucial part of kitchen renovation. It sets the foundation for the rest of the cabinetry. This step requires precision and patience. Follow these steps to ensure your base cabinets are installed correctly.
Leveling Base Units
Start by measuring the highest point on your kitchen floor. Use a level to find this spot. This will be your reference point. Mark a level line around the room at this height.
Begin placing your base cabinets against the wall. Use shims to level each cabinet. Ensure the tops of the cabinets align with the level line. Adjust the shims as needed. Check the level frequently to avoid errors.
Once the cabinets are level, secure the shims. This ensures they stay in place. Double-check the level one last time.
Securing To Wall
After leveling, it’s time to secure the base cabinets to the wall. Start by attaching the cabinets together. Use clamps to hold them in place.
Drill pilot holes through the cabinet frames. This prevents wood from splitting. Use wood screws to join the cabinets securely.
Next, secure the cabinets to the wall. Locate the wall studs using a stud finder. Mark the stud locations on the back of the cabinet. Drill pilot holes through the cabinet back into the studs.
Use long screws to secure the cabinets to the studs. Ensure the screws are tight. This provides a sturdy and secure installation. Check the level again to confirm everything is still aligned.
Repeat these steps for all base cabinets. Ensure each one is level and secure.

Credit: www.youtube.com
Adding Filler Strips
Adding filler strips to your kitchen cabinets is essential. They ensure a seamless fit between cabinets and walls. Filler strips help cover gaps and provide a polished look. Let’s dive into the process of measuring, cutting, and installing these strips.
Measuring Gaps
First, measure the gaps between your cabinets and walls. Use a tape measure for accurate results. Record the measurements carefully. Note both the width and height of the gaps. Double-check your measurements to avoid errors.
Cutting And Installing Strips
Next, cut the filler strips to match your measurements. Use a saw for precise cuts. Sand the edges for a smooth finish. Apply wood glue to the back of the strips. Press the strips firmly into the gaps. Secure them with finishing nails. Ensure the strips are flush with the cabinet edges.
Follow these steps for a professional-looking kitchen cabinet installation.
Attaching Doors And Drawers
Attaching doors and drawers is the final step in your kitchen cabinet installation. It requires precision and attention to detail. You want to ensure everything aligns perfectly. This section will guide you through mounting hinges and aligning drawers.
Mounting Hinges
First, gather your tools. You’ll need a screwdriver, measuring tape, and the hinges. Start by marking where the hinges will go on the cabinet doors. Use a measuring tape to ensure they are evenly spaced.
Next, align the hinges with the marks and screw them in place. Make sure the screws are tight, but not too tight. You want the door to open and close smoothly.
Now, attach the doors to the cabinet frame. Line up the hinges with the corresponding spots on the frame. Use your screwdriver to secure the hinges to the frame. Check that the door is level. If not, adjust the hinges as needed.
Aligning Drawers
Start by installing the drawer slides inside the cabinet. Ensure they are level and secure. Use a level tool to check. Mark the spots where you’ll attach the slides.
Next, attach the slides to the drawers. Line them up with the marks you made. Screw them in place. Make sure the slides are straight.
Place the drawers into the cabinet. Slide them in and out to check alignment. They should move smoothly without sticking. If they don’t, adjust the slides as needed.
| Step | Action |
|---|---|
| 1 | Mark hinge spots on doors |
| 2 | Attach hinges to doors |
| 3 | Secure doors to cabinet frame |
| 4 | Install drawer slides inside cabinet |
| 5 | Attach slides to drawers |
| 6 | Insert drawers and check alignment |
Following these steps will ensure your kitchen cabinet doors and drawers are perfectly aligned. Enjoy your beautifully installed kitchen cabinets!
Final Touches
Completing the installation of your kitchen cabinets brings a sense of accomplishment. The final touches are crucial. They ensure your cabinets are both functional and visually appealing. Let’s dive into the essential steps for the finishing touches.
Installing Hardware
Hardware installation is the first step in finalizing your cabinets. This includes knobs, handles, and pulls. Here’s how to do it:
- Measure and mark the positions for the hardware.
- Use a template to ensure consistent placement.
- Drill pilot holes to avoid splitting the wood.
- Attach the hardware using screws, ensuring they are tight.
Choose hardware that complements your kitchen’s style. Consider sleek stainless steel for modern kitchens. Opt for brushed nickel for a classic look.
Inspecting Work
Inspection is vital to guarantee a flawless finish. Follow these steps:
- Check that all cabinet doors align properly.
- Ensure drawers slide smoothly and don’t stick.
- Look for any gaps or uneven surfaces.
- Make sure all screws and nails are secure.
Use a level to confirm the cabinets are straight. Adjust as necessary to ensure a professional look.
Take a moment to admire your work. A thorough inspection ensures your kitchen cabinets are ready for use.

Credit: www.1build.com
Frequently Asked Questions
How Do You Install Kitchen Cabinets?
Measure, mark, and secure the cabinets to the wall studs. Ensure they are level and properly aligned.
What Tools Are Needed To Install Cabinets?
You need a drill, screws, level, measuring tape, stud finder, and clamps for cabinet installation.
How Long Does Cabinet Installation Take?
Typically, it takes one to two days for a standard kitchen cabinet installation.
Do I Need Professional Help?
While DIY is possible, hiring a professional ensures accurate installation and reduces potential errors.
How To Align Kitchen Cabinets?
Use a level and shims to ensure cabinets are perfectly aligned and level before securing them.
Can Cabinets Be Installed On Uneven Walls?
Yes, use shims to adjust and level the cabinets against uneven walls.
What Is The Cost To Install Cabinets?
Costs vary; typically, it ranges from $3,000 to $8,000 depending on the kitchen size and cabinet type.
How To Secure Cabinets To The Wall?
Secure cabinets using screws driven into wall studs through the cabinet’s back panel.
Do Upper Cabinets Go In First?
Yes, installing upper cabinets first prevents lower cabinets from getting in the way.
How To Ensure Cabinets Are Level?
Use a level tool and adjust with shims to make sure cabinets are perfectly level.
Conclusion
Installing kitchen cabinets can transform your cooking space. Follow these steps for a successful project. Measure carefully, use the right tools, and take your time. With patience and precision, your kitchen will shine with new cabinets. Enjoy the satisfaction of a job well done and a beautiful, functional kitchen!

