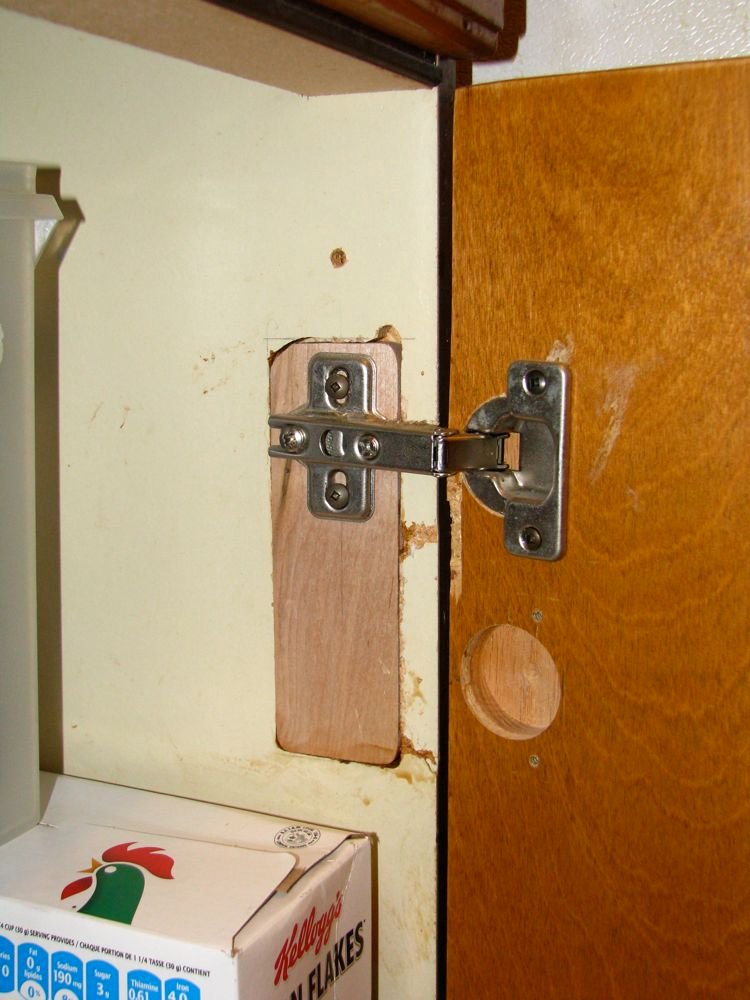
To fix kitchen cabinets together, align them properly and clamp them securely. Screw through the frames to join them.
Fixing kitchen cabinets together ensures a seamless and sturdy kitchen setup. Properly aligned and well-secured cabinets enhance the overall aesthetics and functionality of the space. Using clamps to hold the cabinets in place while joining them with screws guarantees a tight fit and prevents shifting.
This method not only provides a professional finish but also increases the durability of your kitchen setup. Ensuring that the cabinets are level and square before securing them together is crucial for achieving the best results. Investing time in this process will pay off with a cohesive and long-lasting kitchen arrangement.

Table of Contents
ToggleTools And Materials Needed
Fixing kitchen cabinets together requires the right tools and materials. Having the proper items ensures a smooth process. Below, we list the essential tools and required materials for this task.
Essential Tools
Gather these tools before starting:
- Drill and Drill Bits: For making precise holes.
- Screwdriver: To tighten screws securely.
- Clamps: To hold cabinets in place.
- Level: Ensures cabinets are even.
- Measuring Tape: For accurate measurements.
- Rubber Mallet: Gently taps cabinets into position.
- Stud Finder: Locates wall studs for secure mounting.
Required Materials
Make sure you have these materials:
- Wood Screws: To join the cabinets together.
- Cabinet Connectors: Special brackets for secure attachment.
- Wood Glue: Adds extra strength to joints.
- Shims: For leveling cabinets.
- Sandpaper: Smoothens rough edges.
- Painter’s Tape: Protects surfaces during assembly.
Preparation Steps
Fixing kitchen cabinets together requires careful preparation. Ensuring proper steps helps achieve a sturdy and professional finish. Here are the key steps to prepare for this task.
Clearing The Area
First, clear the work area. Remove all items from the cabinets. Empty the countertops as well. This ensures nothing obstructs your work. Use a vacuum to remove dust and debris. A clean space makes the job easier and more efficient.
Measuring The Space
Next, measure the space where the cabinets will be fixed. Use a tape measure for accuracy. Measure the width, height, and depth of the space. Write down these measurements.
Double-check your measurements to ensure accuracy. Accurate measurements prevent issues during installation. Below is a simple table to help you record your measurements:
| Dimension | Measurement |
|---|---|
| Width | |
| Height | |
| Depth |
These preparation steps are crucial for a smooth cabinet fixing process. Follow them carefully to ensure a successful project.
Disassembling Old Cabinets
Disassembling old cabinets is the first step in fixing kitchen cabinets together. It requires patience and careful handling. Removing doors, drawers, and detaching the cabinets are key steps. Let’s dive into each step to ensure a smooth process.
Removing Doors And Drawers
Start by taking off the cabinet doors. Use a screwdriver to remove the hinges. Hold the door steady to prevent it from falling. Place screws in a labeled container for easy access later.
Next, pull out the drawers. Lift them slightly to disengage from the tracks. Place them aside carefully. Ensure all contents are removed beforehand. This prevents any damage or mess.
Detaching Cabinets
Look for screws that hold the cabinets to the wall. These are usually located inside the cabinets. Use a drill to remove these screws. Work from the bottom up to prevent any accidents.
Once the screws are out, gently pull the cabinet away from the wall. If the cabinet is heavy, get help to avoid injury. Place the detached cabinets on a protective surface.
Check for any remaining screws or nails. Remove them to ensure a smooth reinstallation process.

Assembling New Cabinets
Assembling new cabinets can be exciting. It gives your kitchen a fresh look. This guide helps you do it right. Follow these steps for a perfect assembly.
Laying Out Parts
First, lay out all parts. This includes doors, shelves, and screws. Use a large, flat surface. Check you have all pieces.
Refer to the instruction manual. It lists everything you need. Organize parts by type. This helps find pieces quickly.
Lay out tools too. You will need a screwdriver, hammer, and measuring tape. Having everything ready saves time.
Connecting Pieces
Start with the main cabinet box. Assemble the sides, top, and bottom. Use the screws provided.
Ensure corners are square. This keeps the cabinet stable. Tighten all screws well.
| Step | Action |
|---|---|
| 1 | Attach side panels to the bottom panel |
| 2 | Secure top panel |
| 3 | Insert back panel |
Next, install the shelves. Use shelf pins or brackets. Place them at your desired height.
Attach the cabinet doors. Align them carefully. Use hinges provided in the kit. Check that doors open and close smoothly.
Finally, add any handles or knobs. Measure carefully to ensure they are even. Tighten screws securely.
Positioning Cabinets
Properly positioning kitchen cabinets can make a significant difference. It ensures a smooth and professional look. Let’s explore how to align and secure them to the walls.
Aligning Cabinets
Start by marking the cabinet positions on the wall. Use a pencil for easy adjustments. Measure from the floor up to ensure even heights.
Place the first cabinet in position. Use a level to check its straightness. Adjust as needed. Secure the first cabinet to the wall temporarily.
Move to the next cabinet. Align it with the first. Use clamps to hold them together. Check the alignment with a level.
Repeat this process for all cabinets. Ensure all edges match perfectly. This alignment step is crucial for a seamless look.
Securing To Walls
Once aligned, secure the cabinets to the wall. Use screws designed for cabinets. Pre-drill holes to prevent wood splitting.
Attach the cabinets at the top and bottom. This ensures a strong hold. Use a stud finder to locate wall studs. Screwing into studs offers better support.
If the cabinets don’t line up with studs, use anchors. Wall anchors provide the necessary support. Follow the anchor instructions for proper installation.
Double-check all screws are tight. Ensure the cabinets are level and secure. This step guarantees a stable and professional finish.
Joining Cabinets Together
Joining kitchen cabinets creates a seamless look. It makes your kitchen functional and stylish. Follow these steps to join your cabinets securely.
Clamping Cabinets
Use clamps to hold the cabinets together. Make sure the fronts align perfectly. This step helps in drilling accurately later.
- Place the cabinets side by side.
- Use bar clamps to hold the cabinets.
- Check the alignment of cabinet faces.
Clamping prevents movement. It ensures a precise fit between cabinets.
Drilling Pilot Holes
Drilling pilot holes is essential. It prevents wood from splitting. Always use a drill bit smaller than your screws.
- Mark the drill points on the inside edges.
- Use a drill bit matching screw size.
- Drill straight, ensuring not to penetrate too deep.
| Step | Description |
|---|---|
| 1 | Mark drill points |
| 2 | Choose correct drill bit |
| 3 | Drill pilot holes carefully |
These steps ensure your cabinets stay together firmly. Your cabinets will look professional.
Securing Cabinets
Securing your kitchen cabinets is an essential step in ensuring a functional and safe kitchen. Well-secured cabinets not only provide stability but also enhance the overall aesthetics of your kitchen space. In this section, we will cover effective methods to secure your cabinets together, focusing on using screws and ensuring stability.
Using Screws
Using screws is a reliable way to secure kitchen cabinets. Follow these steps to ensure a strong hold:
- Align the cabinets properly. Make sure the faces are flush.
- Drill pilot holes through the cabinet frames. Use a 1/8-inch bit.
- Insert wood screws into the holes. Tighten them using a screwdriver.
- Check alignment after tightening. Adjust if necessary.
Using screws not only creates a firm bond but also allows for adjustments. This method ensures that the cabinets remain stable and aligned over time.
Ensuring Stability
Ensuring the stability of kitchen cabinets is crucial for safety. Here are some tips to help:
- Use corner braces to support the inside corners of cabinets.
- Add cabinet clamps to hold cabinets together during installation.
- Check the level of the cabinets with a spirit level.
- Secure cabinets to the wall studs using long screws.
Stability is key to preventing accidents and ensuring longevity. Properly secured and stable cabinets will make your kitchen more functional and safe for everyone.

Final Touches
Once your kitchen cabinets are assembled, adding the final touches is crucial. These steps ensure your cabinets look polished and function well. Focus on adjusting doors and adding hardware. It makes a big difference in your kitchen’s appearance and usability.
Adjusting Doors
Properly aligned doors are key. Follow these steps to adjust them:
- Check the alignment of each door. Use a level to ensure they are straight.
- Use a screwdriver to adjust the screws on the hinges. Tighten or loosen them as needed.
- Test the doors by opening and closing them. Ensure they don’t rub or stick.
If the doors are still not perfect, repeat the process. Adjusting the hinges carefully can make a big difference.
Adding Hardware
Adding hardware to your kitchen cabinets adds style and functionality. Follow these steps:
- Choose handles or knobs that match your kitchen’s style.
- Measure and mark where each handle or knob will go. Use a pencil to mark the spots.
- Drill holes where you marked the spots. Use a drill bit the same size as the screws.
- Screw the handles or knobs into place. Make sure they are secure.
Using a template can help ensure consistent placement of hardware. It makes the process quicker and easier.
For more complex designs, consider using a jig. It ensures perfect alignment every time.
Frequently Asked Questions
How To Align Kitchen Cabinet Doors?
Align cabinet doors using a screwdriver. Adjust hinges for a perfect fit. Ensure they are level and evenly spaced.
What Tools Needed For Cabinet Installation?
You’ll need a drill, screwdriver, level, clamps, and measuring tape. These tools ensure accurate installation and alignment.
How To Secure Kitchen Cabinets Together?
Use clamps to hold cabinets in place. Drill pilot holes and screw them together through the frame for a sturdy fit.
Can You Install Cabinets Without Studs?
It’s not recommended. Studs provide essential support. Use cabinet hanging strips if studs aren’t available for added security.
How To Fill Gaps Between Cabinets?
Use filler strips or trim. Measure the gap, cut the strip to size, and secure it with glue or nails.
What Screws To Use For Cabinets?
Use 2. 5-inch wood screws for framing. For attaching to walls, use 3-inch screws to ensure strong support.
How To Fix Uneven Cabinets?
Check the level of the cabinets. Adjust shims under the base to correct any unevenness. Secure once level.
Can You Reuse Old Cabinet Hinges?
Yes, if they are in good condition. Ensure they fit properly and still function smoothly before reusing.
How To Hide Cabinet Screws?
Use matching wood fillers or cover caps. Apply them over screw heads and sand smooth for a seamless look.
Is It Necessary To Use Cabinet Clamps?
Yes, they hold cabinets in place during installation. This ensures precise alignment and a professional finish.
Conclusion
Fixing kitchen cabinets together can be a rewarding DIY project. Following these steps ensures a sturdy and attractive result. Always measure carefully, use quality materials, and take your time. With patience and precision, your kitchen will look fantastic, and your cabinets will last for years.
Enjoy your refreshed and functional space!


