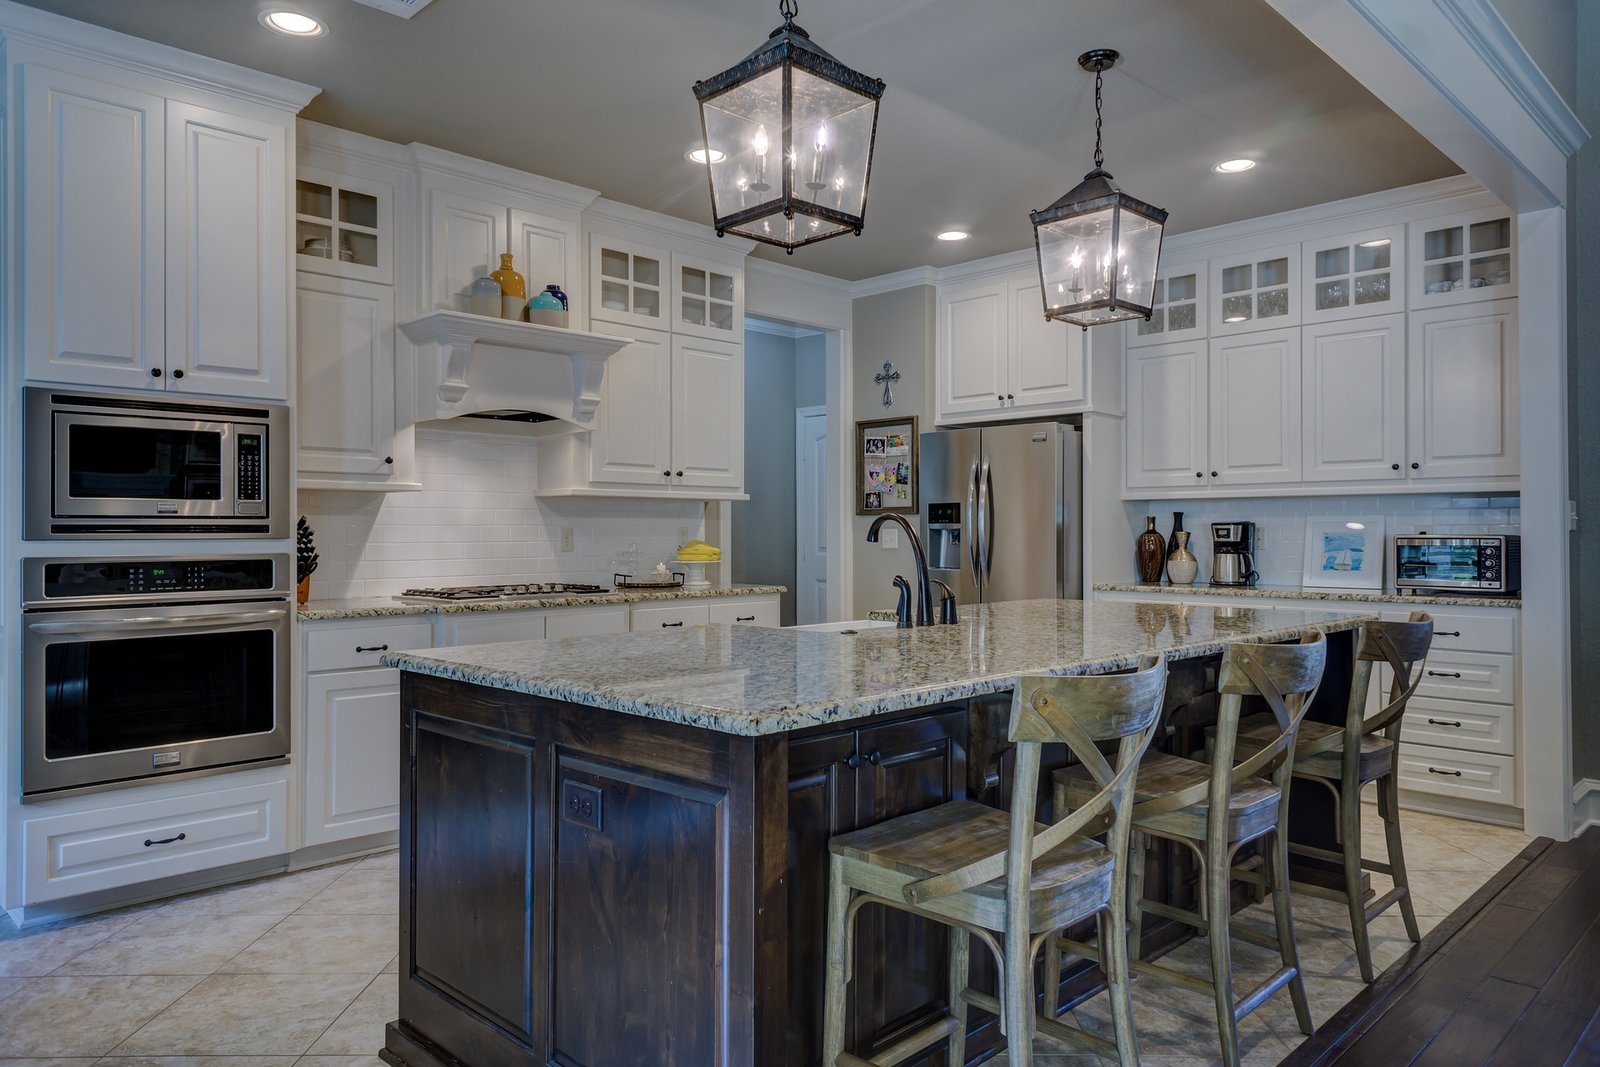
To fix kitchen cabinets to a plasterboard wall, locate the studs and use appropriate screws. Ensure the cabinets are level and secure.
Mounting kitchen cabinets to a plasterboard wall can seem daunting, but it’s manageable with the right tools and techniques. Start by locating the wall studs, as these provide the necessary support for the weight of the cabinets. Use a stud finder to pinpoint their exact positions.
Once located, mark the spots where the cabinets will be attached. Use strong screws designed for plasterboard to ensure stability. Double-check that the cabinets are level before fully securing them to the wall. This method ensures a sturdy and safe installation, transforming your kitchen space efficiently.
Tools And Materials Needed
Before you start fixing your kitchen cabinets to a plasterboard wall, it’s crucial to gather all the necessary tools and materials. This ensures a smooth and efficient installation process. Below, we break down the essential tools and necessary materials you’ll need for the job.
Essential Tools
- Drill – A power drill is essential for creating pilot holes.
- Screwdriver – Both a Phillips and flat-head screwdriver are needed.
- Stud Finder – To locate the studs behind the plasterboard.
- Level – Ensures your cabinets are perfectly aligned.
- Measuring Tape – For precise measurements.
- Pencil – Marking points for drilling.
- Hammer – Useful for minor adjustments.
Necessary Materials
| Material | Description |
|---|---|
| Cabinet Screws | Heavy-duty screws designed for cabinets. |
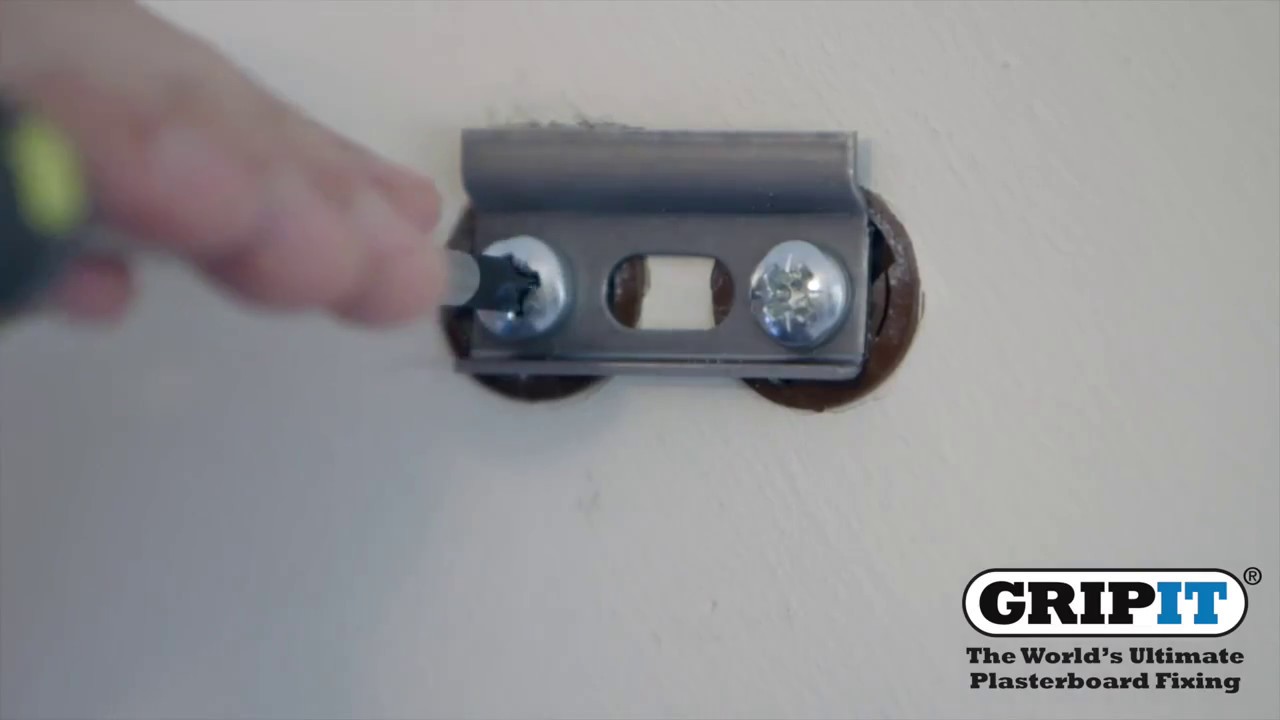
| Wall Anchors | Used if studs are not in the right place. |
| Mounting Brackets | Provide additional support. |
| Wood Shims | For leveling and adjustments. |
| Plasterboard Fixings | Special fixings for added security. |
| Adhesive | Optional, for extra grip. |
Gathering these tools and materials beforehand saves time and ensures efficiency. Make sure everything is within reach before starting the installation process.

Preparation Steps
Before fixing your kitchen cabinets to a plasterboard wall, thorough preparation is crucial. Proper planning ensures a smooth installation process and enhances the durability of your cabinets. Follow these preparation steps to get started.
Clear The Area
Start by clearing the area where you will install the cabinets. Remove any items from the countertops and walls. Ensure you have enough space to work comfortably.
- Take down any wall decorations or shelves.
- Move appliances away from the workspace.
- Cover surfaces with protective sheets to avoid damage.
Gather Your Supplies
Next, gather all the necessary supplies. Having everything ready will save you time and effort.
| Supplies | Purpose |
|---|---|
| Stud Finder | Locate wall studs |
| Screws | Secure cabinets to the wall |
| Drill | Create holes for screws |
| Level | Ensure cabinets are straight |
| Measuring Tape | Measure spaces accurately |
Check that all tools are in good condition. Verify that you have enough screws and anchors to support the cabinets’ weight.
Finding Wall Studs
Finding wall studs is crucial for securely fixing kitchen cabinets to a plasterboard wall. Wall studs provide the necessary support for the weight of the cabinets. Here are steps to find wall studs effectively.
Using A Stud Finder
A stud finder is a handy tool for locating studs. Follow these steps:
- Turn on the stud finder.
- Place it flat against the wall.
- Slowly move it horizontally.
- Wait for it to indicate a stud.
Repeat the process to find all studs. Make sure to check multiple times for accuracy.
Marking Stud Locations
Marking stud locations ensures precise cabinet installation. Follow these steps:
- Use a pencil to mark each stud location.
- Draw a small line at the top and bottom.
- Use a level to connect the lines vertically.
This will give you a clear guide for fixing your cabinets.
Measuring And Marking
Properly measuring and marking are crucial steps to fix kitchen cabinets. Accurate measurements ensure your cabinets fit perfectly and are securely mounted. Follow these steps to ensure success.
Measure Cabinet Dimensions
First, measure the dimensions of your cabinets. Use a tape measure to get the width, height, and depth of each cabinet.
- Width: Measure from one side to the other.
- Height: Measure from the top to the bottom.
- Depth: Measure from the front edge to the back.
Record all dimensions carefully. Double-check your measurements for accuracy.
Mark Placement On Wall
Next, mark the placement of the cabinets on the wall. Use a pencil and level to draw lines on the plasterboard.
- Start by marking the top edge of the cabinets.
- Draw a horizontal line at this height.
- Mark the sides and bottom edges next.
- Use a level to ensure straight lines.
Ensure all marks are clear and precise. This helps in the accurate placement of the cabinets.
Finally, mark the screw holes. Hold the cabinet against the wall. Use a pencil to mark where the screws will go.
| Step | Description |
|---|---|
| 1 | Measure cabinet dimensions. |
| 2 | Record all dimensions. |
| 3 | Mark top edge on wall. |
| 4 | Mark side and bottom edges. |
| 5 | Mark screw holes. |
Accurate measuring and marking ensure your cabinets fit perfectly. Follow these steps for a successful installation.
Drilling Pilot Holes
Drilling pilot holes is a key step in fixing kitchen cabinets. It ensures screws go in smoothly and avoid splitting the wood. It also helps in keeping the cabinets firmly attached to the plasterboard wall. Let’s dive into the details of drilling pilot holes.
Choosing Drill Bit Size
Selecting the right drill bit size is crucial. Use a drill bit that matches the screw diameter. This helps the screw fit snugly. For softwoods, use a bit slightly smaller than the screw. For hardwoods, match the drill bit to the screw size.
Here’s a quick guide:
| Material | Drill Bit Size |
|---|---|
| Softwood | Bit smaller than screw |
| Hardwood | Bit same size as screw |
Drilling Into Studs
Finding and drilling into studs is vital for stability. Use a stud finder to locate the studs behind the plasterboard. Mark these spots clearly.
Follow these steps:
- Mark the stud locations.
- Choose the right drill bit.
- Drill pilot holes directly into the studs.
Drilling into studs ensures the cabinets stay secure and hold weight well. Make sure the pilot holes are straight. This helps in easy screw insertion and tight fitting.

Attaching Cabinets
Fixing kitchen cabinets to a plasterboard wall is easy with the right steps. Proper alignment and secure attachment are key to ensuring your cabinets stay in place. Follow this guide to learn how to attach your kitchen cabinets securely and efficiently.
Aligning Cabinets
First, measure the height where the cabinets will hang. Use a pencil to mark this line on the wall. Ensure the line is level using a spirit level. Position the first cabinet along this line. Make sure it aligns with the mark.
Use shims if the wall is uneven. Check the alignment frequently. Clamp the cabinets together if you have more than one. This helps maintain a straight line. Having a helper can make this process easier.
Securing With Screws
Once aligned, secure the cabinets with screws. Use a stud finder to locate wall studs. Mark these spots for drilling. Pre-drill holes through the cabinet back into the wall studs. This prevents the plasterboard from cracking.
Use at least two screws per stud for stability. If no studs are present, use heavy-duty wall anchors. Ensure screws are tight but avoid overtightening. Over-tightening can damage the plasterboard.
Double-check the cabinets for level and plumb. Adjust as needed before fully securing all screws.
Leveling And Adjusting
Fixing kitchen cabinets to plasterboard walls can be tricky. Ensuring the cabinets are level and aligned is crucial. This step ensures your cabinets look great and function well. Let’s explore the details of leveling and adjusting your kitchen cabinets.
Using A Level
A spirit level is essential for this task. Start by marking the wall where the top of the cabinet will go. Use the level to draw a straight line along this mark. This line will guide you in aligning the cabinets properly.
Place the cabinet against the wall, aligning it with your guide line. Check both the top and bottom edges with the level. Adjust the cabinet until the bubble in the level is centered.
If the wall is uneven, use shims to level the cabinet. These small pieces of wood or plastic can help adjust the cabinet. Place shims behind the cabinet where needed. This ensures the cabinet sits flush against the wall.
Making Final Adjustments
Once the cabinet is level, secure it to the wall. Use screws or anchors designed for plasterboard. Ensure they are strong enough to support the cabinet’s weight.
After securing the cabinet, check the level again. Make any necessary adjustments. Tighten the screws and ensure the cabinet is firmly in place.
If you install multiple cabinets, repeat the leveling process for each one. Ensure all cabinets align with each other. This creates a seamless and professional look in your kitchen.
Use a straightedge to check the alignment of adjacent cabinets. Adjust as needed for a perfect fit.
| Step | Action | Tools Needed |
|---|---|---|
| 1 | Mark the wall | Spirit Level, Pencil |
| 2 | Place cabinet | Spirit Level, Shims |
| 3 | Secure cabinet | Screws, Anchors, Drill |
| 4 | Check alignment | Straightedge |
Following these steps ensures your kitchen cabinets are level and secure. Proper leveling and adjustment are key for a beautiful and functional kitchen. Happy installing!
Finishing Touches
After securing your kitchen cabinets to the plasterboard wall, the final steps are crucial. These finishing touches ensure your kitchen looks polished and professional. Here’s how to make sure everything looks perfect.
Covering Screw Heads
Screw heads can be unsightly. To cover them, use decorative caps or fillers. Match the caps with your cabinet color.
- Place the cap over each screw head.
- Press firmly to secure it.
- For fillers, apply with a small putty knife.
- Sand smooth once dry.
Using the right caps and fillers can make a big difference. It gives your cabinets a seamless look.
Cleaning Up
After all the hard work, cleaning up is essential. Remove any dust or debris from the installation process. Use a soft cloth and a gentle cleaner.
- Wipe down the cabinets with a damp cloth.
- Clean the floor beneath the cabinets.
- Check for any missed screws or debris.
Proper cleaning ensures your kitchen is ready for use. It also lets you spot any areas that need touch-ups.
Now your kitchen cabinets look fantastic, and the finishing touches make all the difference!
Frequently Asked Questions
How Do You Secure Cabinets To Plasterboard?
Use wall anchors or toggle bolts for secure attachment of cabinets to plasterboard walls.
What Tools Are Needed To Fix Cabinets?
Common tools include a drill, screws, wall anchors, level, and a stud finder for installation.
Can Cabinets Be Mounted On Plasterboard?
Yes, cabinets can be mounted on plasterboard using appropriate anchors and techniques.
How To Find Studs Behind Plasterboard?
Use a stud finder to locate studs behind plasterboard walls for secure cabinet mounting.
What Type Of Screws For Plasterboard?
Use plasterboard screws or toggle bolts for secure attachment of cabinets to plasterboard.
How To Ensure Cabinets Are Level?
Use a spirit level during installation to ensure cabinets are perfectly level and aligned.
Do I Need Wall Anchors For Cabinets?
Yes, wall anchors are necessary when attaching cabinets to plasterboard without studs.
How To Fill Holes In Plasterboard?
Fill holes with plaster or wall filler, sand smooth, and repaint to match the wall.
What Is The Weight Limit For Plasterboard?
Plasterboard typically supports up to 20kg per meter; use strong anchors for heavier loads.
How To Mark Cabinet Positions On Plasterboard?
Mark cabinet positions with a pencil and use a level to ensure correct alignment before drilling.
Conclusion
Securing kitchen cabinets to a plasterboard wall is simple with the right steps. Follow our guide for a sturdy installation. Proper tools and techniques ensure your cabinets stay firmly in place. Tackle your project confidently and enjoy a functional, beautiful kitchen space.
Happy renovating!

