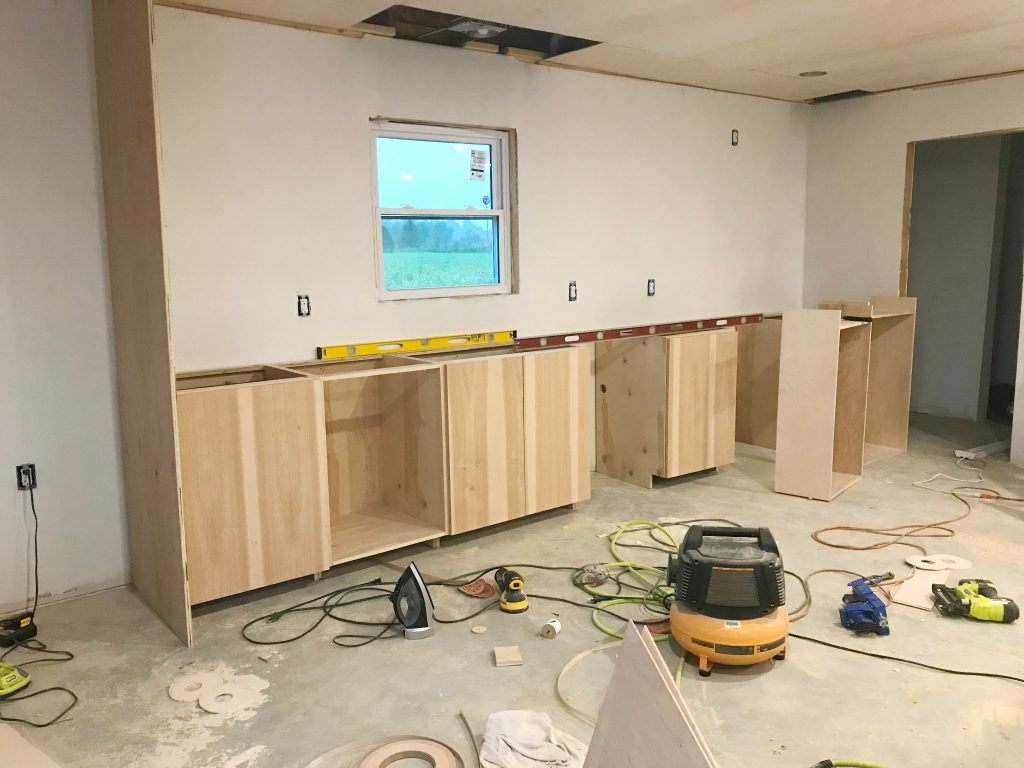
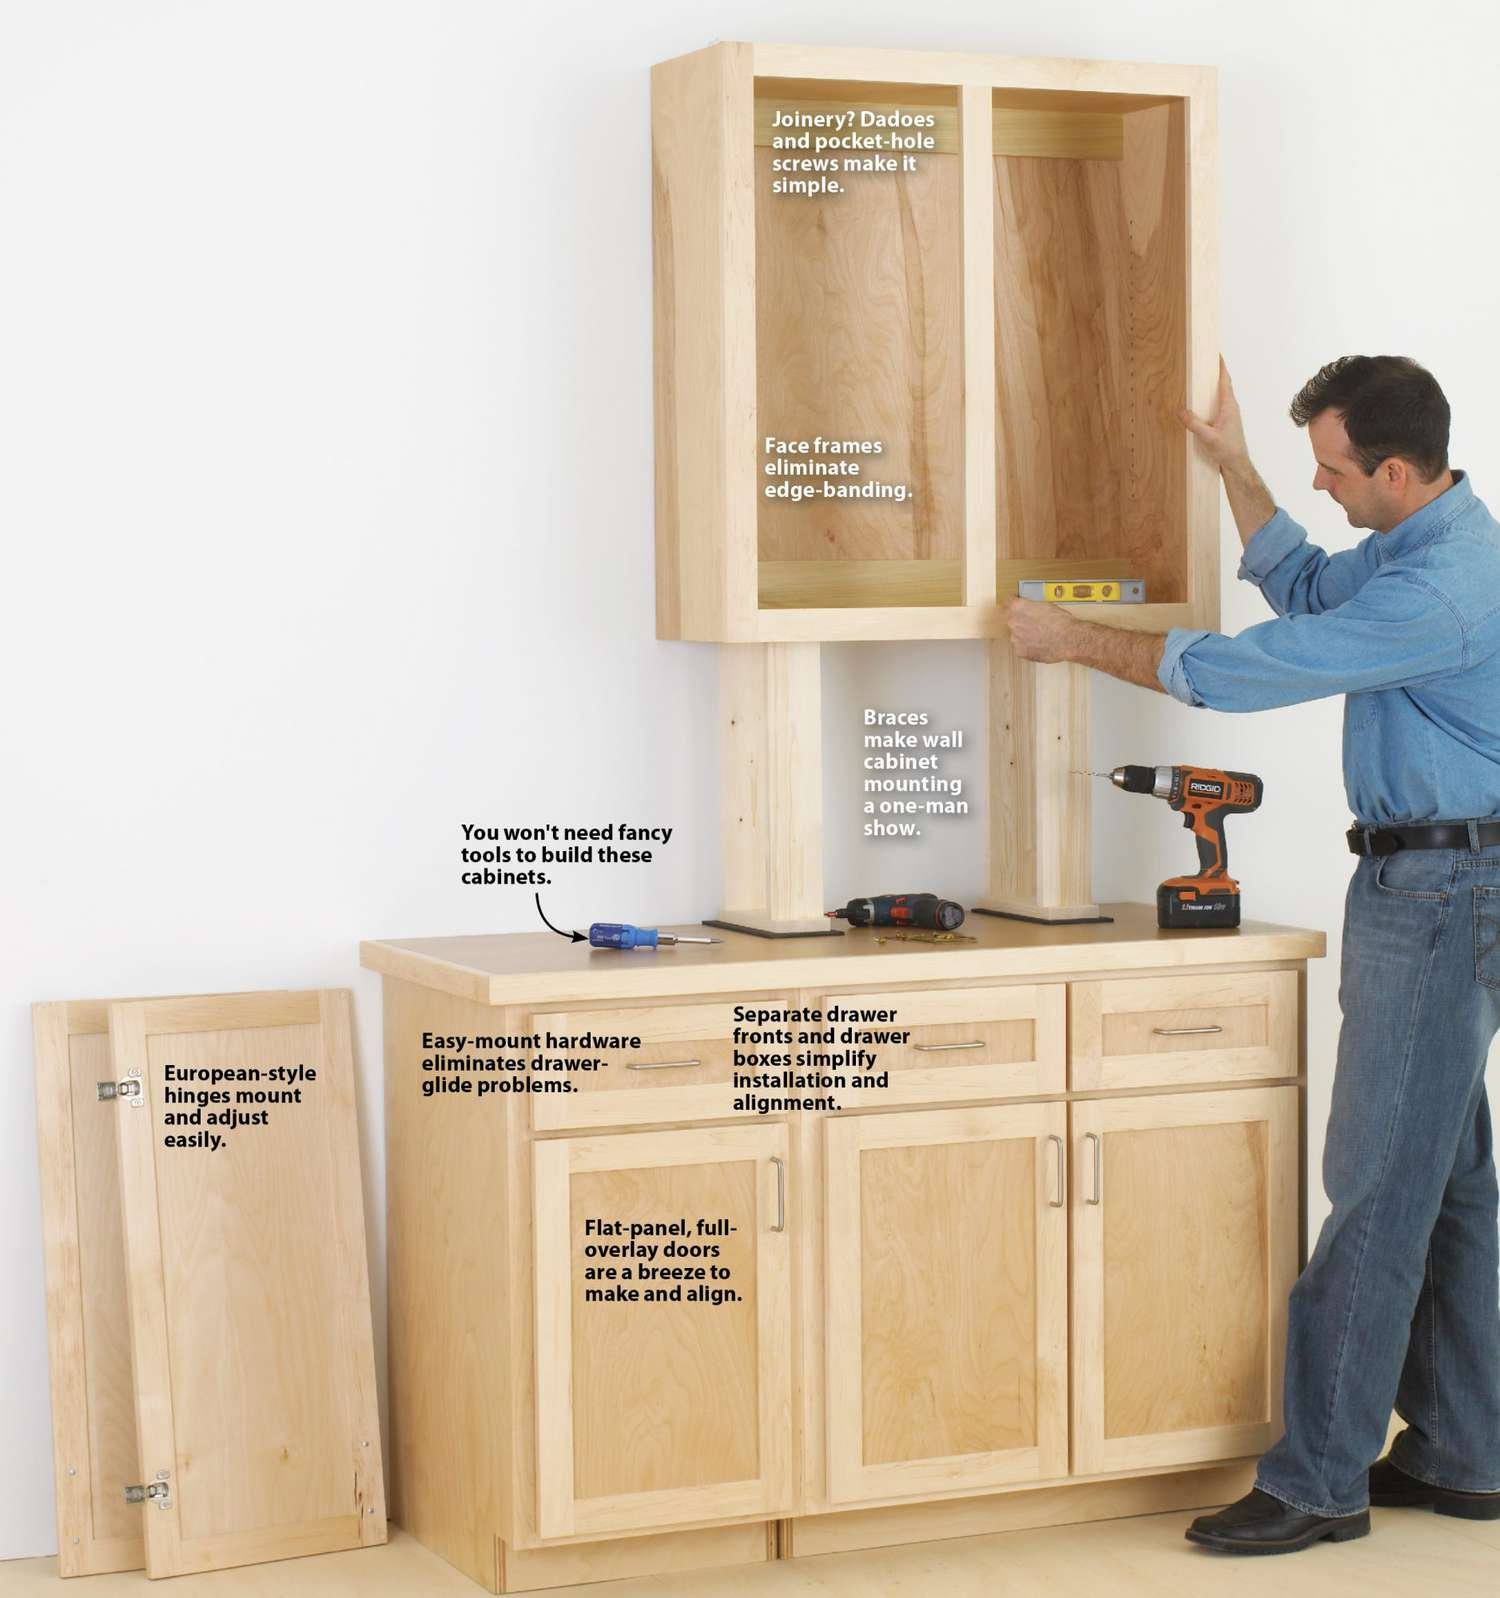
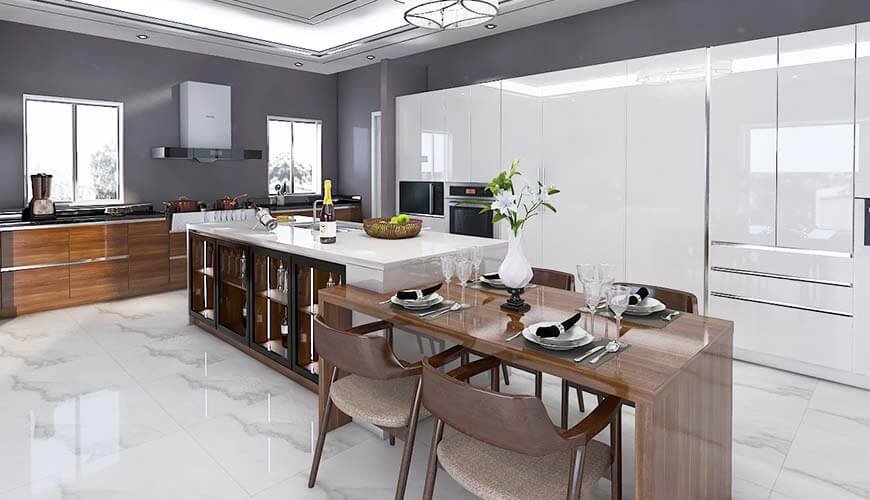
To build kitchen cabinets, measure your space and cut plywood to size. Assemble the pieces using screws and wood glue.
Building your own kitchen cabinets can be a rewarding DIY project. This task requires basic carpentry skills and the right tools. Start by measuring your kitchen space to determine the dimensions of the cabinets. Use high-quality plywood for durability and precision.
Cut the plywood according to your measurements, ensuring each piece fits perfectly. Assemble the cabinet boxes by attaching the sides, top, and bottom with screws and wood glue. Add shelves and doors to complete your custom cabinets. This process not only saves money but also allows for personalized design to match your kitchen’s aesthetic. With patience and attention to detail, you can create beautiful, functional kitchen cabinets.
Table of Contents
ToggleTools And Materials
Building kitchen cabinets is an exciting DIY project. You need the right tools and materials to get started. This guide will help you gather everything you need.
Essential Tools
Having the right tools makes the job easier and more enjoyable. Here are the essential tools you’ll need:
- Measuring Tape: Accurate measurements are crucial.
- Drill: For making holes and driving screws.
- Circular Saw: Essential for cutting wood panels.
- Clamps: Hold pieces together while you work.
- Level: Ensures everything is straight.
- Screwdriver: Handy for tightening screws.
- Sanding Block: Smoothens the wood surfaces.
Material Selection
Choosing the right materials ensures durability and aesthetics. Here’s what you’ll need:
| Material | Description |
|---|---|
| Plywood | Strong and easy to work with. |
| Solid Wood | Ideal for cabinet frames and doors. |
| Hinges | Choose durable and rust-resistant hinges. |
| Screws | Use for assembling and attaching parts. |
| Wood Glue | Provides extra strength to joints. |
| Paint or Stain | Finish your cabinets to match your kitchen. |

Planning And Design
Building your own kitchen cabinets can be a rewarding project. Proper planning and design are crucial to ensure success. You need to measure your space accurately and choose a design that fits your kitchen style and needs. Let’s break down the process.
Measuring Your Space
Accurate measurements are essential for building kitchen cabinets. Follow these steps:
- Use a tape measure to record the height, width, and depth of the space.
- Measure from floor to ceiling for tall cabinets.
- Consider the location of electrical outlets and plumbing.
- Note any obstacles like windows, doors, or appliances.
Keep a record of these measurements. They will guide you through the design process.
Choosing A Design
Selecting the right design can make or break your kitchen project. Here are some tips:
- Style: Decide if you want a modern, traditional, or rustic look.
- Functionality: Consider your storage needs and how you use your kitchen.
- Materials: Choose materials that are durable and easy to clean.
- Color: Pick colors that complement your kitchen’s existing décor.
| Style | Materials | Colors |
|---|---|---|
| Modern | Laminate, Stainless Steel | White, Black, Gray |
| Traditional | Wood, MDF | Brown, Beige, Cream |
| Rustic | Reclaimed Wood, Stone | Earth Tones, Greens |
Remember, your design should reflect your personal style. Make sure it is functional and beautiful. Happy planning!
Cutting And Preparing Wood
Cutting and preparing wood is a crucial step in building kitchen cabinets. This process ensures that all pieces fit together well. Follow these steps for precise and clean cuts.
Measuring And Marking
Accurate measuring and marking are essential. Use a reliable measuring tape. Make sure to measure twice and cut once.
- Measure each piece according to your design.
- Mark the wood with a pencil for clear guide lines.
- Use a straight edge for perfect lines.
For complex shapes, consider using a template. Templates ensure consistency across multiple pieces.
Cutting Techniques
Different cuts require different tools. Always choose the right tool for the job.
| Tool | Best For |
|---|---|
| Circular Saw | Straight cuts |
| Jigsaw | Curved cuts |
| Table Saw | Ripping large boards |
Follow these steps for clean cuts:
- Secure the wood on a stable surface.
- Align the saw blade with your marked line.
- Start the saw and let it reach full speed.
- Guide the saw steadily along the line.
- Finish the cut and smooth edges with sandpaper.
Always wear safety goggles and gloves. Safety should be your top priority during cutting.

Building The Cabinet Frame
Building the cabinet frame is the foundation of your kitchen cabinet project. The frame provides structure and stability. Proper assembly ensures durability and longevity. Below are steps to build a sturdy cabinet frame.
Assembling The Pieces
Start by gathering all the necessary materials. You will need:
- Plywood sheets
- Wood screws
- Wood glue
- Clamps
- Measuring tape
- Drill
First, measure and cut the plywood sheets to the desired size. Make sure your measurements are accurate. Use a table saw for straight cuts.
Next, apply wood glue to the edges of the pieces. Place the pieces together. Use clamps to hold them in place. Allow the glue to dry for at least an hour.
Once the glue is dry, use wood screws to secure the pieces. Drill pilot holes to prevent the wood from splitting. Screw the pieces together tightly.
Reinforcing The Frame
Reinforcing the frame adds extra strength. This ensures your cabinet will last for years. Follow these steps to reinforce the frame:
- Install corner braces at all four corners.
- Use metal brackets to join the sides and bottom.
- Add a center support if the cabinet is wide.
- Double-check all screws and brackets. Tighten if necessary.
Reinforcing the frame provides additional stability. It prevents the cabinet from wobbling.
Below is a table summarizing the materials and tools needed:
| Materials | Tools |
|---|---|
| Plywood sheets | Table saw |
| Wood screws | Drill |
| Wood glue | Clamps |
| Corner braces | Measuring tape |
| Metal brackets | Screwdriver |
Building a strong cabinet frame is essential. Follow these steps for a durable and stable kitchen cabinet.
Adding Shelves And Dividers
Adding shelves and dividers to your kitchen cabinets can make a big difference. It helps to keep your kitchen organized and efficient. With the right tools and some patience, you can easily install these yourself. Let’s look at how to add shelves and dividers to your kitchen cabinets.
Installing Shelves
First, gather your tools. You will need a drill, screws, a level, and shelf brackets. Measure the space inside your cabinet. Mark where you want each shelf to go. Use a level to ensure your marks are straight. This will make sure your shelves are even.
Step-by-step guide:
- Measure the width and depth of your cabinet.
- Cut your shelves to fit these measurements.
- Mark the height for each shelf inside the cabinet.
- Drill pilot holes for the shelf brackets.
- Attach the brackets using screws.
- Place the shelves on the brackets and secure them.
Creating Dividers
Dividers help to keep items separated and easy to find. They are great for organizing pots, pans, and lids. You will need wood pieces, a saw, a tape measure, and wood glue.
Here’s how to create dividers:
- Measure the height and depth of your cabinet.
- Cut wood pieces to match these dimensions.
- Arrange the pieces inside the cabinet to form sections.
- Use wood glue to attach the pieces in place.
Tips for successful installation:
- Double-check measurements before cutting.
- Use a level to keep everything straight.
- Allow glue to dry completely before using the dividers.
By following these steps, you can build functional and stylish kitchen cabinets. Your kitchen will be more organized and efficient. Happy building!
Attaching Doors And Drawers
Building kitchen cabinets is an exciting project. Attaching doors and drawers is a critical step. This part ensures your cabinets are functional and stylish. Let’s dive into the process of installing hinges and assembling drawers.
Hinge Installation
First, choose the right hinges for your cabinet doors. There are various types, such as:
- Concealed hinges
- Overlay hinges
- Inset hinges
Mark the hinge positions on the doors and cabinet frame. Use a pencil or a marker. Ensure they are aligned properly.
Drill pilot holes for the screws. This prevents the wood from splitting. Attach the hinges to the doors first. Use a screwdriver for this task.
Next, attach the door to the cabinet frame. Hold the door in place and secure the hinges with screws. Check if the door opens and closes smoothly. Adjust the hinges if needed.
Drawer Assembly
Begin by gathering all the drawer parts. This includes the front, back, sides, and bottom panels.
Connect the side panels to the back panel. Use screws or nails for this step. Ensure the joints are tight.
Slide the bottom panel into the grooves of the side and back panels. Secure it in place with glue or screws.
Attach the front panel last. Align it with the sides and bottom panel. Secure it with screws.
Install the drawer slides inside the cabinet. Follow the manufacturer’s instructions. Attach the corresponding slides to the drawer sides.
Finally, insert the drawer into the cabinet. Ensure it glides smoothly. Adjust the slides if necessary.
Finishing Touches
The finishing touches are crucial in building kitchen cabinets. These details bring out the beauty and functionality of your cabinets.
Sanding And Painting
Sanding smooths the surface of the cabinets. This step is necessary before painting. Use fine-grit sandpaper for the best results. Sand in the direction of the wood grain. Wipe off dust with a damp cloth.
After sanding, it’s time to paint. Choose a high-quality paint for durability. Use a brush for corners and a roller for flat surfaces. Apply a primer first. Let it dry completely. Then, apply at least two coats of paint. Let each coat dry before adding the next.
Adding Hardware
Adding hardware to your cabinets is the next step. This includes handles, knobs, and hinges. Choose hardware that matches your kitchen style.
Here is a simple table to help you choose the right hardware:
| Cabinet Style | Hardware Type |
|---|---|
| Modern | Stainless Steel or Matte Black |
| Traditional | Brass or Bronze |
| Farmhouse | Iron or Wood |
Follow these steps to install hardware:
- Measure where each piece will go.
- Mark the spots with a pencil.
- Drill pilot holes at the marks.
- Screw in the handles, knobs, or hinges.
With sanding, painting, and adding hardware, your kitchen cabinets will look amazing!
Installation In Your Kitchen
Installing kitchen cabinets can be a rewarding project. It adds functionality and style to your home. With the right tools and instructions, you can do it yourself. This guide will help you through the process, step by step.
Securing Cabinets
First, mark the wall where your cabinets will go. Use a level to ensure straight lines. Locate the studs in the wall using a stud finder. Mark these spots as well. Studs provide the necessary support.
Next, start with the upper cabinets. This makes it easier to work. Lift the cabinet into position. Use screws to secure the cabinet to the studs. Have a helper hold the cabinet steady.
Repeat this process for all upper cabinets. Ensure each cabinet is level and aligned. Once the upper cabinets are in place, move to the lower cabinets. Follow the same steps: mark, level, and secure.
Final Adjustments
After all cabinets are secured, check for gaps. Use shims to fill any spaces. This keeps your cabinets steady and level.
Next, install the doors and drawers. Make sure they open and close smoothly. Adjust the hinges if needed. Align the doors so they look uniform.
Finally, add the hardware. This includes handles and knobs. Use a template to ensure consistent placement. Tighten all screws and clean up the workspace.
By following these steps, you will have a beautiful and functional kitchen. Enjoy the satisfaction of a job well done!
Frequently Asked Questions
What Tools Do I Need To Build Cabinets?
You need a saw, drill, clamps, sander, measuring tape, and screws.
How Long Does It Take To Build Cabinets?
It usually takes a weekend, depending on your skill level.
What Wood Is Best For Kitchen Cabinets?
Plywood is durable and cost-effective, making it ideal for cabinets.
Can Beginners Build Kitchen Cabinets?
Yes, beginners can build cabinets with proper tools and instructions.
How Much Do Diy Kitchen Cabinets Cost?
DIY kitchen cabinets cost between $200 to $1,000, depending on materials.
Should I Paint Or Stain My Cabinets?
Painting offers a modern look, while staining highlights natural wood.
How Do I Install Cabinet Hardware?
Mark drill points, drill holes, and screw in the hardware securely.
What Are Standard Kitchen Cabinet Sizes?
Standard base cabinets are 24 inches deep and 34. 5 inches tall.
Do I Need A Blueprint For Cabinets?
A blueprint ensures accurate measurements and a smooth building process.
How Do I Ensure Cabinets Are Level?
Use a spirit level and adjustable legs to ensure cabinets are level.
Conclusion
Building kitchen cabinets can be a rewarding DIY project. With the right tools and steps, anyone can do it. Follow our guide closely to achieve professional results. Remember, practice makes perfect. Enjoy the process and soon you’ll have beautiful, custom kitchen cabinets to enhance your home.
Happy building!


