The cheapest way to make kitchen cabinets is by using plywood and basic tools. DIY assembly can further reduce costs.
Building affordable kitchen cabinets doesn’t have to be complicated. By choosing cost-effective materials like plywood, you can significantly cut down expenses. Opting for ready-to-assemble (RTA) kits also helps save money without sacrificing quality. Using basic tools and simple designs can make the project manageable even for beginners.
Investing time in DIY assembly will reduce labor costs and give you a sense of accomplishment. Painting or staining the cabinets yourself can add a personal touch while keeping expenses low. With careful planning and a bit of effort, you can create stylish and functional kitchen cabinets on a budget.

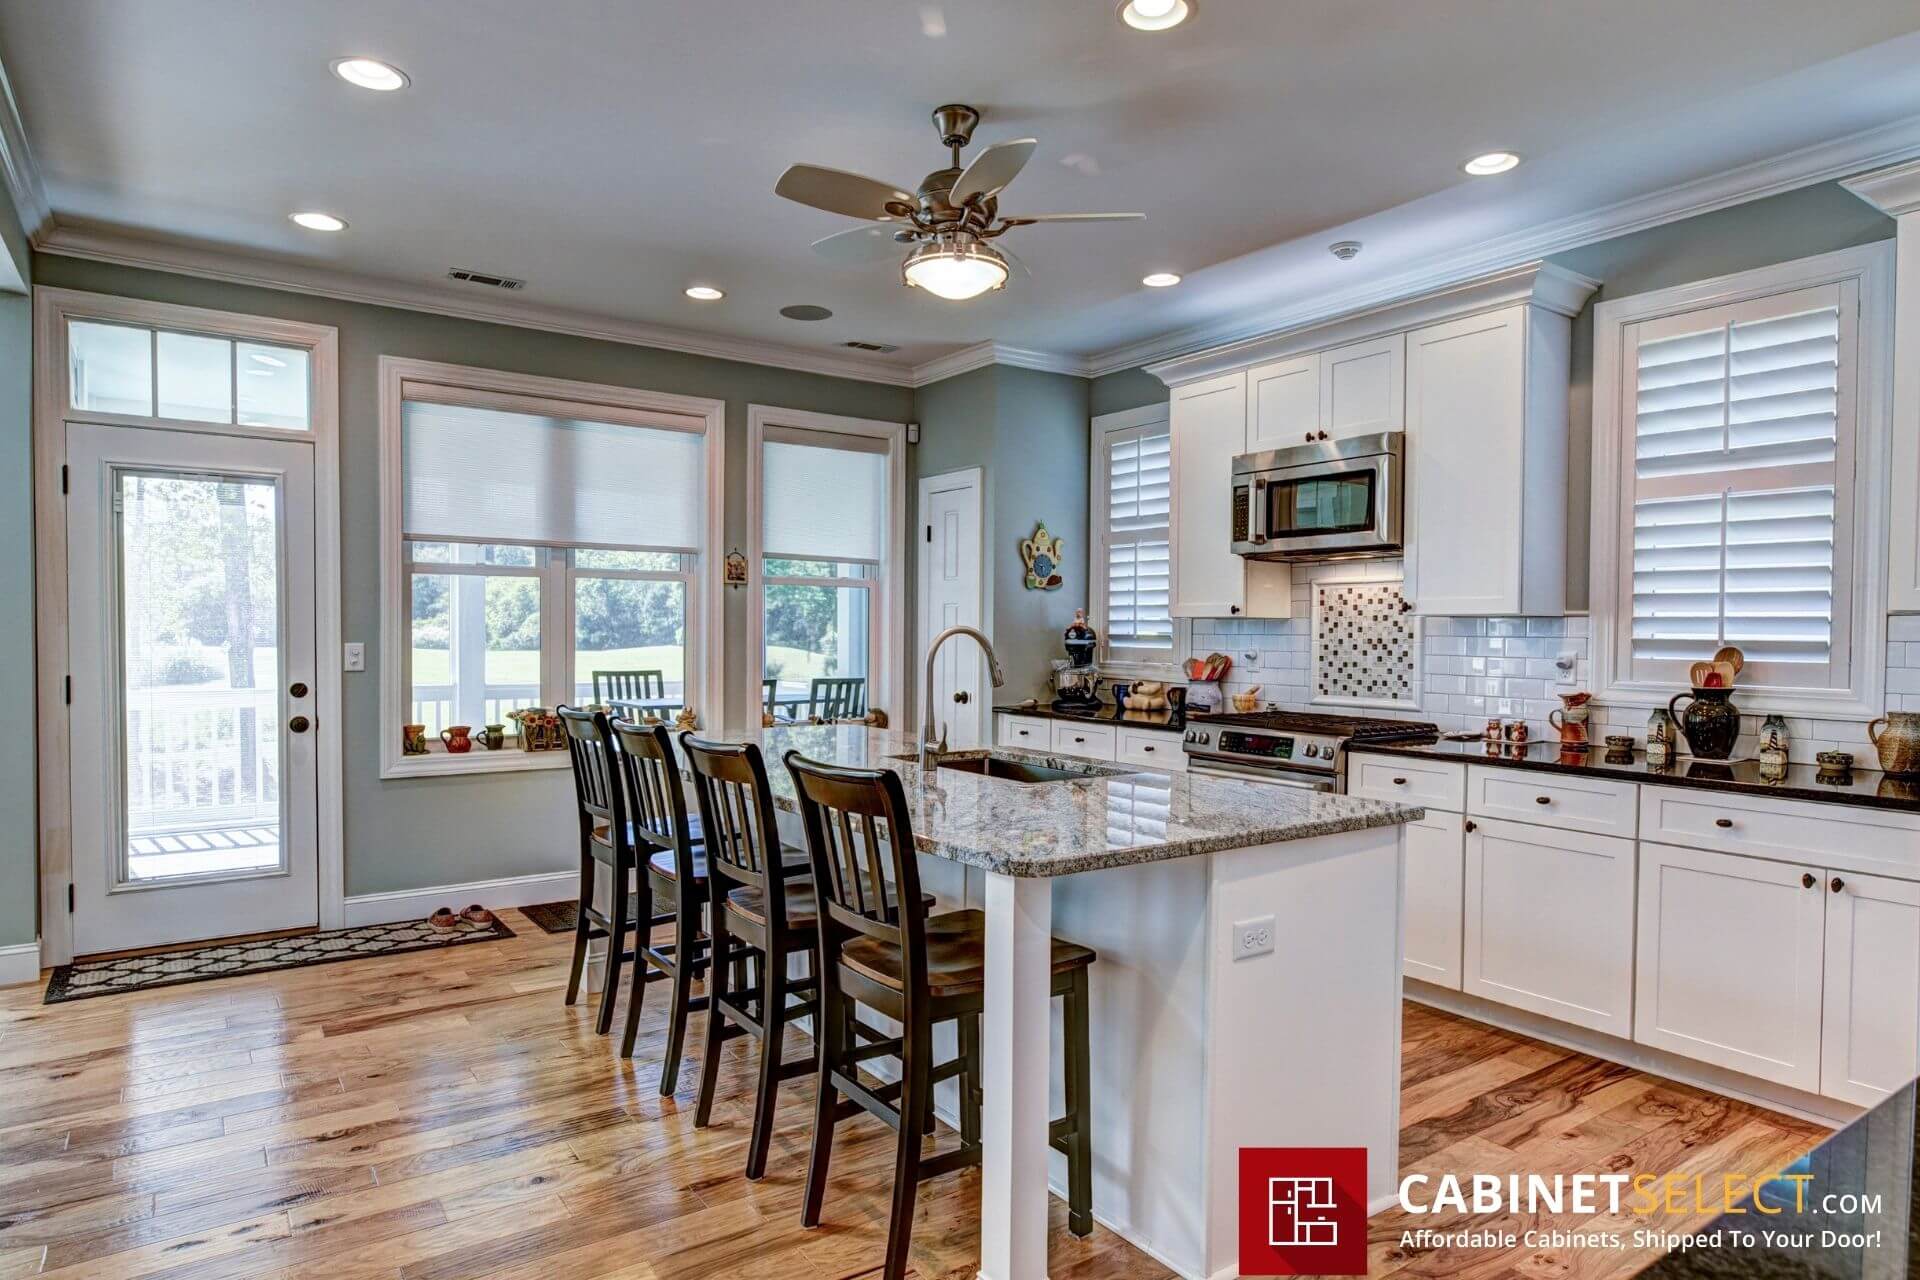
Credit: cabinetselect.com
Table of Contents
TogglePlanning Your Project
Planning is the first step in creating affordable kitchen cabinets. A well-thought-out plan saves time and money. Let’s dive into how you can plan your project effectively.
Setting A Budget
Setting a budget is crucial. It prevents overspending and keeps the project on track. Here’s how you can set a realistic budget:
- List all necessary materials and tools.
- Research prices online or at local stores.
- Compare different suppliers for the best deals.
Ensure to include a small buffer for unexpected costs. This ensures you stay within your budget.
Choosing Materials
Choosing the right materials can significantly reduce costs. Here are some affordable options:
| Material | Cost | Benefits |
|---|---|---|
| Plywood | $$ | Durable and versatile |
| MDF | $ | Cheap and easy to work with |
| Laminate | $$ | Easy to clean, many designs |
Plywood is durable and versatile. MDF is cheap and easy to work with. Laminate offers many designs and is easy to clean.
Choose materials based on your budget and needs. This ensures you get the best value for your money.

Essential Tools
Building kitchen cabinets on a budget is possible. The right tools make the process easier and more efficient. Here, we explore the essential tools you’ll need. We’ll also look at optional tools for a better finish.
Basic Tools Needed
These basic tools are necessary for building kitchen cabinets:
- Measuring Tape: Accurate measurements are crucial for a perfect fit.
- Screwdriver: Use both flathead and Phillips for various screws.
- Hammer: Needed for nailing parts together.
- Drill: For making holes and driving screws.
- Clamps: Hold pieces steady while you work.
- Level: Ensures everything is straight and balanced.
Optional Tools For Better Finish
These tools are not essential but help achieve a professional look:
- Power Sander: Smooths surfaces quickly and efficiently.
- Miter Saw: Makes precise angled cuts for molding and trim.
- Table Saw: Provides accurate, straight cuts for large panels.
- Pocket Hole Jig: Creates strong, hidden joints.
- Router: Adds decorative edges and cuts grooves.
Designing Your Cabinets
Designing your kitchen cabinets can save you money and add personal style. This process involves measuring your space and sketching your design. By doing these steps yourself, you can ensure your cabinets fit perfectly and meet your needs.
Measuring Your Space
The first step in designing your cabinets is to measure your kitchen space. Accurate measurements are crucial. Use a tape measure to record the height, width, and depth of the area where the cabinets will go. Write these measurements down.
Remember to measure:
- The total wall length
- Height from floor to ceiling
- Depth from wall to front edge
Measure twice to be sure. Even small errors can cause big problems later.
Sketching Your Design
After measuring, sketch your cabinet design. Use graph paper for precision. Draw to scale using your measurements.
Consider these elements while sketching:
- Number of shelves
- Drawer locations
- Door styles
Label each part clearly. This sketch will guide your building process.
Keep your design simple to save money. Use standard sizes and shapes. Custom designs can be more expensive.
| Element | Standard Size | Notes |
|---|---|---|
| Base Cabinet Height | 34.5 inches | Includes countertop |
| Upper Cabinet Depth | 12 inches | Standard for most kitchens |
| Shelf Spacing | 12-15 inches | Adjust based on storage needs |
Planning your design carefully can help you create functional and beautiful cabinets without breaking the bank.
Selecting Materials
Choosing the right materials is crucial for making affordable kitchen cabinets. The materials impact the cost, durability, and style of your cabinets. Let’s explore some options that won’t break the bank.
Wood Types
Wood is a classic choice for kitchen cabinets. It’s durable and looks great. Here are some budget-friendly wood types:
| Wood Type | Cost | Pros | Cons |
|---|---|---|---|
| Pine | Low | Soft, easy to work with | Can dent easily |
| Birch | Medium | Strong, smooth finish | Can be hard to stain evenly |
| Oak | Medium | Hard, durable | Heavy, may need extra support |
Alternatives To Wood
Wood isn’t the only option for cabinets. Consider these alternatives:
- Laminate: Affordable and comes in many styles. It’s easy to clean but can chip.
- Thermofoil: A vinyl layer over MDF. It mimics wood but is cheaper. It’s resistant to moisture but can peel over time.
- Plywood: Layers of wood veneer. It’s strong and less likely to warp. It’s cost-effective but edges need finishing.
Choosing the right material can save you money. It can also give you a beautiful kitchen without the high cost.
Building The Frames
Building the frames for your kitchen cabinets is a crucial step. This process involves cutting the wood and assembling the frames. Here’s how you can do it effectively and cost-efficiently.
Cutting The Wood
Start by measuring the dimensions of your kitchen space. Use these measurements to cut the wood accurately. You will need:
- A tape measure
- A saw
- Wood pieces
- A pencil
Mark your measurements on the wood with a pencil. Ensure the lines are straight. Use a saw to cut along the marked lines. Precise cuts are essential for a perfect fit.
Assembling The Frames
With the wood pieces cut, you can start assembling the frames. Follow these steps:
- Lay out the wood pieces on a flat surface.
- Use wood glue to join the pieces together.
- Hold the pieces in place with clamps until the glue dries.
- Reinforce the joints with screws for extra strength.
Check if the frames are square by measuring the diagonals. They should be equal. If not, adjust accordingly.
| Tool | Purpose |
|---|---|
| Saw | Cutting wood pieces |
| Wood Glue | Joining wood pieces |
| Clamps | Holding pieces while glue dries |
| Screws | Reinforcing joints |
By following these steps, you will have sturdy kitchen cabinet frames. This is a cost-effective way to achieve professional-quality results.
Installing The Cabinets
Installing kitchen cabinets can be affordable with the right steps. This section will guide you through securing cabinets to walls and aligning doors and drawers for a professional look.
Securing To Walls
First, locate the wall studs using a stud finder. Mark their positions with a pencil. This ensures your cabinets have sturdy support.
- Hold the cabinet against the wall.
- Use a level to ensure it is straight.
- Drill pilot holes through the back of the cabinet and into the studs.
- Secure the cabinet with screws. Make sure they are tight.
Repeat these steps for each cabinet. Always double-check the level before securing each one.
Aligning Doors And Drawers
Proper alignment of doors and drawers is crucial. It gives the kitchen a polished appearance.
- Attach the doors to the cabinet frames using hinges.
- Adjust the hinges to align the doors. Use a screwdriver for fine adjustments.
- Ensure the doors are level and evenly spaced.
- Install the drawer slides inside the cabinet frames.
- Attach the drawers to the slides. Make sure they move smoothly.
- Align the drawer fronts. Check for even gaps.
Use a level to verify everything is straight. Making small adjustments can make a big difference.
Finishing Touches
The finishing touches on your kitchen cabinets can make a big difference. These small details can elevate the overall look of your cabinets. Let’s dive into two key areas: painting or staining and adding hardware.
Painting Or Staining
Choosing between painting or staining depends on the look you want. Painting is great for a clean, modern look. Staining, on the other hand, highlights the natural wood grain.
Here are some steps for both options:
| Step | Painting | Staining |
|---|---|---|
| Preparation | Sand the surfaces. Clean with a damp cloth. | Sand lightly. Use a wood conditioner. |
| Application | Apply a primer. Use a paintbrush or roller. | Apply stain with a cloth. Wipe off excess. |
| Finishing | Let dry. Apply a second coat if needed. | Let dry. Apply a clear sealer. |
Adding Hardware
Adding new hardware can change the look of your cabinets. Choose knobs and pulls that match your kitchen style. Here are some steps to follow:
- Measure the placement of each knob or pull.
- Mark the spots with a pencil.
- Drill holes at the marked spots.
- Attach the knobs or pulls with screws.
Consider using a template for even spacing. Mix and match styles for a unique look. Choose durable materials like metal or ceramic for long-lasting results.

Maintenance Tips
Proper maintenance of your kitchen cabinets ensures they stay beautiful and functional. Regular upkeep can save you time and money in the long run. Follow these simple tips to keep your cabinets looking their best.
Regular Cleaning
Regular cleaning helps to maintain the appearance and longevity of your kitchen cabinets.
- Dust your cabinets weekly using a soft cloth.
- Use a mild soap and water solution for cleaning.
- Avoid harsh chemicals that can damage the finish.
- Wipe spills immediately to prevent stains and damage.
For deeper cleaning, use a mixture of vinegar and water. This natural solution cleans effectively without harming the cabinet surface.
Repairing Minor Damages
Minor damages, if addressed promptly, can prevent bigger problems.
- Fix scratches using touch-up markers or wax sticks.
- Tighten loose hinges to keep doors aligned.
- Replace damaged handles and knobs to maintain functionality.
- Fill small holes with wood filler and sand smoothly.
Keep a repair kit handy. It should include screwdrivers, touch-up markers, and wood filler.
Frequently Asked Questions
How To Save On Kitchen Cabinets?
Opt for ready-to-assemble (RTA) cabinets to save money.
What Materials Are Cheapest For Cabinets?
Plywood and medium-density fiberboard (MDF) are budget-friendly options.
Can I Repaint Old Cabinets?
Yes, repainting old cabinets is a cost-effective solution.
Are Stock Cabinets Budget-friendly?
Stock cabinets are generally cheaper than custom-made ones.
Is Diy Cabinet Installation Cheaper?
Installing cabinets yourself can save you labor costs.
Where To Find Affordable Cabinets?
Look for discounts at big-box stores and online retailers.
Can I Use Recycled Materials?
Yes, using recycled materials can significantly reduce costs.
Are Open Shelves Cheaper Than Cabinets?
Open shelves are often more affordable than traditional cabinets.
What Tools Are Needed For Diy Cabinets?
Basic tools like a drill, screwdriver, and measuring tape are essential.
How To Maintain Budget Cabinets?
Regular cleaning and occasional touch-ups keep budget cabinets looking good.
Conclusion
Creating affordable kitchen cabinets is within reach with the right approach. By using budget-friendly materials and DIY methods, you can achieve a stylish and functional kitchen without breaking the bank. Start your project today, and enjoy the satisfaction of a beautiful kitchen transformation that won’t strain your finances.


