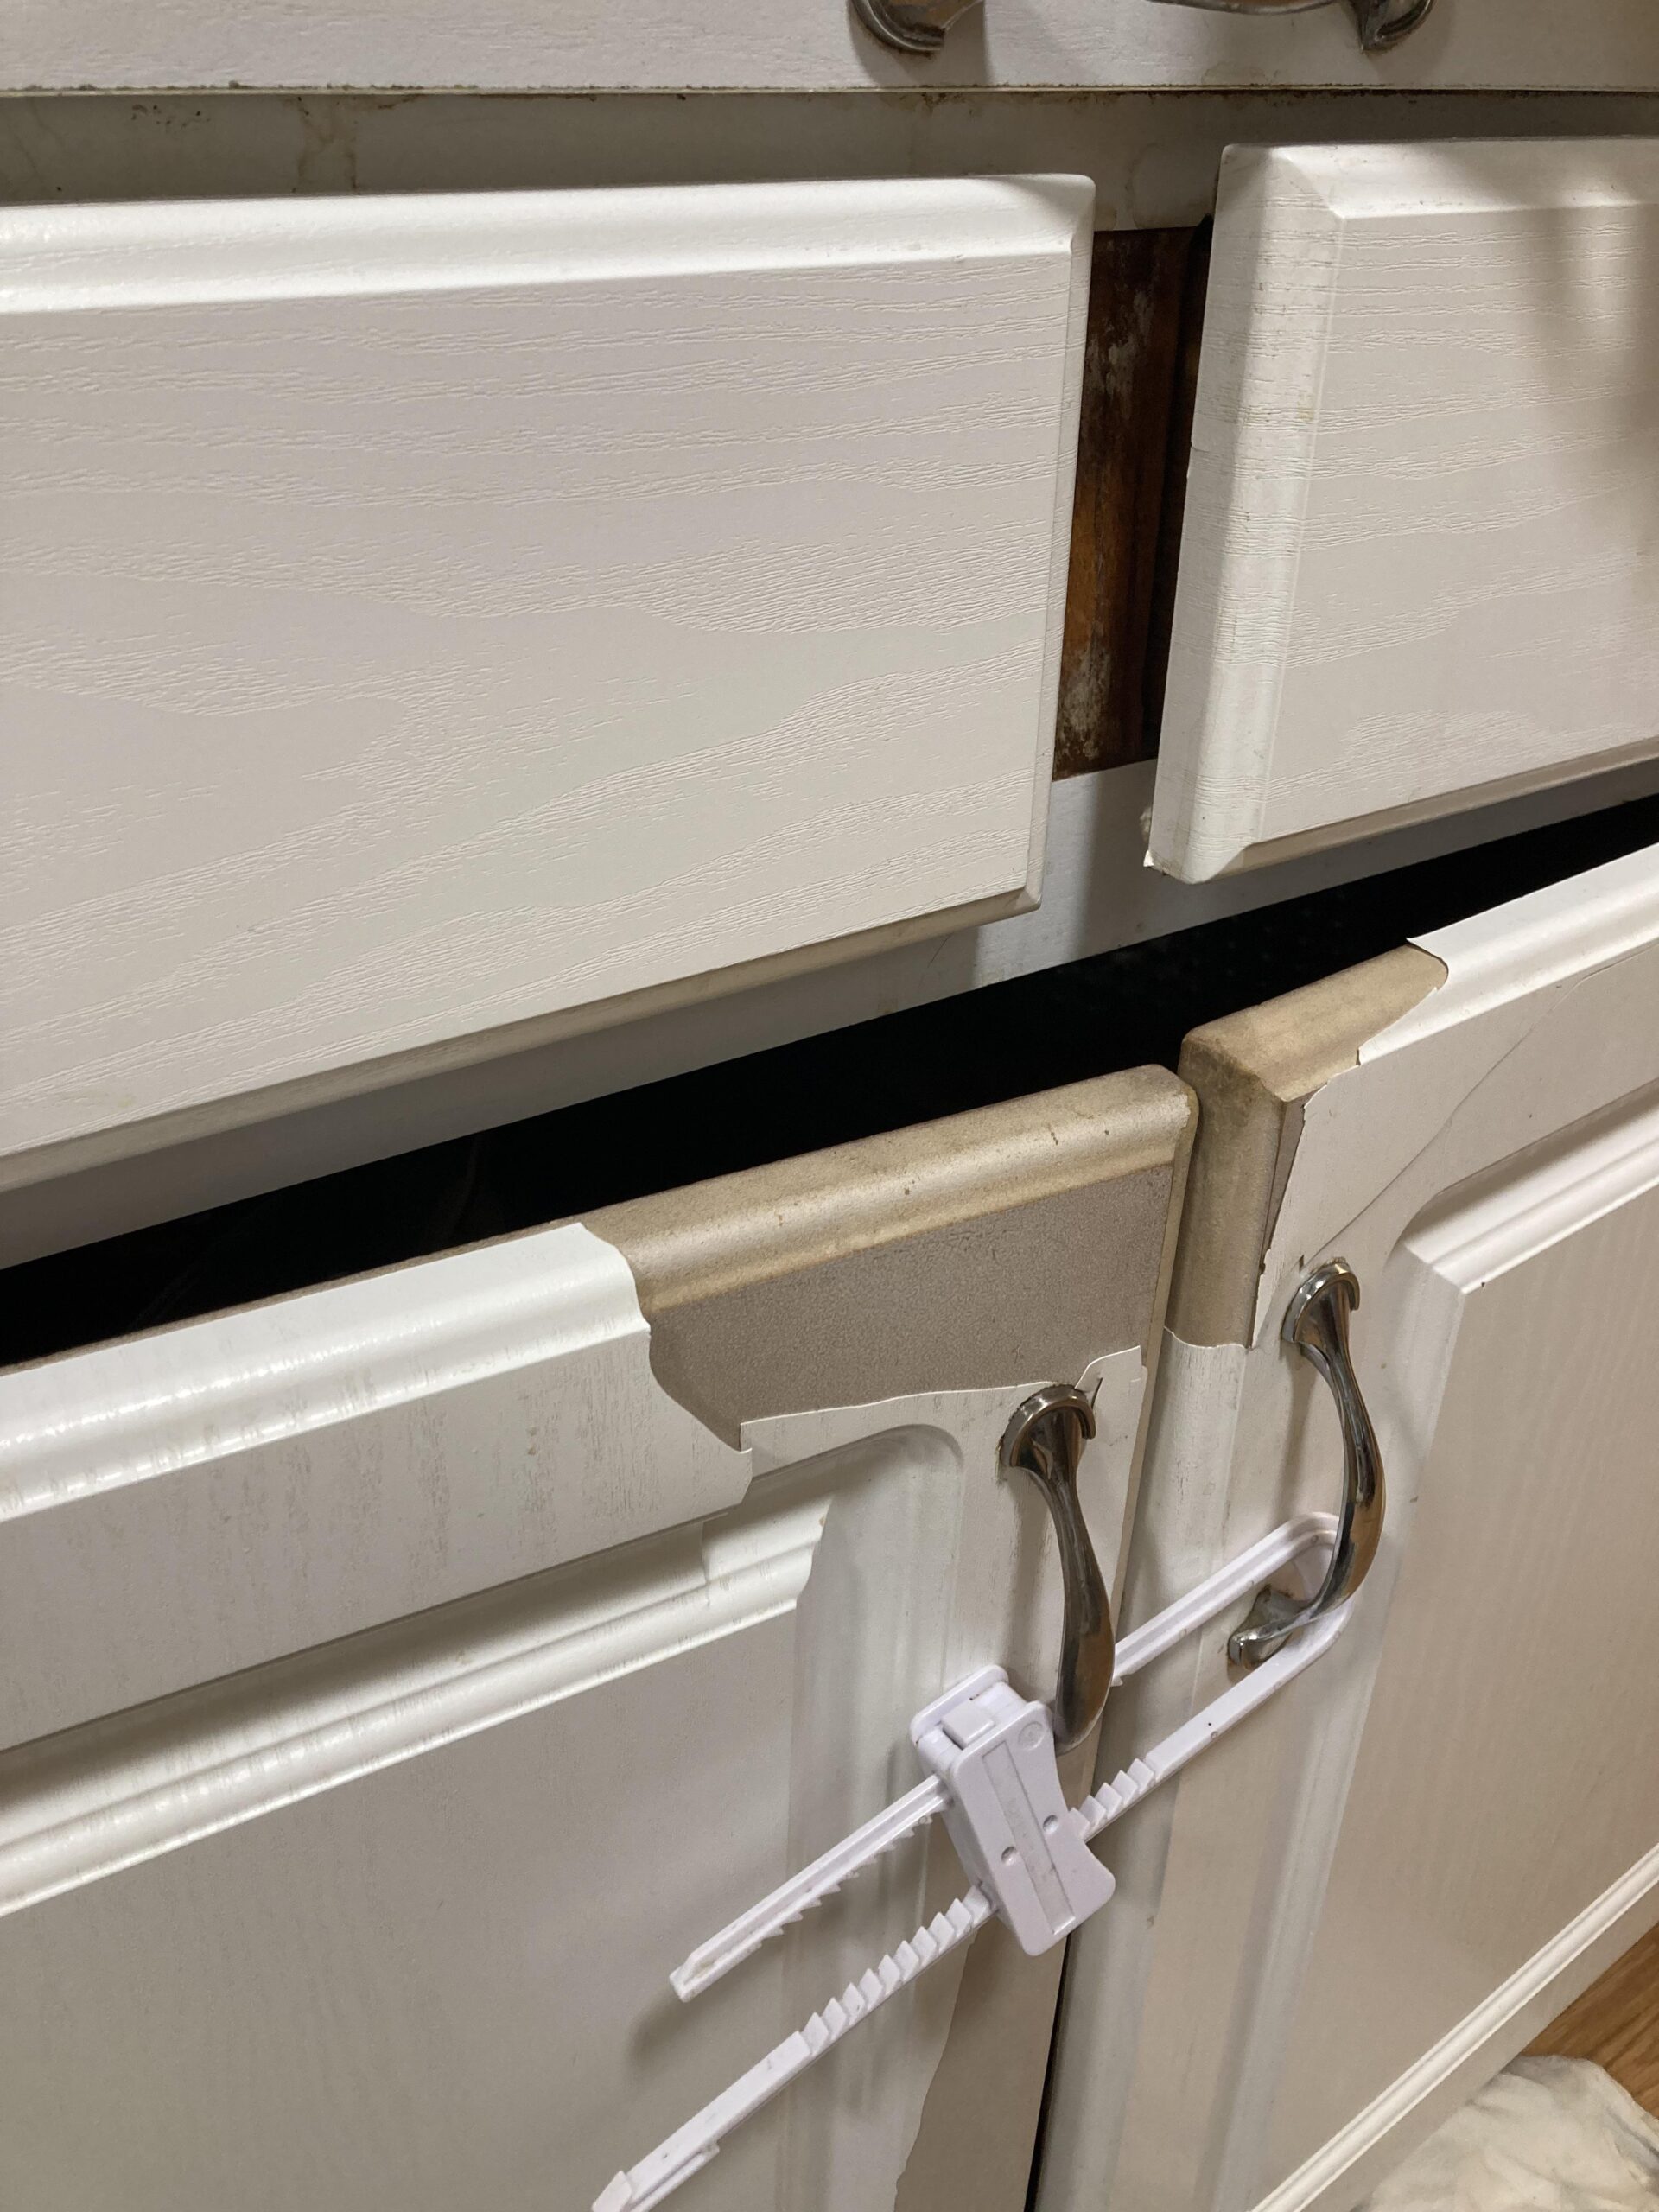
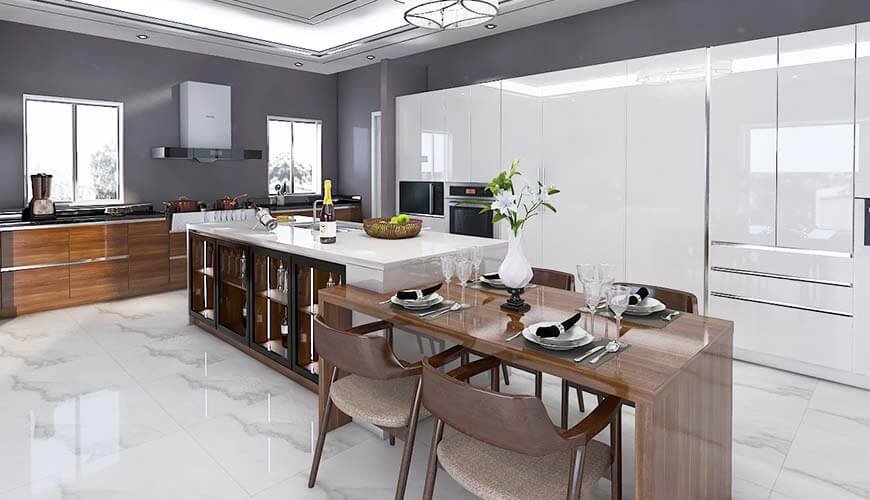
Yes, you can wrap kitchen cabinets. Cabinet wrapping is a cost-effective way to update your kitchen’s appearance.
Cabinet wrapping involves covering your existing cabinets with a durable vinyl film. This technique offers a fresh look without the expense of a full renovation. It is an ideal solution for homeowners seeking a quick and affordable kitchen makeover. The vinyl film comes in various colors and textures, allowing you to customize your kitchen to match your style.
Wrapping also protects your cabinets from wear and tear, extending their lifespan. The process is relatively simple and can often be completed in a day or two. Whether you’re aiming for a modern, sleek look or a classic, timeless design, wrapping your kitchen cabinets can achieve the desired effect efficiently.

Credit: m.youtube.com
Table of Contents
ToggleIntroduction To Wrapping Cabinets
Transforming your kitchen can be easy and budget-friendly. Wrapping kitchen cabinets is an excellent way to refresh your space. This method gives your cabinets a new look without replacing them.
What Is Cabinet Wrapping?
Cabinet wrapping involves covering your cabinets with a special material. This material can be vinyl, laminate, or another adhesive film. It comes in various colors and textures.
Here is a simple table to explain the different types of wrapping materials:
| Material | Features |
|---|---|
| Vinyl | Durable, easy to clean, and available in many designs |
| Laminate | Strong, resistant to scratches, and has a smooth finish |
Why Consider Wrapping?
There are several reasons to wrap your kitchen cabinets:
- Cost-effective: Wrapping is cheaper than replacing cabinets.
- Quick installation: It takes less time than a full renovation.
- Versatile designs: Choose from many colors and textures.
- Non-permanent: Easy to remove if you change your mind.
Wrapping cabinets can make old kitchens look new. It is a great option for renters or those on a budget.

Credit: www.tiktok.com
Materials Needed
Wrapping kitchen cabinets can give your kitchen a fresh look. To achieve the best results, you’ll need the right materials. Here’s a list of what you’ll need to get started.
Vinyl Wrap Options
There are several vinyl wrap options available for kitchen cabinets. These options include:
- Matte Vinyl Wrap
- Glossy Vinyl Wrap
- Textured Vinyl Wrap
- Wood Grain Vinyl Wrap
Matte vinyl offers a smooth, non-reflective finish. Glossy vinyl provides a shiny and reflective surface. Textured vinyl adds a unique feel to your cabinets. Wood grain vinyl gives a natural wood look without the cost.
Tools And Accessories
To wrap your cabinets, you will need several tools and accessories. These include:
| Tool | Purpose |
|---|---|
| Utility Knife | Cutting the vinyl to size |
| Squeegee | Smoothing out air bubbles |
| Measuring Tape | Ensuring accurate measurements |
| Heat Gun | Applying heat for better adhesion |
| Cleaning Solution | Preparing the cabinet surface |
A utility knife is essential for precise cuts. A squeegee helps smooth the vinyl and remove air bubbles. Use a measuring tape to get the exact dimensions of your cabinets. A heat gun helps the vinyl adhere better, especially around edges. A cleaning solution ensures the surface is free of dust and grease.
Preparation Steps
Wrapping kitchen cabinets can give your kitchen a new look. Proper preparation is key to a smooth and lasting finish. Follow these preparation steps to ensure the best results.
Cleaning Cabinets
First, clean your cabinets thoroughly. Use a mild detergent and warm water. Scrub away any grease, dirt, or grime. Rinse with clean water and let them dry completely. This step ensures the wrapping material sticks well.
Measuring And Cutting
Accurate measurements are crucial for a perfect fit. Measure each cabinet door and drawer front. Write down the dimensions. Use a ruler or measuring tape for precision. Once you have the measurements, cut the wrapping material accordingly.
Here is a simple table to help you keep track of your measurements:
| Cabinet Part | Height (inches) | Width (inches) |
|---|---|---|
| Top Left Door | 20 | 15 |
| Top Right Door | 20 | 15 |
| Bottom Left Drawer | 10 | 30 |
| Bottom Right Drawer | 10 | 30 |
Double-check your cuts before moving to the next step. Ensure all pieces are ready to wrap. This careful preparation will make the wrapping process easier and faster.
Application Process
Wrapping kitchen cabinets can breathe new life into your kitchen. The application process is straightforward but requires attention to detail. Below, we guide you through the steps to achieve a professional finish.
Applying The Wrap
Before you start, ensure all cabinet surfaces are clean and dry. This will help the adhesive stick better and last longer. Gather your tools: a utility knife, squeegee, and a heat gun.
- Measure and Cut: Measure your cabinet dimensions accurately. Cut the wrap slightly larger than the cabinet surface.
- Peel and Stick: Begin by peeling off a small section of the backing paper. Align the wrap with the edge of the cabinet.
- Apply Evenly: Use a squeegee to press the wrap onto the surface. Work from the center outwards to avoid trapping air bubbles.
Smoothing Out Bubbles
Air bubbles can ruin the appearance of wrapped cabinets. Follow these steps to smooth them out:
- Squeegee: Use the squeegee to press out any visible bubbles. Start from the center and move outward.
- Pin and Heat: For stubborn bubbles, use a pin to puncture them. Then, apply heat with a heat gun to smooth the surface.
- Reapply if Needed: If the bubble persists, carefully lift the wrap and reapply it.
By following these steps, you can achieve a smooth, professional finish. Your kitchen cabinets will look fresh and updated.
Finishing Touches
After wrapping your kitchen cabinets, the finishing touches are crucial. These steps ensure durability and a polished look. This section will guide you through the final steps.
Trimming Excess Material
Trimming excess material ensures a clean and professional finish. Use a sharp utility knife for precision. Follow these steps:
- Press the material firmly onto the cabinet surface.
- Cut along the edges using a ruler for straight lines.
- Remove any excess material carefully to avoid damaging the wrap.
Ensure all edges are smooth and aligned. This step enhances the overall appearance.
Sealing Edges
Sealing edges prevents peeling and ensures longevity. Here’s how you can do it:
- Apply a heat gun to the edges carefully.
- Press down the edges with a squeegee or a similar tool.
- Use a sealant or adhesive for extra security.
A well-sealed edge keeps the wrap intact and looking fresh. A strong seal also protects against moisture and wear.
Taking these finishing touches seriously makes your kitchen cabinets stand out. Enjoy the fresh, new look of your kitchen!

Credit: m.youtube.com
Maintenance Tips
Kitchen cabinets can be wrapped to give them a fresh look. Proper maintenance ensures they stay beautiful for years. Here are some essential tips to keep your wrapped cabinets looking new.
Cleaning Wrapped Cabinets
Regular cleaning is crucial for maintaining wrapped cabinets. Follow these steps:
- Use a soft cloth for daily dusting.
- Mix a mild detergent with water for deeper cleaning.
- Wipe the cabinets with the soapy solution.
- Dry with a clean, soft cloth.
Avoid using abrasive cleaners. They can damage the wrap.
Keep cabinets dry to prevent moisture damage. Do not let water sit on the surface.
Repairing Damage
Even with care, damage can occur. Here is how to handle common issues:
- Scratches: Use a furniture marker to touch up small scratches.
- Bubbles: Use a needle to puncture the bubble and release air.
- Peeling Edges: Apply a small amount of adhesive and press firmly.
For severe damage, consider professional help. Keeping cabinets in good condition extends their life.
Pros And Cons
Wrapping kitchen cabinets is a popular trend. It offers a fresh look without a complete renovation. But, there are both pros and cons to consider.
Benefits Of Wrapping
- Cost-Effective: Wrapping costs less than replacing cabinets.
- Quick Installation: Professionals can wrap cabinets in a day.
- Variety of Designs: Choose from many colors and patterns.
- Non-Permanent: Easy to remove if you want a change.
- Protection: Wraps protect the original cabinet surface.
Potential Drawbacks
- Durability: Wraps may peel or bubble over time.
- Limited Lifespan: They might need replacing after a few years.
- Heat Sensitivity: High heat can damage the wrap.
- Surface Prep: Cabinets need to be clean and smooth before wrapping.
| Aspect | Pro | Con |
|---|---|---|
| Cost | Affordable | May require frequent updates |
| Installation | Quick and easy | Needs professional help for best results |
| Design Options | Wide variety | May not suit all tastes |
| Durability | Protects surface | Can peel or bubble |
| Maintenance | Simple to clean | Heat sensitive |
Cost Considerations
Wrapping kitchen cabinets can be an affordable way to refresh your space. Understanding cost considerations is essential before diving into this project. Let’s explore the key aspects of budgeting and deciding between a DIY approach or hiring a professional.
Budgeting For Materials
First, consider the cost of materials. Different wraps vary in price.
- Vinyl wraps: $50 – $200 per roll
- High-gloss wraps: $100 – $300 per roll
- Wood grain wraps: $150 – $400 per roll
Each type offers different finishes and durability. Calculate the area of your cabinets. This helps in determining the number of rolls needed.
Don’t forget the cost of tools. You might need:
- Squeegee: $5 – $15
- Utility knife: $10 – $20
- Heat gun: $20 – $60
Diy Vs. Professional
Next, decide between a DIY project or hiring a professional. DIY can save you money but requires time and effort. A professional job ensures high-quality results but at a higher cost.
| Option | Estimated Cost | Pros | Cons |
|---|---|---|---|
| DIY | $100 – $500 |
|
|
| Professional | $500 – $2,000 |
|
|
Analyze your budget and skills. Then, make an informed decision on the best approach.
Frequently Asked Questions
Can You Wrap Kitchen Cabinets Yourself?
Yes, you can. DIY kitchen cabinet wrapping is possible with vinyl wraps and basic tools.
How Long Do Wrapped Cabinets Last?
Wrapped cabinets can last up to 10 years with proper care and maintenance.
Are Wrapped Cabinets Durable?
Yes, wrapped cabinets are durable and resistant to scratches, stains, and moisture.
What Materials Are Used For Wrapping?
Vinyl is the most common material used for wrapping kitchen cabinets.
Is Cabinet Wrapping Cost-effective?
Yes, wrapping is usually cheaper than replacing or refacing kitchen cabinets.
Can You Remove Cabinet Wraps Easily?
Yes, you can remove vinyl wraps without damaging the cabinet surface.
Do Wrapped Cabinets Look Professional?
Yes, when done correctly, wrapped cabinets can look very professional and stylish.
How To Clean Wrapped Kitchen Cabinets?
Use a soft cloth with mild soap and water to clean wrapped cabinets.
Are There Color Options For Cabinet Wraps?
Yes, vinyl wraps come in various colors, textures, and finishes to match your kitchen decor.
What Are The Benefits Of Wrapping Cabinets?
Wrapping cabinets updates the look, protects surfaces, and is more affordable than replacing them.
Conclusion
Wrapping kitchen cabinets is a cost-effective way to refresh your space. It’s easy, versatile, and budget-friendly. With a variety of materials and designs available, you can achieve a new look without a full renovation. Explore options, and give your kitchen a stylish makeover that suits your taste and budget.


