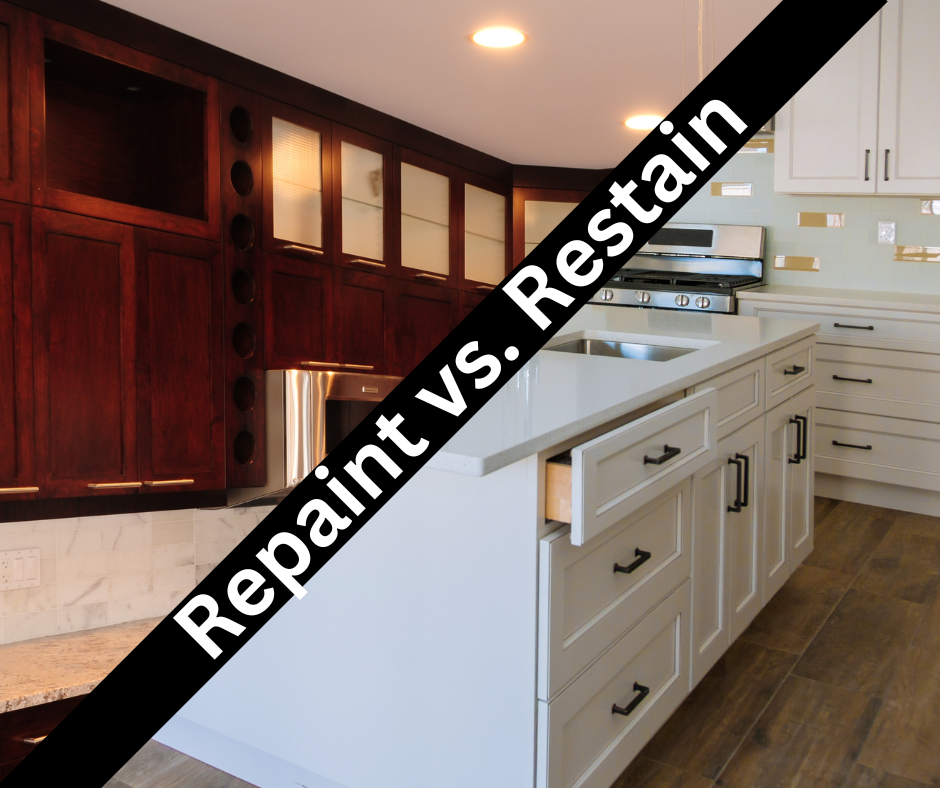
Yes, kitchen cabinets can be restained. This process can give them a fresh, updated look.
Restaining kitchen cabinets is a cost-effective way to transform your kitchen’s appearance. It involves stripping the old finish, sanding the surfaces, and applying a new stain. This method allows you to choose a new color or restore the original hue of the wood.
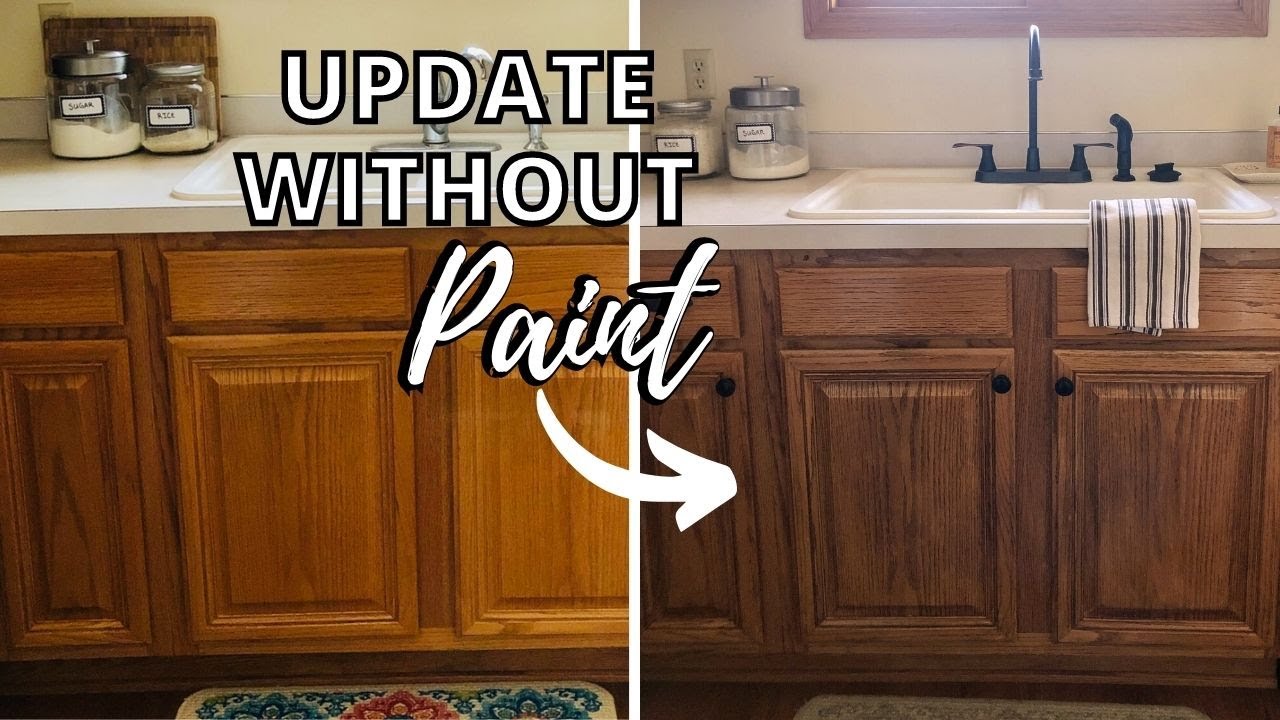
The result is a refreshed kitchen that looks almost brand new. Restaining is especially beneficial for solid wood cabinets, enhancing their natural beauty. This project can be completed over a weekend with the right tools and materials. Whether you hire a professional or take a DIY approach, restaining your cabinets is a worthwhile investment. It can dramatically improve the aesthetic and value of your home.
Choosing The Right Stain
Restaining kitchen cabinets can breathe new life into your kitchen. Choosing the right stain is crucial for the best outcome. The stain you select will affect the look and feel of your cabinets. Below, we explore different types of stains and offer tips on color selection.
Types Of Stains
There are several types of stains to choose from. Each has its own benefits and drawbacks. Here’s a quick overview:
| Type of Stain | Description | Benefits | Drawbacks |
|---|---|---|---|
| Oil-Based Stain | Penetrates deeply into wood. | Long-lasting, rich color. | Longer drying time. |
| Water-Based Stain | Dries quickly on the surface. | Low odor, easy clean-up. | Less penetration into wood. |
| Gel Stain | Thick consistency, sits on top. | Good for vertical surfaces. | Harder to apply evenly. |
| Varnish Stain | Combination of stain and varnish. | Provides a protective coat. | Can be tricky to apply. |
Color Selection Tips
Choosing the right color can be challenging. Consider these tips:
- Match the existing decor: Ensure the stain complements your kitchen’s style.
- Test samples: Always test stain samples on a small area first.
- Consider lighting: Lighting affects how the color looks. Check the stain in different lights.
- Think about the future: Choose a timeless color that won’t go out of style.
Follow these tips to find the perfect stain for your kitchen cabinets.
Preparing Your Cabinets
Before you start restaining your kitchen cabinets, proper preparation is crucial. This step ensures a smooth finish and long-lasting results. It involves cleaning the surface and sanding the wood. Let’s dive into the details.
Cleaning The Surface
Start by removing all cabinet doors and hardware. Use a gentle cleaner to remove dirt, grease, and grime. A mix of warm water and dish soap works well.
- Dip a sponge in the soapy water.
- Scrub the cabinets thoroughly.
- Rinse with clean water and dry with a cloth.
Ensure the surface is completely dry before moving to the next step. Cleaning removes contaminants that can affect the stain’s adhesion.
Sanding Techniques
Once the cabinets are clean and dry, it’s time to sand them. Sanding helps remove the old finish and roughens the surface for better stain absorption.
- Use 120-grit sandpaper for the initial sanding.
- Smooth the surface with 220-grit sandpaper.
- Always sand in the direction of the wood grain.
After sanding, wipe the surface with a tack cloth to remove dust. This step ensures a clean, smooth surface for staining.
Proper preparation is the key to successful restaining. Clean and sand your cabinets well. This will ensure a beautiful, lasting finish.
Necessary Tools And Materials
Restaining kitchen cabinets can breathe new life into your space. You need the right tools and materials for a successful project. This section will guide you through the necessary tools and materials for restaining kitchen cabinets.
Essential Tools
- Screwdriver: Removes cabinet doors and hardware.
- Sandpaper: Smoothens and prepares the surface.
- Paintbrushes: Applies the stain evenly.
- Rags: Wipes off excess stain.
- Painter’s Tape: Protects areas you don’t want stained.
- Drop Cloth: Covers and protects your floors.
Material Checklist
- Wood Stain: Choose a color that complements your kitchen.
- Wood Conditioner: Prepares the wood for staining.
- Top Coat: Protects the finish.
- Wood Filler: Fills in any imperfections or holes.
- Tack Cloth: Removes dust after sanding.
- Gloves: Protects your hands from chemicals.
Applying The Stain
Applying stain to your kitchen cabinets can transform their appearance. This step requires patience and precision. Below, we will guide you through the process.
Stain Application Methods
There are several methods for applying stain to your kitchen cabinets. Each method has its own advantages.
- Brush: A brush offers control and precision.
- Rag: A rag can give a smooth, even finish.
- Spray: A spray provides even coverage but needs skill.
Using a brush allows for detailed work. It is best for corners and edges.
Applying with a rag helps in controlling the amount of stain. It also avoids brush marks.
Using a spray can be quicker. But it needs a steady hand and good ventilation.
Drying And Curing
After applying the stain, let it dry completely. This step is crucial for a smooth finish.
- Allow the stain to dry for at least 24 hours.
- Ensure the room is well-ventilated.
- Avoid touching the stained surfaces during this period.
Once dry, the stain needs to cure. Curing ensures the stain sets properly.
| Drying Time | Curing Time |
|---|---|
| 24 hours | 7 days |
During the curing time, avoid placing objects on the cabinets. Let the stain fully set to achieve the best results.
Finishing Touches
After restaining your kitchen cabinets, the final steps are crucial. These finishing touches ensure your cabinets look polished and last longer. Let’s dive into the key steps: Adding a Protective Coat and Polishing and Buffing.
Adding A Protective Coat
A protective coat shields your cabinets from daily wear and tear. Choose a high-quality, clear polyurethane finish. It provides a durable layer without altering the stain color.
Here’s a simple guide to apply the protective coat:
- Clean the cabinets thoroughly to remove dust.
- Use a fine-bristle brush for even application.
- Apply the first coat and let it dry completely.
- Lightly sand the surface with fine-grit sandpaper.
- Wipe away any sanding dust.
- Apply a second coat for extra protection.
Ensure each coat is fully dry before sanding or reapplying. This step is vital for a smooth, resilient finish.
Polishing And Buffing
Once the protective coat is dry, polishing and buffing enhance the shine. It also smoothens any minor imperfections.
Follow these steps for a perfect finish:
- Use a soft cloth to polish the surface.
- Apply a small amount of furniture polish.
- Rub the polish in gentle, circular motions.
- Buff the surface with a clean cloth.
Repeat the process until the desired shine is achieved. Polishing makes your cabinets look new and fresh.
Remember, these finishing touches give your cabinets a professional look. Proper care extends the life of your cabinets, making them a beautiful addition to your kitchen.
Common Mistakes To Avoid
Restaining kitchen cabinets can breathe new life into your space. Avoid common pitfalls to achieve a professional finish. Here are some mistakes to steer clear of.
Inadequate Preparation
Proper preparation is crucial for a smooth finish. Failing to prepare can lead to poor results.
- Not Cleaning Cabinets Thoroughly: Dirt and grease prevent stain adherence.
- Skipping Sanding: Sanding removes old finish and roughens the surface.
- Ignoring Repairs: Fix dents and scratches to ensure an even finish.
| Task | Why It’s Important |
|---|---|
| Cleaning | Removes grease and grime |
| Sanding | Prepares surface for new stain |
| Repairing | Ensures a smooth, even finish |
Over-application Of Stain
Too much stain can ruin the look of your cabinets. Apply the right amount for the best results.
- Thick Coats: Thick coats take longer to dry and may peel.
- Not Wiping Excess Stain: Wipe off extra stain to avoid blotches.
- Multiple Layers: Use one or two layers for a natural look.
Tip: Apply stain in thin, even layers. Wipe off excess with a clean cloth.
Incorrect Drying Time
Drying time is essential for a perfect finish. Rushing this step can lead to problems.
- Not Following Manufacturer’s Instructions: Each product has specific drying times.
- Touching Wet Stain: Avoid touching until fully dry to prevent marks.
Tip: Read and follow the instructions on the stain product.
Maintenance Tips
Maintaining your kitchen cabinets after restaining is crucial. Proper maintenance ensures their beauty and longevity. Follow these tips to keep your cabinets looking fresh and new.
Cleaning And Care
Regular cleaning is essential for maintaining restained cabinets. Use a soft cloth and a mild cleaner. Harsh chemicals can damage the finish.
- Dust your cabinets weekly.
- Wipe spills immediately with a damp cloth.
- Use a gentle soap for deeper cleaning.
- Avoid abrasive sponges or pads.
Ensure the cabinets are dry after cleaning. Moisture can harm the wood and finish.
Touch-up Techniques
Minor scratches and nicks are inevitable. Touch-ups keep your cabinets looking pristine.
- Identify the scratch or nick.
- Clean the area with a damp cloth.
- Use a matching stain pen for small scratches.
- For larger areas, use a brush and matching stain.
- Allow the stain to dry completely.
- Apply a clear finish to seal the touch-up.
Keep a small amount of the original stain for future touch-ups. Always test the stain on a hidden spot first.
| Task | Frequency |
|---|---|
| Dusting | Weekly |
| Wiping spills | Immediately |
| Deep cleaning | Monthly |
| Touch-ups | As needed |
Cost And Time Considerations
Restaining kitchen cabinets can be a cost-effective way to refresh your kitchen. Before starting, it’s crucial to consider both cost and time. These factors will help you plan and execute the project smoothly. Let’s dive into the budgeting and time management aspects.
Budgeting For The Project
Understanding the budget is vital. Here are some key elements:
- Materials: Stain, brushes, sandpaper, and protective gear.
- Tools: Drill, screwdriver, and sander.
- Extras: Drop cloths, tape, and cleaning supplies.
To simplify, here’s a budget table:
| Item | Estimated Cost |
|---|---|
| Stain | $20 – $40 |
| Brushes | $10 – $30 |
| Sandpaper | $5 – $15 |
| Protective Gear | $10 – $20 |
| Tools | $50 – $100 |
| Extras | $15 – $30 |
Time Management Tips
Proper time management is essential for a successful project. Here’s a simple plan:
- Preparation: Clean and sand cabinets. This can take one day.
- Staining: Apply the stain. Allow drying time. This could take two days.
- Finishing: Apply a protective coat. This can take one more day.
Here are some additional tips:
- Work in a well-ventilated area.
- Use proper lighting to spot missed areas.
- Keep the workspace organized to save time.
By following these steps, you can manage your time effectively. Happy staining!
Frequently Asked Questions
Can Kitchen Cabinets Be Restained?
Yes, you can restain kitchen cabinets to give them a fresh new look.
How Do You Restain Kitchen Cabinets?
First, remove old stain, sand the wood, then apply new stain and finish.
What Tools Are Needed To Restain Cabinets?
You’ll need sandpaper, stain, brushes, and a protective finish.
How Long Does Restaining Cabinets Take?
It typically takes a few days, including drying time.
Is It Cheaper To Restain Or Replace Cabinets?
Restaining is generally much cheaper than replacing cabinets entirely.
Can I Restain Cabinets Without Sanding?
Sanding is recommended for best results, but some products claim to work without sanding.
What Type Of Stain Is Best For Cabinets?
Oil-based stains are durable and ideal for kitchen cabinets.
Can You Restain Cabinets A Lighter Color?
Yes, but it may require more preparation and multiple coats.
Do You Need To Remove Cabinet Doors To Restain?
Removing doors makes the process easier and more thorough.
How Often Should Kitchen Cabinets Be Restained?
Generally, every 5-7 years, depending on wear and tear.
Conclusion
Restaining kitchen cabinets is a cost-effective way to refresh your space. It’s a manageable DIY project for many homeowners. With proper preparation and quality materials, you can achieve a professional look. Invest time and effort, and you’ll enjoy beautiful, revitalized cabinets that enhance your kitchen’s appeal.

