
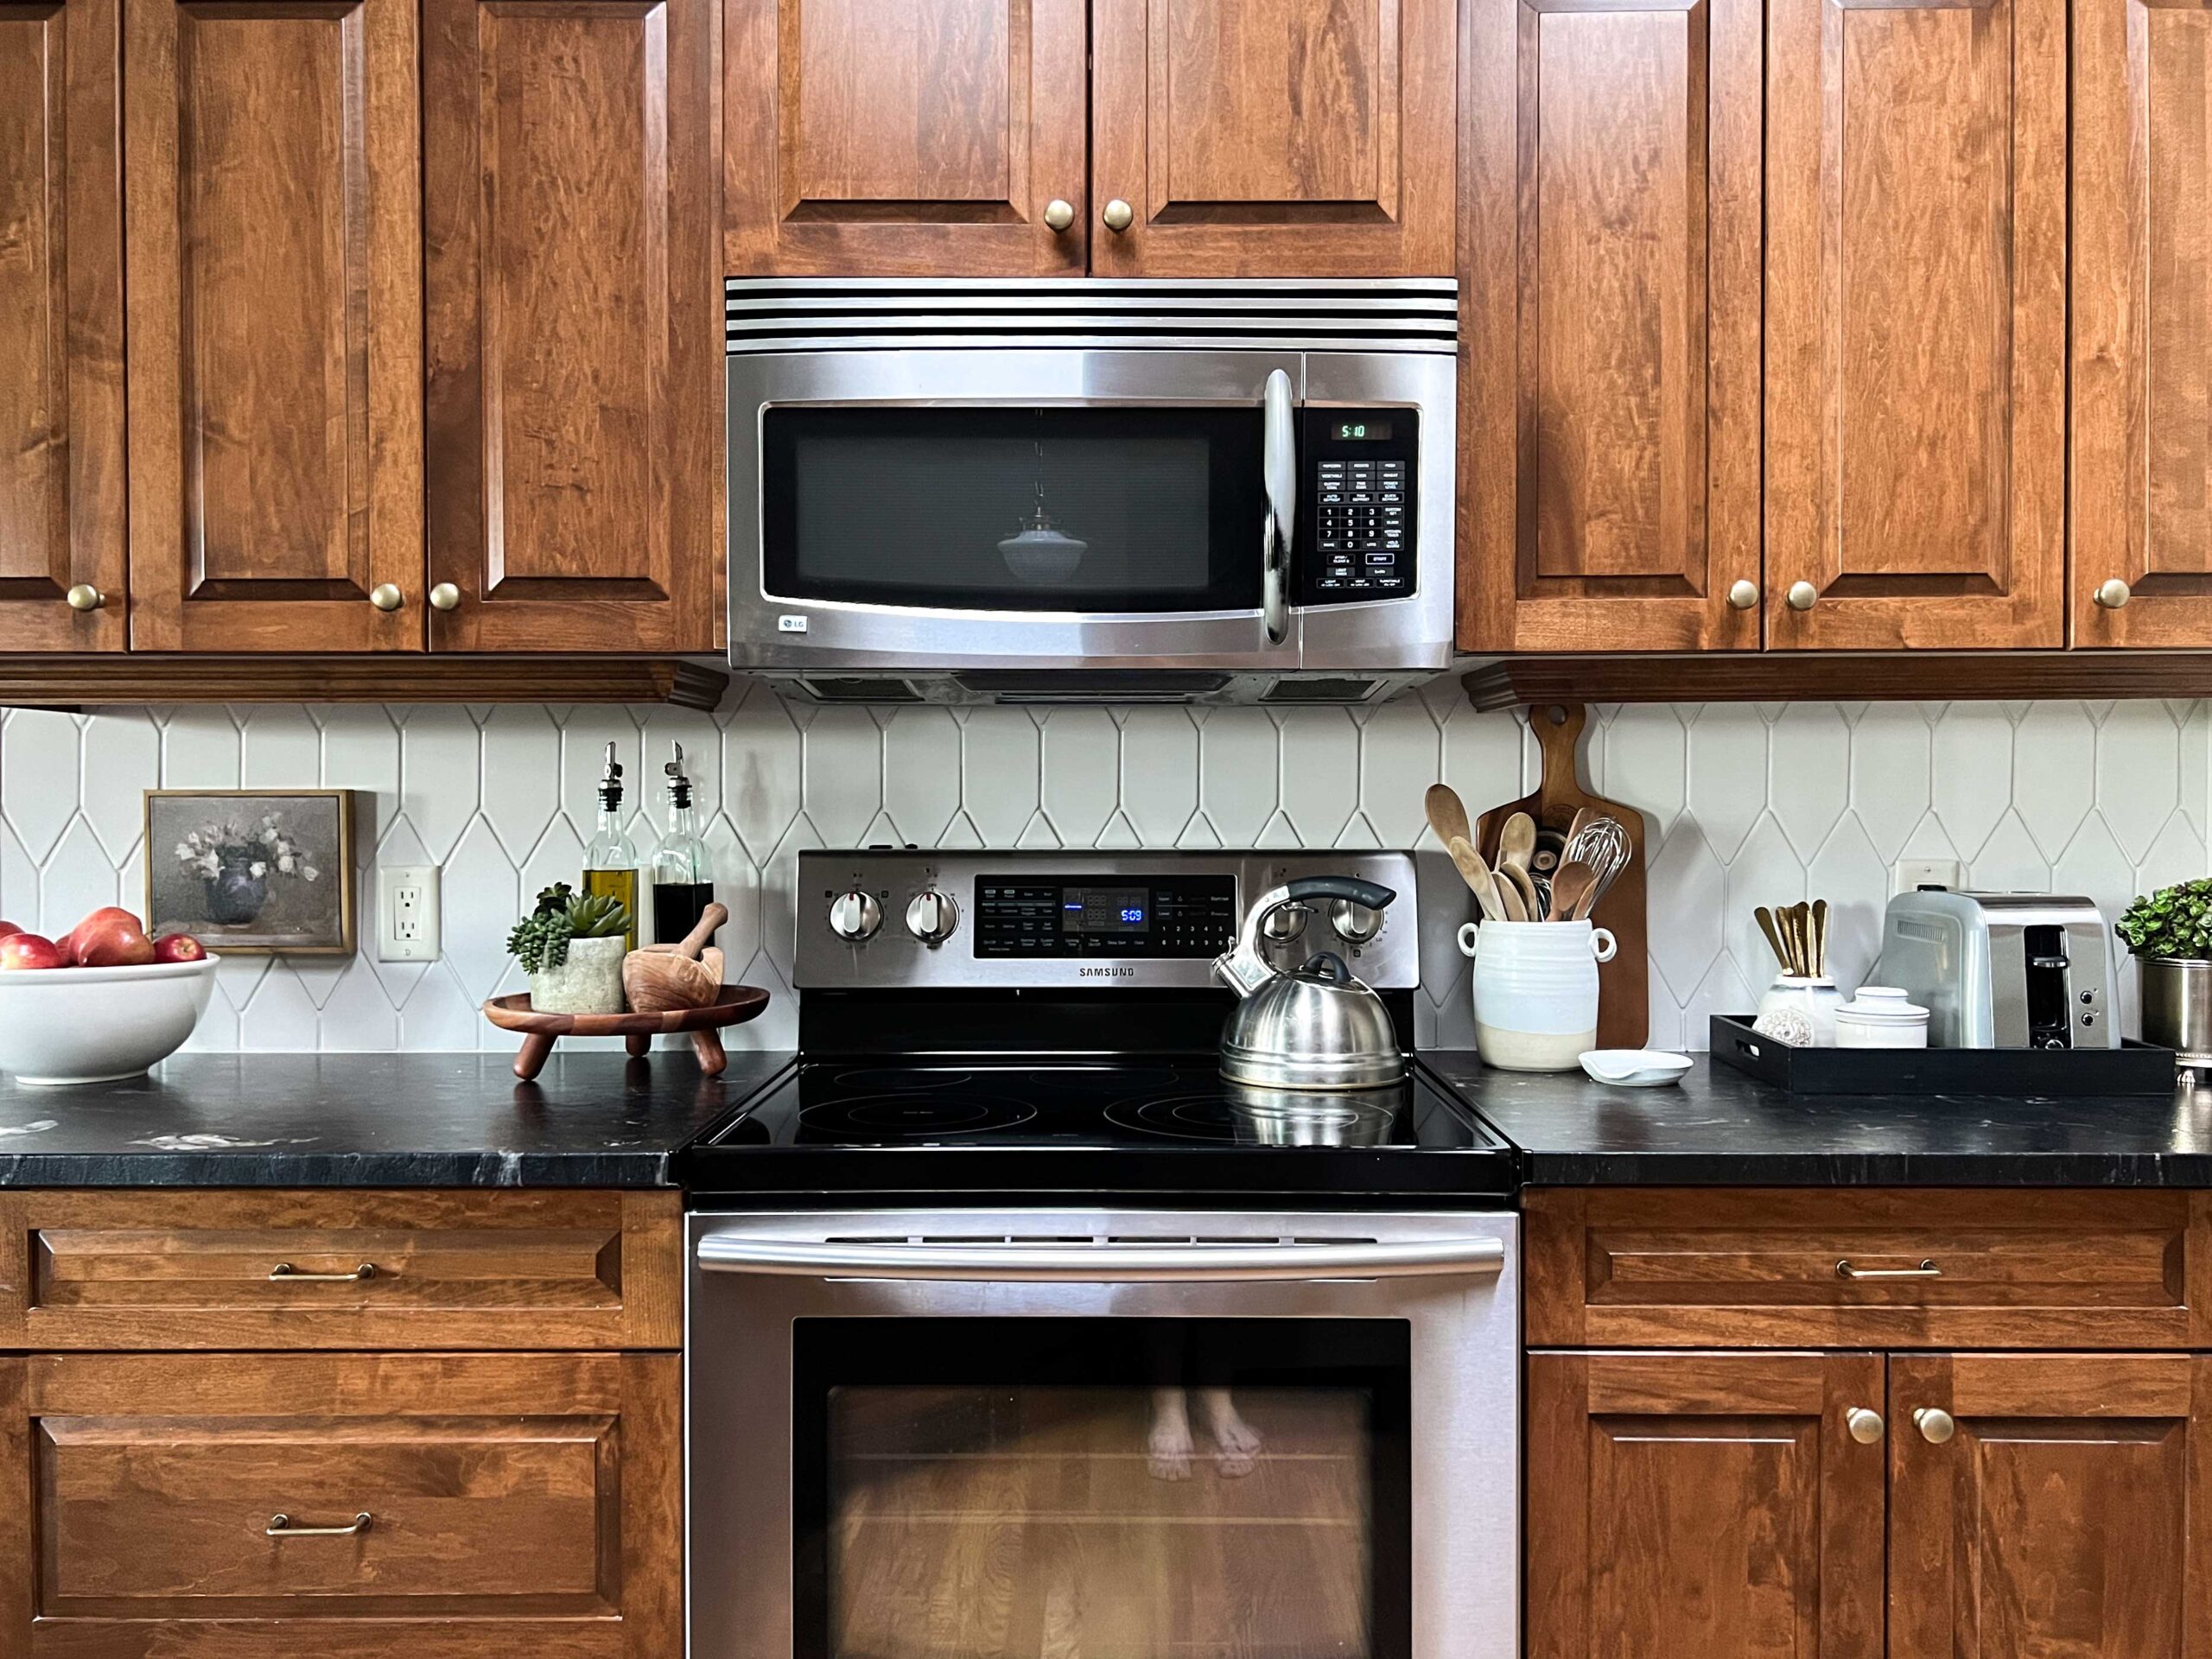
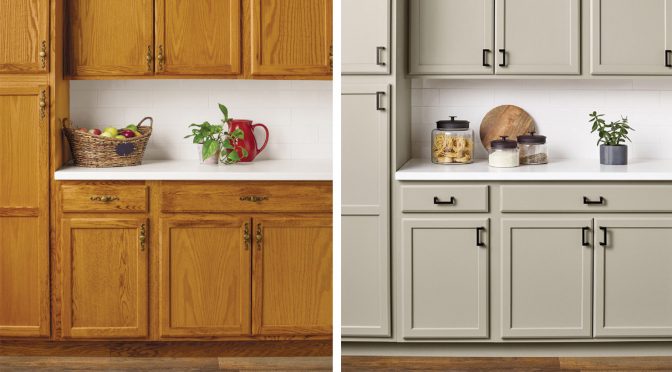
The best way to redo kitchen cabinets is by painting or refacing them. These methods offer cost-effective and transformative results.
Redoing kitchen cabinets can completely change the look and feel of your kitchen. Painting cabinets is a popular choice for a budget-friendly update. Choose high-quality paint and follow proper preparation steps for lasting results. Refacing involves replacing cabinet doors and drawer fronts while keeping the existing cabinet framework.
This option provides a fresh look without the expense of a full remodel. Both methods enhance aesthetics and functionality. Professional help ensures a flawless finish, but DIY enthusiasts can also achieve great results with careful planning. Upgrading hardware and adding new accessories can further elevate the transformation.
Planning Your Project
Redoing your kitchen cabinets can breathe new life into your home. Before starting, it’s crucial to plan meticulously. Proper planning ensures you stay within budget and achieve the desired look. Let’s explore some essential steps to set you on the right path.
Budget Considerations
Setting a budget is the first critical step. Determine how much you can spend on this project. This helps avoid unnecessary expenses. Consider the cost of materials, labor, and additional tools.
- Materials: Wood, paint, hardware, and finishes.
- Labor: Professional fees or DIY costs.
- Tools: Brushes, sanders, and safety equipment.
Create a table to track your expenses:
| Item | Estimated Cost |
|---|---|
| Wood | $200 |
| Paint | $50 |
| Labor | $150 |
| Tools | $100 |
Choosing A Style
Selecting a style sets the tone for your kitchen. Do you prefer a modern look, or something more classic? Research different styles to find what suits your taste.
- Modern: Sleek lines, minimalistic design, and neutral colors.
- Traditional: Warm tones, ornate details, and classic hardware.
- Rustic: Natural wood, distressed finishes, and earthy tones.
Consider creating a mood board. Gather images, color swatches, and material samples. This visual aid will help you stay focused on your chosen style.
Gathering Materials
Before starting your kitchen cabinet makeover, gathering the right materials is crucial. Having everything ready ensures a smooth and efficient process. Let’s break down the essentials you need.
Essential Tools
You need a variety of tools for redoing kitchen cabinets. Below is a list of essential tools:
- Screwdriver Set: For removing and reattaching cabinet doors.
- Sandpaper: To smooth the cabinet surfaces.
- Paint Brushes: For detailed painting work.
- Paint Rollers: To cover larger areas quickly.
- Painter’s Tape: To protect edges and surfaces.
- Drop Cloths: To keep the work area clean.
- Drill: For making precise holes.
- Putty Knife: To apply wood filler.
Having these tools ready will save you time and effort.
Selecting Paint And Supplies
Choosing the right paint and supplies is essential. Here’s a breakdown:
| Item | Description |
|---|---|
| Primer | A good primer ensures the paint adheres well. |
| Paint | Choose high-quality, durable paint for cabinets. |
| Wood Filler | Fill any holes or imperfections with wood filler. |
| Sandpaper (Various Grits) | Use different grits for smoothing surfaces. |
| Degreaser | Clean the cabinets thoroughly with a degreaser. |
Selecting the right supplies ensures a long-lasting finish.
Preparation Steps
Redoing kitchen cabinets can transform your space. Proper preparation is key for a smooth process. Follow these steps to ensure success.
Clearing The Area
Start by clearing the kitchen area. Remove all items from the countertops. Empty the cabinets and drawers. This makes the workspace safe and accessible.
Create a temporary storage spot for your kitchen items. Use boxes or containers to organize the items. Label them for easy identification later.
Cover the kitchen floor with drop cloths. This protects the floor from dust and paint. Use painter’s tape to secure the cloths.
Removing Cabinet Doors
Next, remove the cabinet doors. Use a screwdriver to unscrew the hinges. Place the screws in a container to avoid losing them.
Label each door and its corresponding cabinet. This helps you reattach them later. Use painter’s tape and a marker for labeling.
Remove the hardware from the doors. This includes handles and knobs. Store them in a safe place.
Place the doors on a flat surface. Use a workbench or table. Ensure the surface is covered to prevent damage.
Cleaning And Sanding
Cleaning and sanding are crucial steps in redoing kitchen cabinets. These steps ensure a smooth and professional finish. Proper cleaning removes dirt and grease. Sanding smooths the surface for paint or stain.
Degreasing Surfaces
Degreasing the cabinets is the first step. Grease and grime build up over time. Use a strong degreaser to clean the surfaces. Ensure every nook and cranny is scrubbed. Rinse with clean water and let dry.
- Use a sponge or cloth for scrubbing.
- Avoid harsh chemicals that can damage wood.
- Let the cabinets dry completely before sanding.
Proper Sanding Techniques
Proper sanding is essential for a smooth finish. Start with a coarse-grit sandpaper. This removes old paint and rough spots. Follow with a finer grit for a polished look.
- Use 120-grit sandpaper for initial sanding.
- Switch to 220-grit for a smoother surface.
- Always sand in the direction of the wood grain.
Dust off the surfaces after sanding. Use a tack cloth to remove fine dust. This ensures the paint adheres well.
For corners and detailed areas, use a sanding sponge. It conforms to the shape and ensures even sanding. Proper sanding prepares your cabinets for a flawless finish.
Priming Cabinets
Priming your kitchen cabinets is a crucial step. It ensures a smooth, long-lasting finish. The right primer can make a world of difference. Let’s dive into selecting the best primer and some handy application tips.
Selecting Primer
Selecting the right primer is essential. Here are some popular options:
- Oil-Based Primer: Great for wood surfaces. It blocks stains effectively.
- Water-Based Primer: Dries quickly. It’s easy to clean with soap and water.
- Shellac-Based Primer: Ideal for tough stains. It dries fast and seals odors.
Consider your cabinet material. Wood, laminate, and metal may need different primers. Check the product label for compatibility.
Application Tips
Proper application ensures a smooth finish. Follow these tips:
- Clean the Cabinets: Remove grease and grime. Use a degreaser for the best results.
- Sand the Surface: Lightly sand to create a rough texture. This helps the primer adhere better.
- Use a Quality Brush or Roller: High-quality tools provide a smoother finish.
- Apply Thin Coats: Thin coats dry faster and reduce drips.
- Allow Adequate Drying Time: Let each coat dry fully before applying the next.
Following these tips ensures a professional look. Your cabinets will be ready for painting in no time!
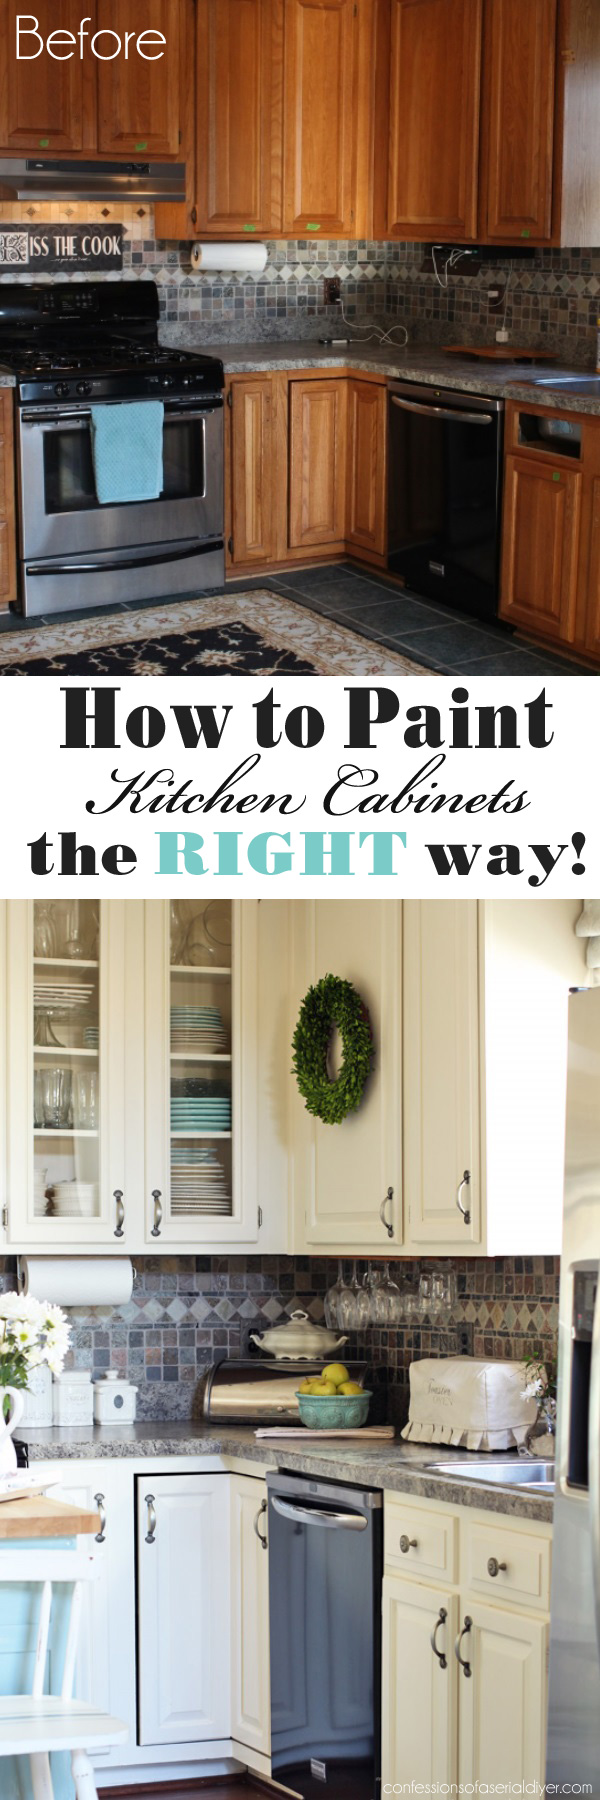
Painting Techniques
Painting your kitchen cabinets can instantly refresh your space. It’s an economical way to achieve a high-end look. With the right painting techniques, you can transform old cabinets into stunning pieces.
Choosing Brushes And Rollers
To get a smooth finish, you need the right tools. For edges and detailed areas, use a high-quality brush. A 2.5-inch angled brush is perfect for corners and edges. For larger surfaces, use foam rollers. They provide a smooth finish without brush strokes. Choose a roller with a 1/4-inch nap for best results.
| Tool | Recommended Use |
|---|---|
| 2.5-inch angled brush | For corners and edges |
| Foam roller | For large, flat surfaces |
Applying The First Coat
Before painting, clean the cabinets. Remove grease and grime with a degreaser. Sand the surfaces lightly to ensure paint adhesion. Use a tack cloth to remove dust.
Start by applying a primer. It helps the paint stick better. Use thin coats to avoid drips. Allow the primer to dry for a few hours. Then, lightly sand the surface again.
Once primed, apply the first coat of paint. Use a brush for edges and a roller for flat surfaces. Work in long, smooth strokes. Let the first coat dry completely before applying another.
- Clean and degrease cabinets
- Sand lightly for better adhesion
- Apply primer and let it dry
- Use thin, even coats of paint
Reassembling Cabinets
After refinishing or painting your kitchen cabinets, it’s time for reassembling. This step is crucial for a polished and professional look. Follow these steps to reattach doors and install new hardware efficiently.
Reattaching Doors
First, ensure all surfaces are dry before reattaching the doors. Use a screwdriver to secure the hinges back onto the cabinet frames. Align the doors carefully to avoid any misalignment.
Here is a step-by-step guide:
- Identify the correct door for each cabinet.
- Align the hinges with the pre-drilled holes.
- Secure the hinges with screws.
- Check the alignment and adjust if needed.
Installing New Hardware
New hardware can dramatically change the look of your kitchen cabinets. It’s essential to choose handles or knobs that match your kitchen’s style.
Follow these simple steps to install new hardware:
- Measure the distance between screw holes on the new hardware.
- Mark the placement on the cabinet doors and drawers.
- Drill new holes if necessary.
- Screw in the new hardware securely.
Here is a quick reference table for common hardware sizes:
| Hardware Type | Standard Size |
|---|---|
| Knobs | 1-1.5 inches |
| Pulls | 3-4 inches |
With these steps, your kitchen cabinets will look refreshed and stylish.
Finishing Touches
Applying the finishing touches to your kitchen cabinets can make a huge difference. This step ensures your cabinets look polished and professional. Follow these tips for a flawless finish.
Caulking Gaps
Caulking fills any gaps or seams in your cabinets. It gives them a smooth and cohesive look. Use a high-quality caulk for the best results. Follow these steps to caulk your cabinets:
- Clean the area with a damp cloth.
- Cut the caulk tube tip at a 45-degree angle.
- Apply a thin bead of caulk along the gaps.
- Smooth the caulk with a wet finger or caulk tool.
- Allow the caulk to dry for 24 hours.
Final Cleanup
The final cleanup is crucial for a professional look. Remove any dust, debris, or stray paint. Use these tips for an effective cleanup:
- Wipe down all surfaces with a damp cloth.
- Check for any missed spots or drips.
- Use a vacuum to remove dust from corners.
- Polish hardware and hinges for a shiny finish.
| Task | Time Required |
|---|---|
| Caulking Gaps | 1-2 hours |
| Final Cleanup | 30-45 minutes |
These simple steps can transform your kitchen cabinets. Your kitchen will look fresh and new.
Frequently Asked Questions
How To Start Redoing Kitchen Cabinets?
Begin by removing cabinet doors and hardware. Clean surfaces thoroughly to ensure proper adhesion for new paint or finish.
What Materials Are Needed For Cabinet Redo?
Essential materials include sandpaper, primer, paint, brushes, rollers, and new hardware. Consider safety gear like gloves and masks.
Can I Paint Over Varnished Cabinets?
Yes, but you must sand them first. Use a primer designed for glossy surfaces to ensure proper paint adhesion.
How Long Does A Cabinet Redo Take?
Typically, redoing kitchen cabinets can take anywhere from a weekend to a full week, depending on complexity.
Should I Use A Primer Before Painting?
Yes, a primer ensures better paint adhesion and durability. It also helps cover any old stains or dark colors.
What Paint Is Best For Cabinets?
Use high-quality acrylic latex paint or oil-based paint. These options provide durability and a smooth finish.
Can I Change Cabinet Hardware?
Absolutely, changing hardware like knobs and handles can give your cabinets a fresh look. It’s an easy and impactful update.
Is Sanding Necessary For All Cabinets?
Sanding is essential for most cabinets to remove old finishes and create a smooth surface for the new paint or stain.
How To Ensure Smooth Paint Finish?
Use a high-quality brush or roller, and apply thin, even coats. Sand lightly between coats for a flawless finish.
Are There Eco-friendly Options For Cabinet Redo?
Yes, choose low-VOC paints and stains. Reuse existing cabinets instead of replacing them to reduce waste.
Conclusion
Revamping your kitchen cabinets can transform your space. Choose a method that suits your style and budget. Whether painting, refacing, or replacing, each option offers unique benefits. Remember to plan carefully and take your time. Your dream kitchen is within reach with the right approach.
Start your cabinet makeover today!

