
Use high-quality primer and durable paint when painting kitchen cabinets. Choose semi-gloss or satin finishes for easy cleaning.
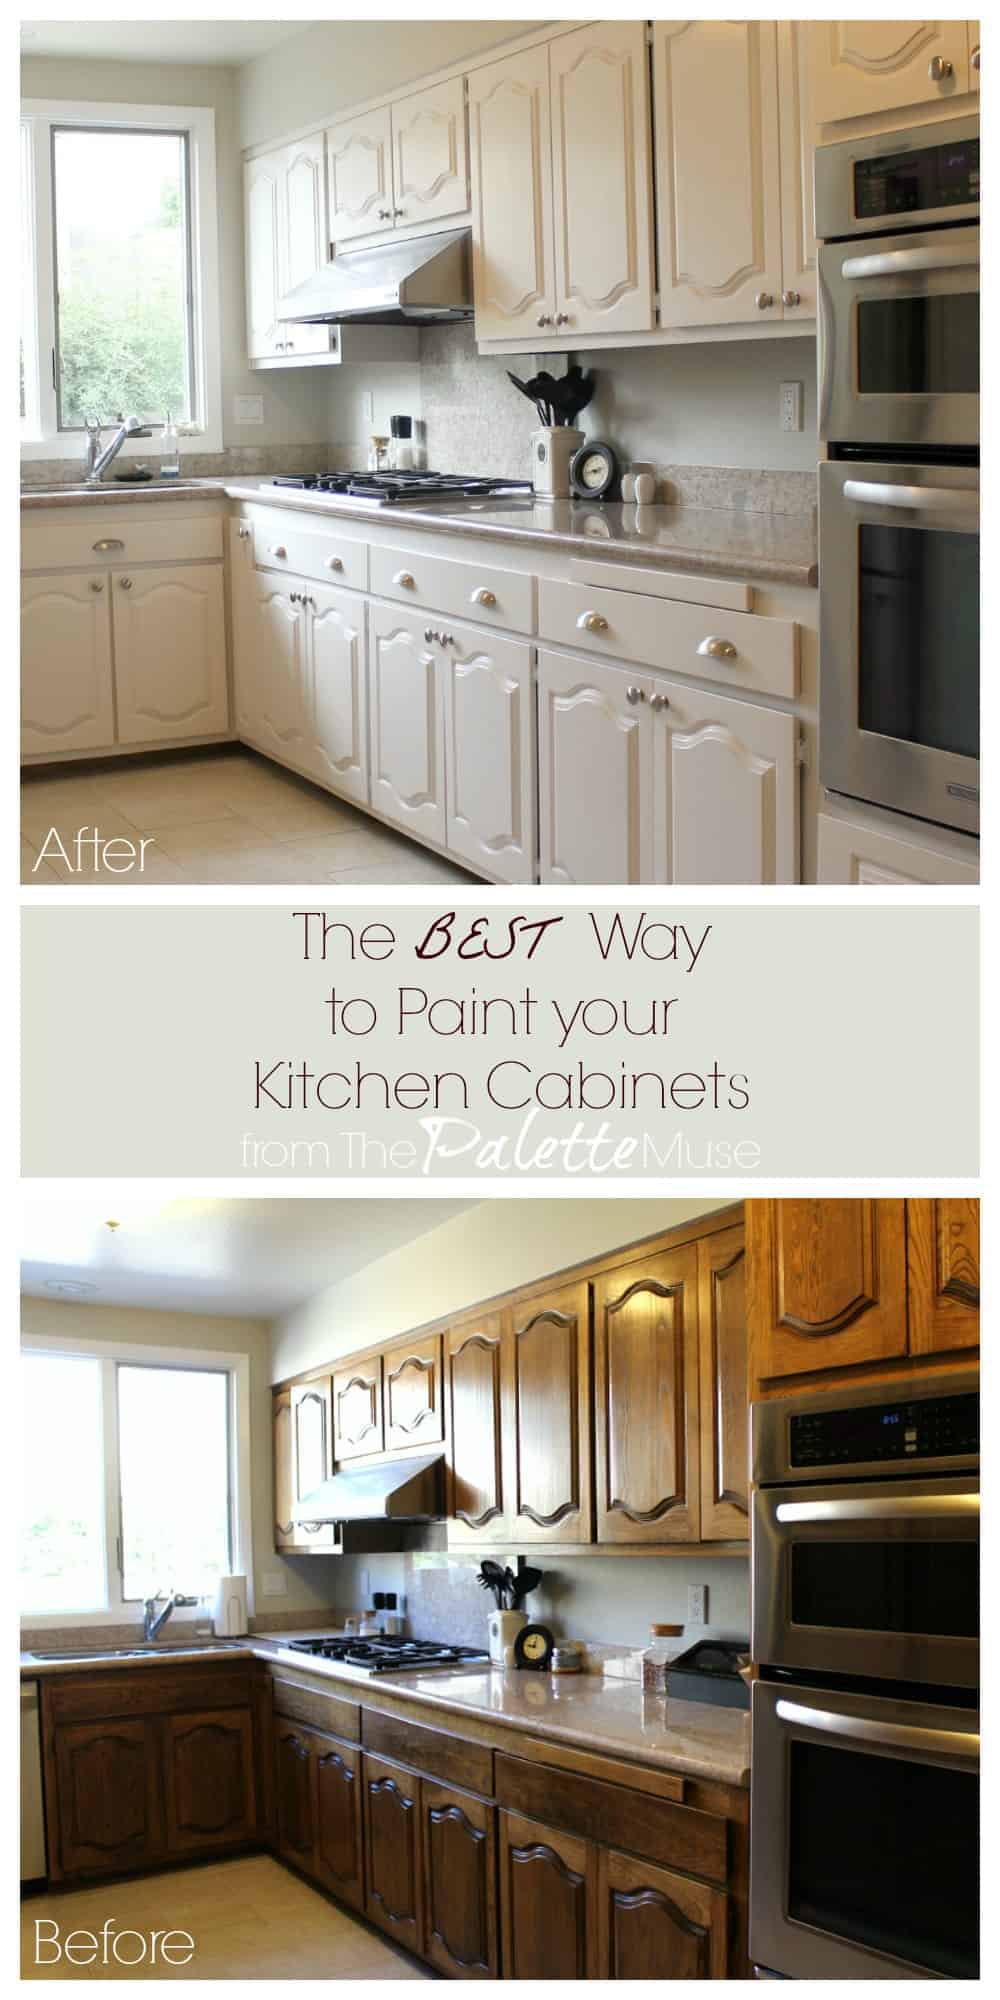
Painting kitchen cabinets can dramatically transform your kitchen’s appearance. High-quality primer ensures proper adhesion and a smooth finish. Opt for semi-gloss or satin paint for durability and easy maintenance. Proper preparation, including sanding and cleaning, is essential for the best results.
Remove all hardware and doors before starting the painting process. Use a paintbrush for detailed areas and a roller for flat surfaces. Allow each coat to dry completely before applying the next. Consider applying a clear topcoat for added protection. With the right tools and techniques, your kitchen cabinets can look professionally painted and last for years.
Choosing Paint Types
Picking the right paint for kitchen cabinets is crucial. Your choice affects durability and finish. Two main options exist: oil-based and water-based paints. Each has its own benefits and drawbacks.
Oil-based Vs. Water-based
Oil-based paints are known for their durability. They create a smooth, hard finish. Water-based paints are easier to clean and dry quickly. They are also more eco-friendly.
| Paint Type | Durability | Drying Time | Cleanup | Eco-Friendliness |
|---|---|---|---|---|
| Oil-Based | High | Long | Solvent | Low |
| Water-Based | Moderate | Short | Soap & Water | High |
Pros And Cons
Here are some pros and cons of each paint type:
- Oil-Based Paints
- Pros:
- Very durable
- Provides a smooth finish
- Excellent for high-traffic areas
- Cons:
- Long drying time
- Strong odor
- Requires solvents for cleanup
- Pros:
- Water-Based Paints
- Pros:
- Quick drying
- Low odor
- Easy cleanup with soap and water
- More eco-friendly
- Cons:
- Less durable
- May require more coats
- Pros:
Selecting The Right Finish
Choosing the right finish for your kitchen cabinets is crucial. The finish affects both the look and durability of your cabinets. Here, we will explore three popular finishes: Matte, Satin, and Gloss. Understanding their characteristics will help you make an informed decision.
Matte
Matte finishes offer a non-reflective, smooth look. They are great for hiding imperfections. They provide a modern, understated appearance. Matte finishes are often easier to touch up. However, they may show fingerprints and smudges more easily.
Satin
Satin finishes strike a balance between Matte and Gloss. They offer a soft sheen without being too shiny. Satin is known for its durability and ease of cleaning. This finish works well in high-traffic areas like kitchens. It adds a subtle elegance to your cabinets.
Gloss
Gloss finishes are highly reflective and shiny. They create a bright and vibrant look. Gloss finishes are extremely durable and easy to clean. They can make small kitchens appear larger. However, they may highlight surface imperfections.
Durability And Aesthetics
The durability and aesthetics of your cabinet finish are essential. Different finishes offer varying levels of protection and visual appeal. Below is a comparison table for quick reference:
| Finish | Durability | Aesthetics |
|---|---|---|
| Matte | Moderate | Modern, Subtle |
| Satin | High | Soft Sheen, Elegant |
| Gloss | Very High | Bright, Vibrant |
Selecting the right finish impacts both the look and longevity of your kitchen cabinets. Make an informed choice by considering both durability and aesthetics.
Essential Tools
Painting kitchen cabinets can rejuvenate your space without a complete remodel. Using the right tools ensures a smooth, professional finish. Below are the essential tools you’ll need for this task.
Brushes And Rollers
Choosing the right brushes and rollers makes a significant difference. They help achieve a smooth, even coat.
- Angled Brushes: Perfect for cutting in edges and corners.
- Foam Rollers: Ideal for larger surfaces. They provide a smooth finish without brush marks.
- High-Density Rollers: Great for achieving a fine, spray-like finish.
Investing in good quality brushes and rollers can save time and effort.
Sprayers And Sandpaper
Sprayers and sandpaper are also essential for painting kitchen cabinets. They help you achieve a professional look.
- Paint Sprayers: Provide a flawless, even coat over large surfaces. Use in well-ventilated areas.
- Sandpaper: Essential for prepping the surface. Use different grits for different stages.
For sandpaper, start with 120-grit for initial sanding. Move to finer grits for smoothing.
These tools are crucial for a professional finish. They help avoid common pitfalls like drips and uneven coats.
Surface Preparation
Proper surface preparation is crucial for painting kitchen cabinets. It ensures the paint adheres well and looks smooth. Follow these steps for a perfect finish.
Cleaning And Degreasing
Start by cleaning the cabinets thoroughly. Use a gentle cleaner and a soft cloth. Remove all dirt and grime. Grease can prevent the paint from sticking.
Mix a solution of warm water and dish soap. Scrub the cabinets with a sponge. Focus on the areas around handles and cooking surfaces.
Rinse with clean water and dry with a towel. For stubborn grease, use a degreaser. Apply it with a cloth and wipe off residue. Ensure the surface is completely clean before moving to the next step.
Sanding Techniques
Sanding is essential for a smooth surface. It helps the paint stick better. Start with medium-grit sandpaper (120-150 grit).
Sand the entire surface in the direction of the wood grain. Use light pressure to avoid damaging the wood. For detailed areas, use a sanding sponge or a small sanding block.
After the initial sanding, use fine-grit sandpaper (220 grit). This will smooth out any rough spots. Clean the dust with a tack cloth or vacuum.
For laminate cabinets, use a liquid deglosser instead of sandpaper. This will help the paint adhere without scratching the surface.
By following these steps, you prepare your cabinets for a beautiful and durable paint job.
Priming Cabinets
Priming kitchen cabinets is a crucial step before painting. It ensures a smooth and durable finish. The right primer can make all the difference. Let’s dive into the details.
Types Of Primers
There are several types of primers available. Choosing the right one depends on your cabinets’ material and condition.
| Primer Type | Best For |
|---|---|
| Oil-Based Primer | Wood cabinets with stains or tannins |
| Latex Primer | MDF or previously painted cabinets |
| Shellac-Based Primer | Sealing odors and heavy stains |
Application Tips
- Clean cabinets thoroughly before priming.
- Remove all hardware and doors.
- Sand surfaces lightly for better adhesion.
- Use a high-quality brush or roller.
- Apply primer in thin, even coats.
- Allow primer to dry completely before painting.
These tips ensure a professional and lasting finish. Happy painting!
Painting Techniques
Are you ready to give your kitchen cabinets a fresh look? Understanding different painting techniques will make your project easier. Each method offers unique benefits. Here, we explore the most popular techniques to help you decide which one suits your needs best.
Brush Vs. Roller
Brushes and rollers are common tools for painting cabinets. Both have their advantages. A brush allows for detailed work and reaches tight corners. Rollers cover larger areas quickly and provide a smoother finish.
| Tool | Advantages | Best For |
|---|---|---|
| Brush |
|
Edges, corners, intricate designs |
| Roller |
|
Flat surfaces, doors, large panels |
Spray Painting Tips
Spray painting offers a professional finish. It’s perfect for large projects. Follow these tips for the best results:
- Prepare the area: Cover countertops, floors, and appliances with plastic sheets.
- Ventilate: Ensure good airflow. Open windows and use fans.
- Primer first: Always apply a primer. It helps paint adhere better.
- Test spray: Practice on cardboard to get a feel for the spray pattern.
- Thin coats: Apply multiple thin coats. Avoid thick layers to prevent drips.
- Drying time: Allow each coat to dry completely before adding another.
Drying And Curing
Painting kitchen cabinets can refresh your space. But the magic happens during the drying and curing process. This stage determines the final finish and durability. Properly dried and cured cabinets look professional and last longer. Let’s delve into the essentials of drying and curing your kitchen cabinets.
Drying Times
Drying times for painted cabinets vary based on the paint type. Oil-based paints usually take longer to dry than water-based ones. Here are some typical drying times:
| Paint Type | Touch Dry | Re-coat Time |
|---|---|---|
| Water-based | 30 minutes | 2-4 hours |
| Oil-based | 6-8 hours | 24 hours |
Ensure a dust-free environment during drying times. Dust can ruin the smooth finish. Good ventilation helps speed up the drying process. Use fans or open windows for better airflow.
Ensuring Proper Curing
Ensuring proper curing is crucial for durability. Curing is different from drying. It means the paint has hardened completely. Here are some tips for ensuring proper curing:
- Allow 7-30 days for full curing, depending on paint type.
- Keep cabinets untouched during the curing period.
- Avoid heavy use or placing items on newly painted surfaces.
- Maintain a consistent room temperature for best results.
Monitor the cabinets during the curing period. If you notice any imperfections, address them immediately. Patience is key to ensuring proper curing. Your cabinets will thank you with a flawless finish.
:max_bytes(150000):strip_icc()/kitchen-cabinet-painting-mistakes-2000-70d96e5b20d34d9f983816d1c06c88db.jpg)
Credit: www.realsimple.com
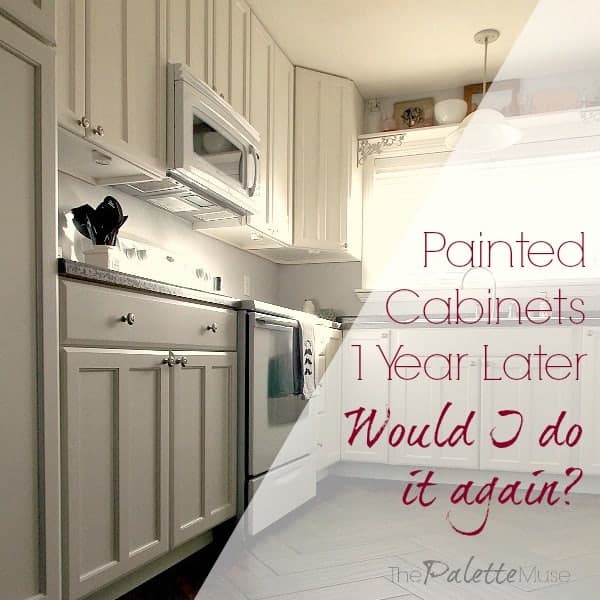
Maintaining Painted Cabinets
Once you’ve painted your kitchen cabinets, proper maintenance is key to keeping them looking fresh and vibrant. This guide provides easy tips on cleaning and touching up painted cabinets to ensure they remain in excellent condition.
Cleaning Tips
Regular cleaning helps maintain the beauty of your painted cabinets. Follow these tips:
- Use a soft cloth or sponge.
- Mix mild dish soap with warm water.
- Wipe down surfaces gently to avoid scratches.
- Dry with a clean, soft towel to prevent water spots.
- Avoid abrasive cleaners; they can damage the paint.
For stubborn stains, create a paste with baking soda and water. Apply gently, then rinse off with a damp cloth.
Touch-up Advice
Touch-ups keep your cabinets looking new. Here’s how:
- Keep extra paint from your project for touch-ups.
- Clean the area with mild soap and water before touching up.
- Use a small brush for precise application.
- Apply thin layers of paint; let each layer dry completely.
- Finish with a clear coat to protect the touch-up.
For deeper scratches, lightly sand the area before applying paint. This ensures a smooth finish and better adhesion.
Frequently Asked Questions
What Paint Is Best For Kitchen Cabinets?
Acrylic latex paint is durable and easy to clean, making it ideal for kitchen cabinets.
Do I Need To Sand Cabinets Before Painting?
Yes, sanding helps the paint adhere better and creates a smoother finish.
Can I Paint Over Stained Kitchen Cabinets?
Yes, but clean and sand the surface first for better paint adhesion.
How Many Coats Of Paint For Cabinets?
Typically, two to three coats provide a smooth, durable finish.
What Primer Should I Use For Cabinets?
Use a high-quality bonding primer to ensure the paint adheres well.
How Long Should Paint Dry Between Coats?
Allow at least 24 hours for each coat to dry completely.
Is A Brush Or Roller Better For Cabinets?
A combination of both works best: use a brush for edges and a roller for flat surfaces.
Should I Remove Cabinet Doors Before Painting?
Yes, removing doors and hardware makes the painting process easier and more thorough.
Can I Use Chalk Paint On Kitchen Cabinets?
Yes, chalk paint is easy to use and requires minimal prep work, but seal it with wax or a topcoat.
What Finish Is Best For Kitchen Cabinets?
Semi-gloss or satin finishes are ideal as they are durable and easy to clean.
Conclusion
Achieving a professional finish on kitchen cabinets is possible with the right tools and materials. Choose quality paint, brushes, and rollers for the best results. Proper preparation is key to long-lasting beauty. Follow these tips to transform your kitchen cabinets and enhance your home’s appeal effortlessly.

