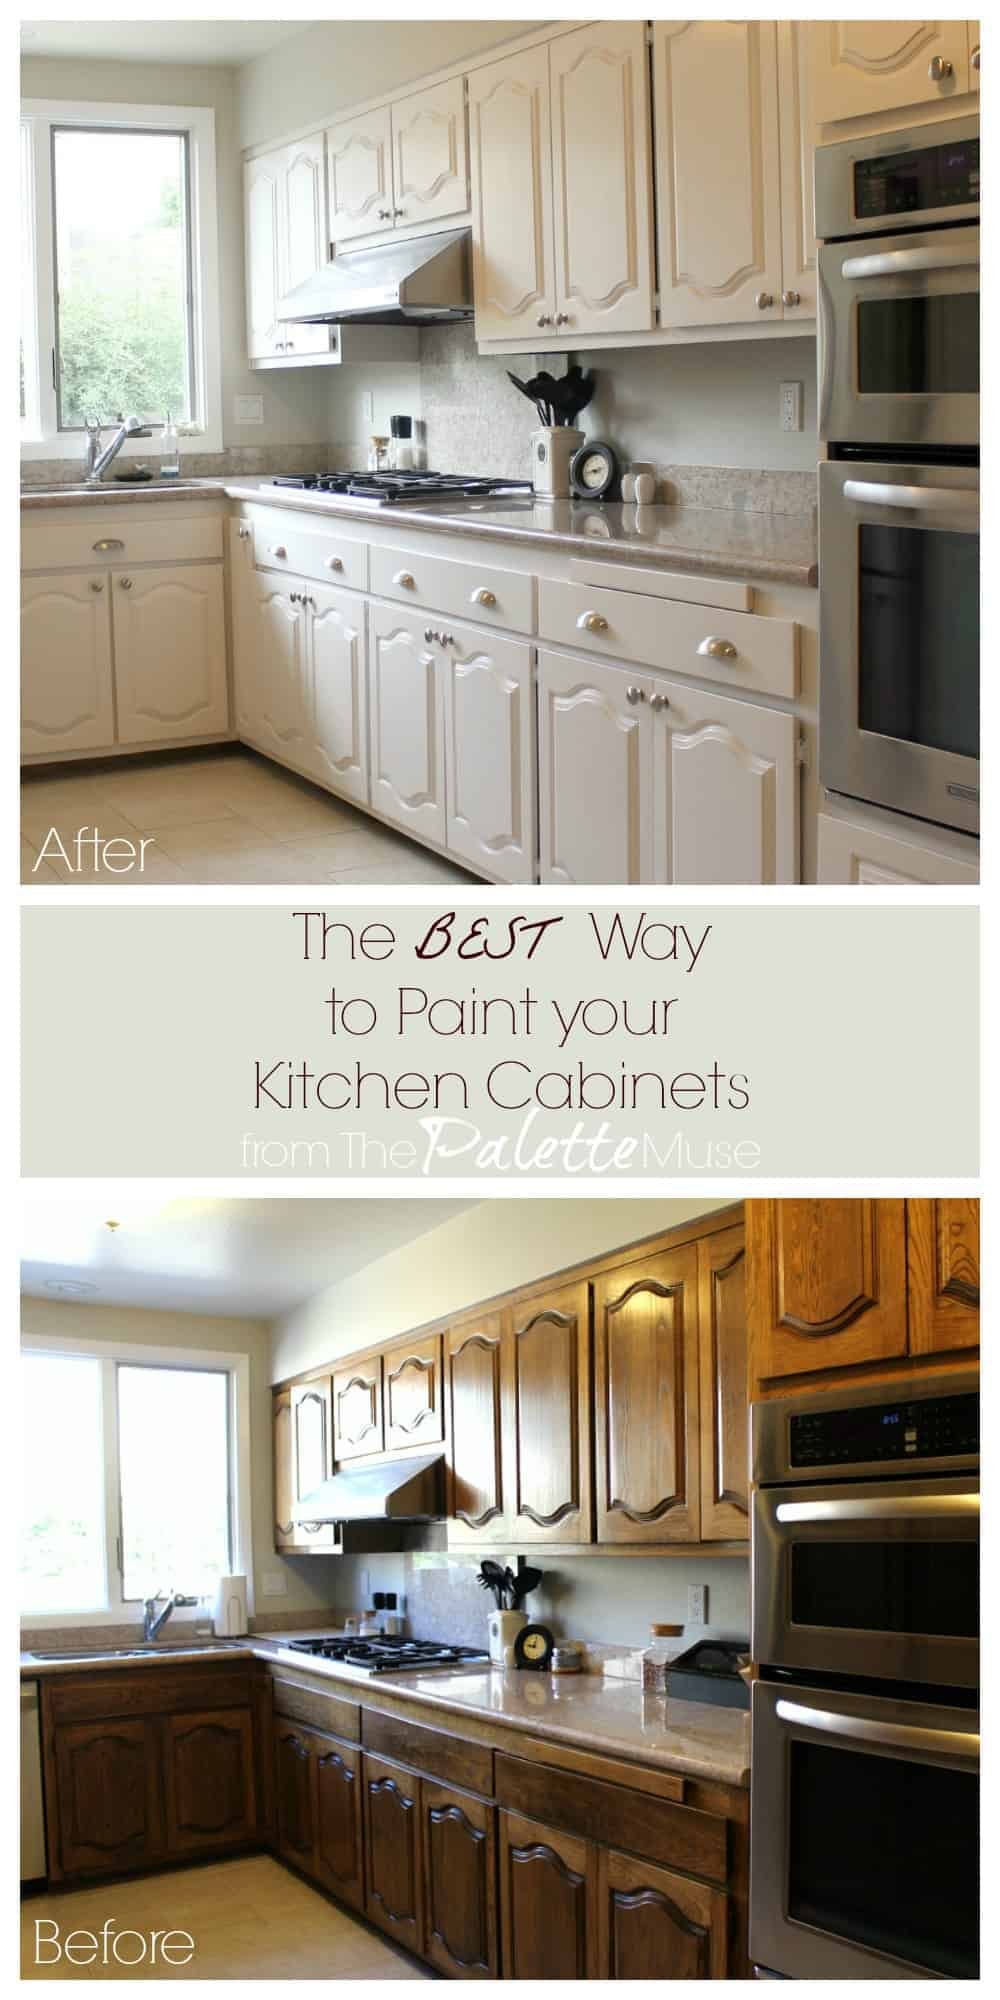
The best way to paint kitchen cabinets is to clean, sand, prime, and apply high-quality paint. Using a brush or sprayer ensures a smooth finish.
Painting kitchen cabinets can transform your kitchen without a full renovation. Proper preparation is crucial for a professional look. Start by removing cabinet doors and hardware. Clean surfaces thoroughly to remove grease and grime. Sanding the cabinets helps the primer and paint adhere better.
Apply a high-quality primer to ensure durability. Choose paint designed for cabinets, which can withstand frequent cleaning. Use a brush or sprayer for an even coat. Allow sufficient drying time between coats to prevent drips and uneven texture. Reattach doors and hardware once the paint is fully dry. This method results in beautifully painted kitchen cabinets that enhance your kitchen’s appearance.

Preparation
Preparation is crucial for painting kitchen cabinets. A well-prepared surface ensures long-lasting and professional results. Follow these steps to make sure your cabinets are ready for a fresh coat of paint.
Gather Supplies
Gather all necessary supplies before starting. Here’s a list:
- Painter’s tape
- Sandpaper (120-grit and 220-grit)
- Degreaser or TSP cleaner
- Drop cloths or plastic sheeting
- Paintbrushes and rollers
- Primer and paint
- Screwdriver
- Protective gloves and masks
Having everything ready saves time and effort during the project.
Clear The Space
Before you start, clear the kitchen. Move appliances and furniture out of the way. Remove all items from the cabinets. This gives you a clear workspace and protects your belongings.
| Task | Action |
|---|---|
| Remove Hardware | Use a screwdriver to remove knobs and handles. |
| Label Doors | Number and label each door for easy reassembly. |
| Clean Surfaces | Use a degreaser to clean all cabinet surfaces. |
| Sand Cabinets | Sand with 120-grit sandpaper for a smooth surface. |
Ensure the space is well-ventilated. Open windows and use fans to keep fresh air flowing. This helps with drying and reduces fumes.
Remove Cabinet Doors
Painting your kitchen cabinets can give your kitchen a fresh look. The first step is to remove the cabinet doors. This makes the painting process easier and more efficient. It also ensures a smoother and more professional finish.
Label Doors And Hardware
Before removing the cabinet doors, label each door. Use masking tape and a marker to write a number on each door. Also, write the same number inside the cabinet where the door belongs. This helps you remember where each door goes.
Do the same for the hardware. Place screws, hinges, and handles in labeled bags. This ensures you don’t lose any pieces and makes reassembly quicker.
Store Hardware Safely
Keep all hardware in a safe place. Use a small container or a zip-lock bag for each set of hardware. Label the bag with the corresponding door number.
Store the bags in a box or drawer. This keeps everything organized and prevents loss. Keeping hardware safe is essential for a smooth reinstallation process.
Here is a simple table for better organization:
| Door Number | Hardware Type | Storage Method |
|---|---|---|
| 1 | Screws, Hinges | Zip-lock Bag |
| 2 | Handles | Small Container |
By removing and labeling cabinet doors and hardware, you make your painting project smoother. Proper organization and storage save you time and effort.
Clean Surfaces
Before painting your kitchen cabinets, it’s crucial to clean the surfaces. This step ensures the paint adheres well and provides a smooth finish. A clean surface prevents peeling and cracking, extending the life of your paint job.
Degrease Cabinets
Kitchen cabinets accumulate grease and grime over time. Use a degreaser to clean them thoroughly. This removes stubborn stains and prepares the surface for painting.
Follow these steps to degrease your cabinets:
- Mix a degreaser solution according to the manufacturer’s instructions.
- Apply the solution with a sponge or cloth.
- Scrub gently but thoroughly to remove all grease.
Pay special attention to areas around the handles and edges. These spots tend to collect the most grease. Repeat the process if needed to ensure all residue is removed.
Rinse And Dry
After degreasing, rinse the cabinets with clean water. This step removes any leftover cleaning solution.
| Step | Description |
|---|---|
| 1. Rinse | Use a damp cloth to wipe down the cabinets. |
| 2. Dry | Wipe with a dry cloth to remove moisture. |
Ensure the cabinets are completely dry before painting. Moisture can cause the paint to bubble and crack. Allow the cabinets to air dry if needed.
By following these steps, you’ll have a clean surface ready for painting. This preparation ensures a professional-looking finish and long-lasting results.
Sand Cabinets
Sanding your kitchen cabinets is essential for a smooth finish. This step helps the paint stick better. It also removes old paint and grime. Sanding ensures your cabinets look professional.
Choose Sandpaper Grit
Picking the right sandpaper grit is crucial. Start with coarse grit like 80 to 100. This removes old paint and rough spots. Then use medium grit, such as 120 to 150. This smooths the surface. Finish with fine grit, about 220. This makes the surface ready for painting.
| Grit | Purpose |
|---|---|
| 80-100 | Remove old paint and rough spots |
| 120-150 | Smooth the surface |
| 220 | Prepare for painting |
Wipe Away Dust
After sanding, dust covers your cabinets. Use a damp cloth to wipe it away. Make sure to get into corners and edges. Dust can ruin your paint job. Vacuum the area to remove any fallen dust.
- Use a damp cloth
- Wipe all surfaces
- Get into corners and edges
- Vacuum the area
Now your cabinets are clean and ready for painting. Sanding and dusting are key steps. They ensure a smooth, professional finish.
Apply Primer
Applying primer is a crucial step in painting kitchen cabinets. It ensures the paint sticks well and lasts longer. A primer can hide stains and imperfections. This creates a smooth, even surface for the paint.
Select The Right Primer
Choosing the right primer is key to a great finish. Use an oil-based primer for wooden cabinets. It seals the wood and blocks stains. For laminate cabinets, use a bonding primer. It helps the paint adhere better.
Here is a quick guide to help you choose:
| Cabinet Material | Recommended Primer |
|---|---|
| Wood | Oil-based Primer |
| Laminate | Bonding Primer |
Use Proper Techniques
Applying primer correctly makes a big difference. Follow these steps:
- Clean the cabinets thoroughly to remove dust and grease.
- Use sandpaper to smooth the surface.
- Remove all sanding dust with a damp cloth.
Next, apply the primer:
- Stir the primer to mix it well.
- Use a high-quality brush or roller.
- Apply a thin, even coat of primer.
- Let the primer dry completely before sanding lightly.
- Wipe off any sanding dust before applying paint.
These steps ensure a smooth and durable finish.
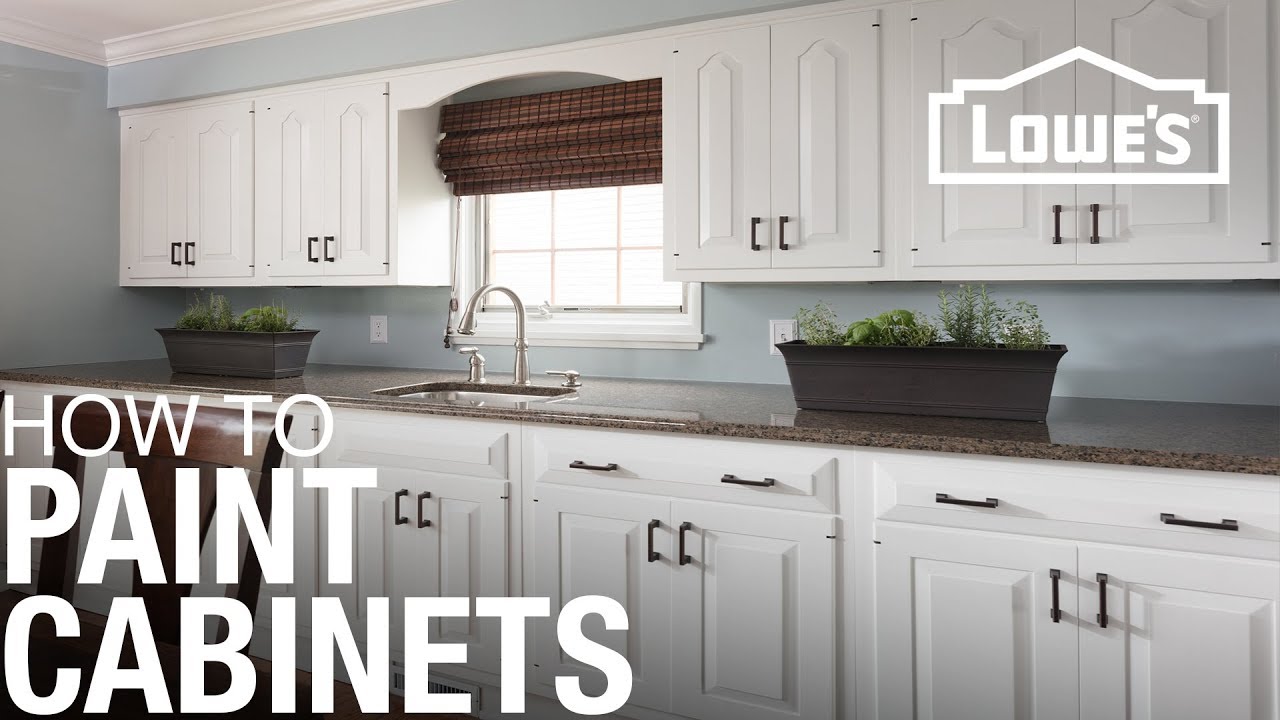
Paint Cabinets
Painting kitchen cabinets can transform your kitchen. It’s an affordable way to refresh your space. You can achieve a professional look with the right steps. Let’s dive into the best way to paint kitchen cabinets.
Select Paint Type
Selecting the right paint is crucial. Choose a paint designed for cabinets. These paints are durable and easy to clean. There are two main types: oil-based and latex-based.
- Oil-based paint: Dries hard and smooth. It’s resistant to stains.
- Latex-based paint: Easier to work with. It has low fumes and cleans up with water.
Both types have pros and cons. Oil-based offers a durable finish but has strong fumes. Latex-based is easier to use but may require more coats.
Apply First Coat
Before painting, prep your cabinets. Clean them thoroughly with a degreaser. Sand the surfaces to ensure the paint adheres well. Use a primer to create a smooth base.
Once the primer is dry, you can apply the first coat of paint. Use a high-quality brush or roller. Start with the inner edges and openings. Then move to the outer surfaces.
- Stir your paint well.
- Dip your brush lightly into the paint.
- Apply thin, even strokes.
- Let the first coat dry completely.
Thin coats prevent drips and ensure a smooth finish. Allow ample drying time between coats. This will help the paint cure properly.
| Step | Description |
|---|---|
| Clean and Sand | Remove grease and sand surfaces. |
| Prime | Apply a primer for a smooth base. |
| First Coat | Apply the first coat of paint. |
| Drying Time | Let the paint dry completely. |
Painting kitchen cabinets can be rewarding. The right steps ensure a lasting finish. Choose your paint type wisely. Apply the first coat with care. Enjoy your refreshed kitchen!
Add Finishing Touches
Adding finishing touches to your kitchen cabinets is crucial. It helps achieve a polished and professional look. This process involves applying a second coat and inspecting for flaws. Each step ensures your cabinets shine and last longer.
Apply Second Coat
After the first coat dries, it’s time for the second coat. Use a fine-grit sandpaper to smooth out any rough spots. Wipe the cabinets with a tack cloth to remove dust. Apply the second coat of paint using smooth, even strokes. This helps achieve a rich, uniform color.
Allow the second coat to dry completely. This may take several hours. Check the manufacturer’s instructions for exact drying times. Proper drying ensures the paint adheres well and looks great.
Inspect For Flaws
Once the paint dries, inspect your cabinets for any flaws. Look for drips, uneven spots, or missed areas. Use a bright light to help you see better. Touch up any areas as needed with a small brush. This attention to detail ensures a flawless finish.
Check the hardware and hinges too. Make sure they are secure and functioning well. Tighten any loose screws and replace any damaged parts. This step ensures your cabinets are not only beautiful but also functional.

Reassemble Cabinets
After your kitchen cabinets are painted and dried, it’s time to reassemble them. This step involves putting the doors and hardware back in place. It’s important to do this carefully to avoid any damage.
Reattach Doors And Hardware
To start, gather all your cabinet doors and hardware. Make sure you have all screws and hinges.
- Position the doors back on their frames.
- Align the hinges with the screw holes.
- Use a screwdriver to secure the hinges.
- Reattach the handles or knobs using their screws.
Double-check that each door is correctly aligned. Adjust as needed for a perfect fit. Ensure all screws are tight, but avoid overtightening.
Final Cleanup
Once the cabinets are reassembled, perform a final cleanup. This ensures your kitchen looks pristine.
- Wipe down the cabinet surfaces with a damp cloth.
- Check for any paint drips or smudges.
- Use a mild cleaner to remove any dust or debris.
Inspect the hardware to ensure it’s tightly secured. Make sure all doors open and close smoothly.
Finally, dispose of any remaining materials properly. This includes paint cans, brushes, and cleaning supplies.
| Task | Tools Needed |
|---|---|
| Reattach Doors | Screwdriver, Hinges, Screws |
| Reattach Hardware | Handles, Knobs, Screws |
| Final Cleanup | Cloth, Mild Cleaner |
By following these steps, your kitchen cabinets will look stunning and function well.
Frequently Asked Questions
How Do I Prep Cabinets For Painting?
Start by cleaning, sanding, and priming the cabinets for a smooth, long-lasting finish.
What Type Of Paint Is Best?
Use high-quality acrylic latex paint for durability and easy cleaning.
Should I Remove Cabinet Doors?
Yes, removing doors and hardware ensures a more even and professional finish.
Do I Need To Sand Before Painting?
Yes, sanding is crucial for better paint adhesion and a smoother finish.
How Many Coats Of Paint Needed?
Two to three coats usually provide the best coverage and durability.
Can I Use A Paint Sprayer?
Yes, a paint sprayer offers a smooth, even finish and saves time.
How Long Does The Paint Take To Dry?
Allow each coat to dry for at least 24 hours before applying the next.
Is Primer Necessary?
Yes, primer helps paint adhere better and enhances the final color.
How Do I Avoid Brush Marks?
Use high-quality brushes and apply thin, even coats to minimize brush marks.
Can I Paint Laminate Cabinets?
Yes, but use a bonding primer specifically designed for laminate surfaces.
Conclusion
Transforming your kitchen cabinets with a fresh coat of paint is simple and rewarding. By following the steps outlined, you can achieve a professional look. Remember to prepare, prime, and paint with care. Your kitchen will look refreshed and stylish, adding value to your home.
Happy painting!

