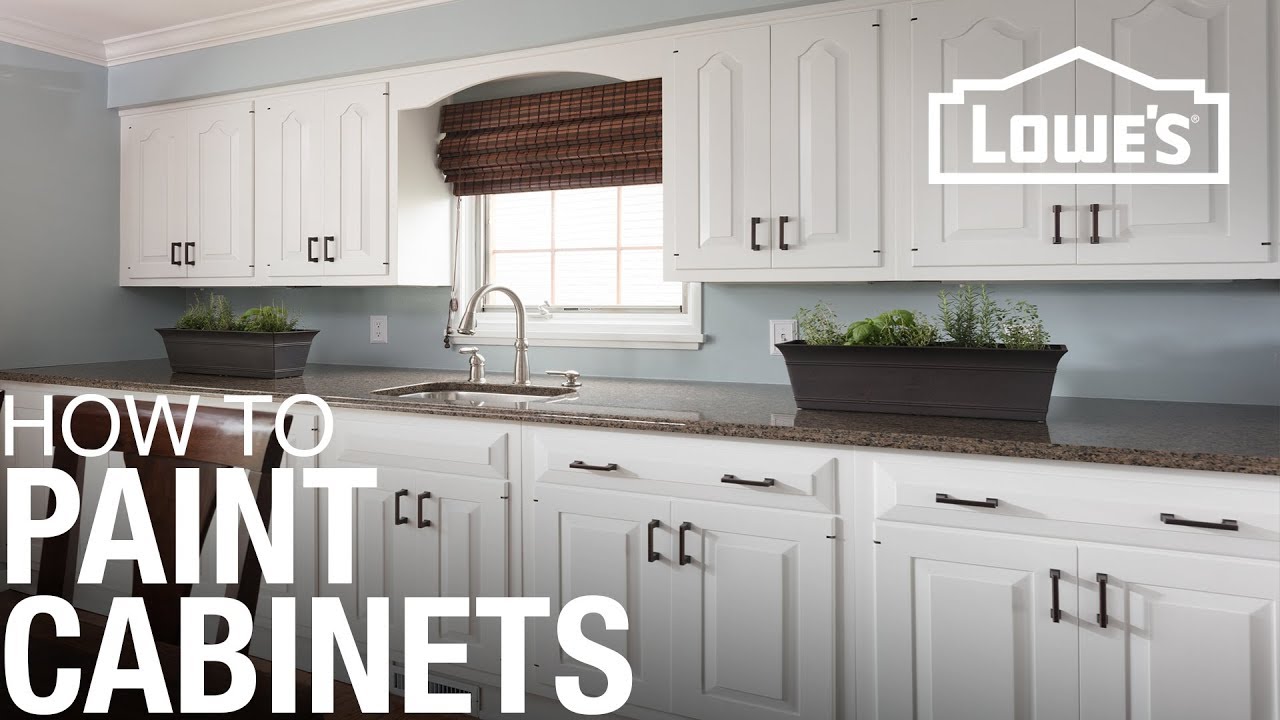
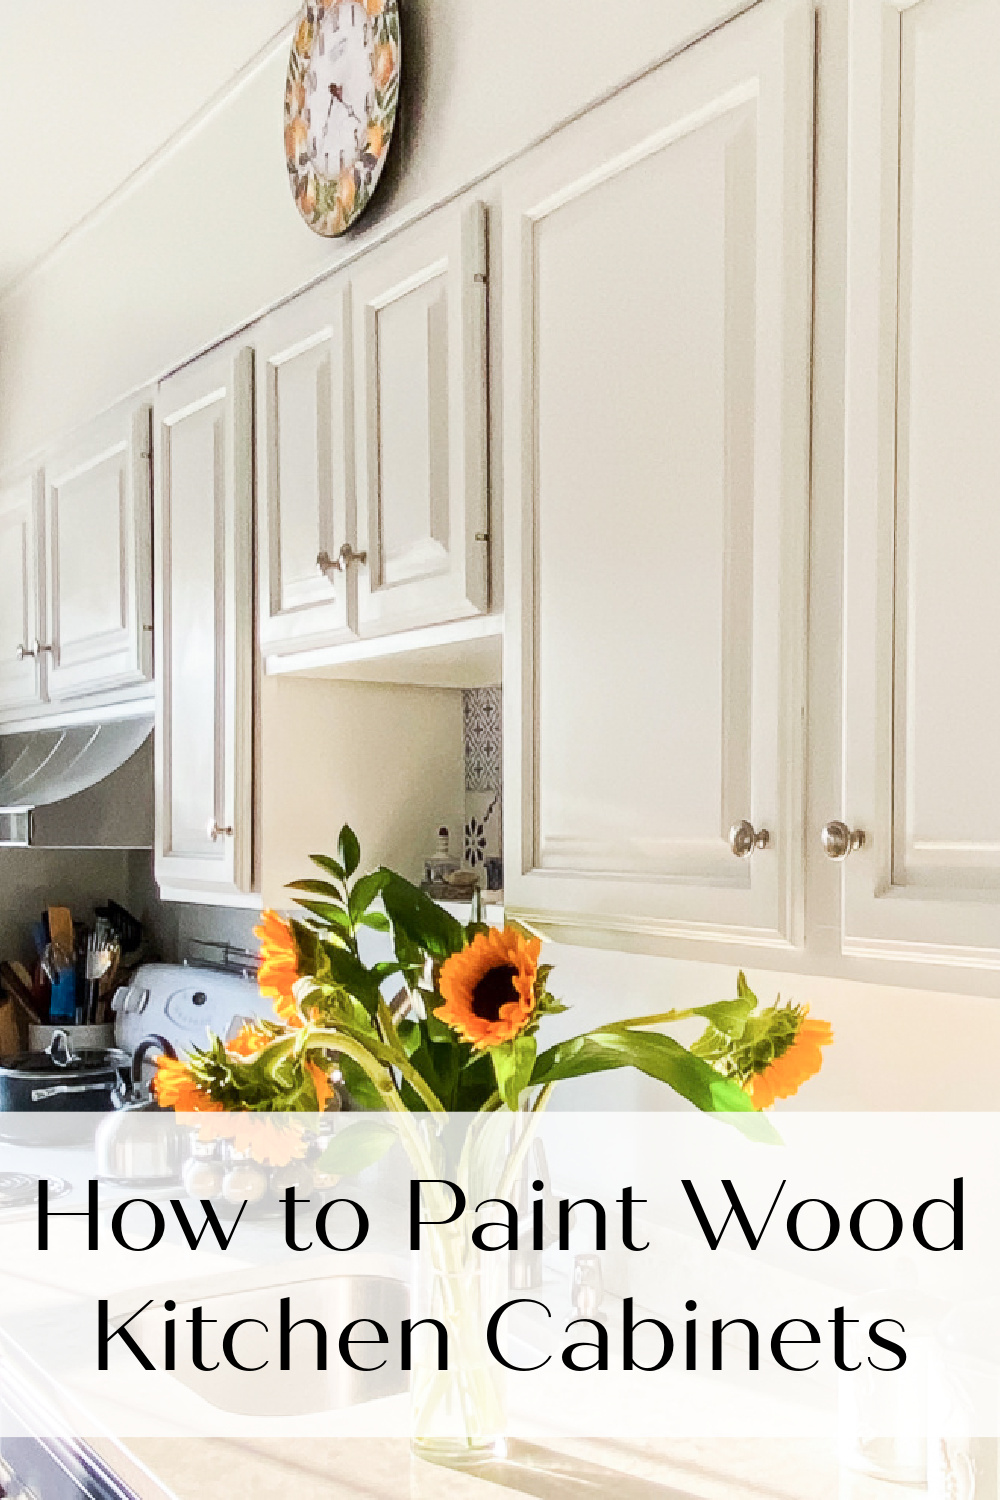
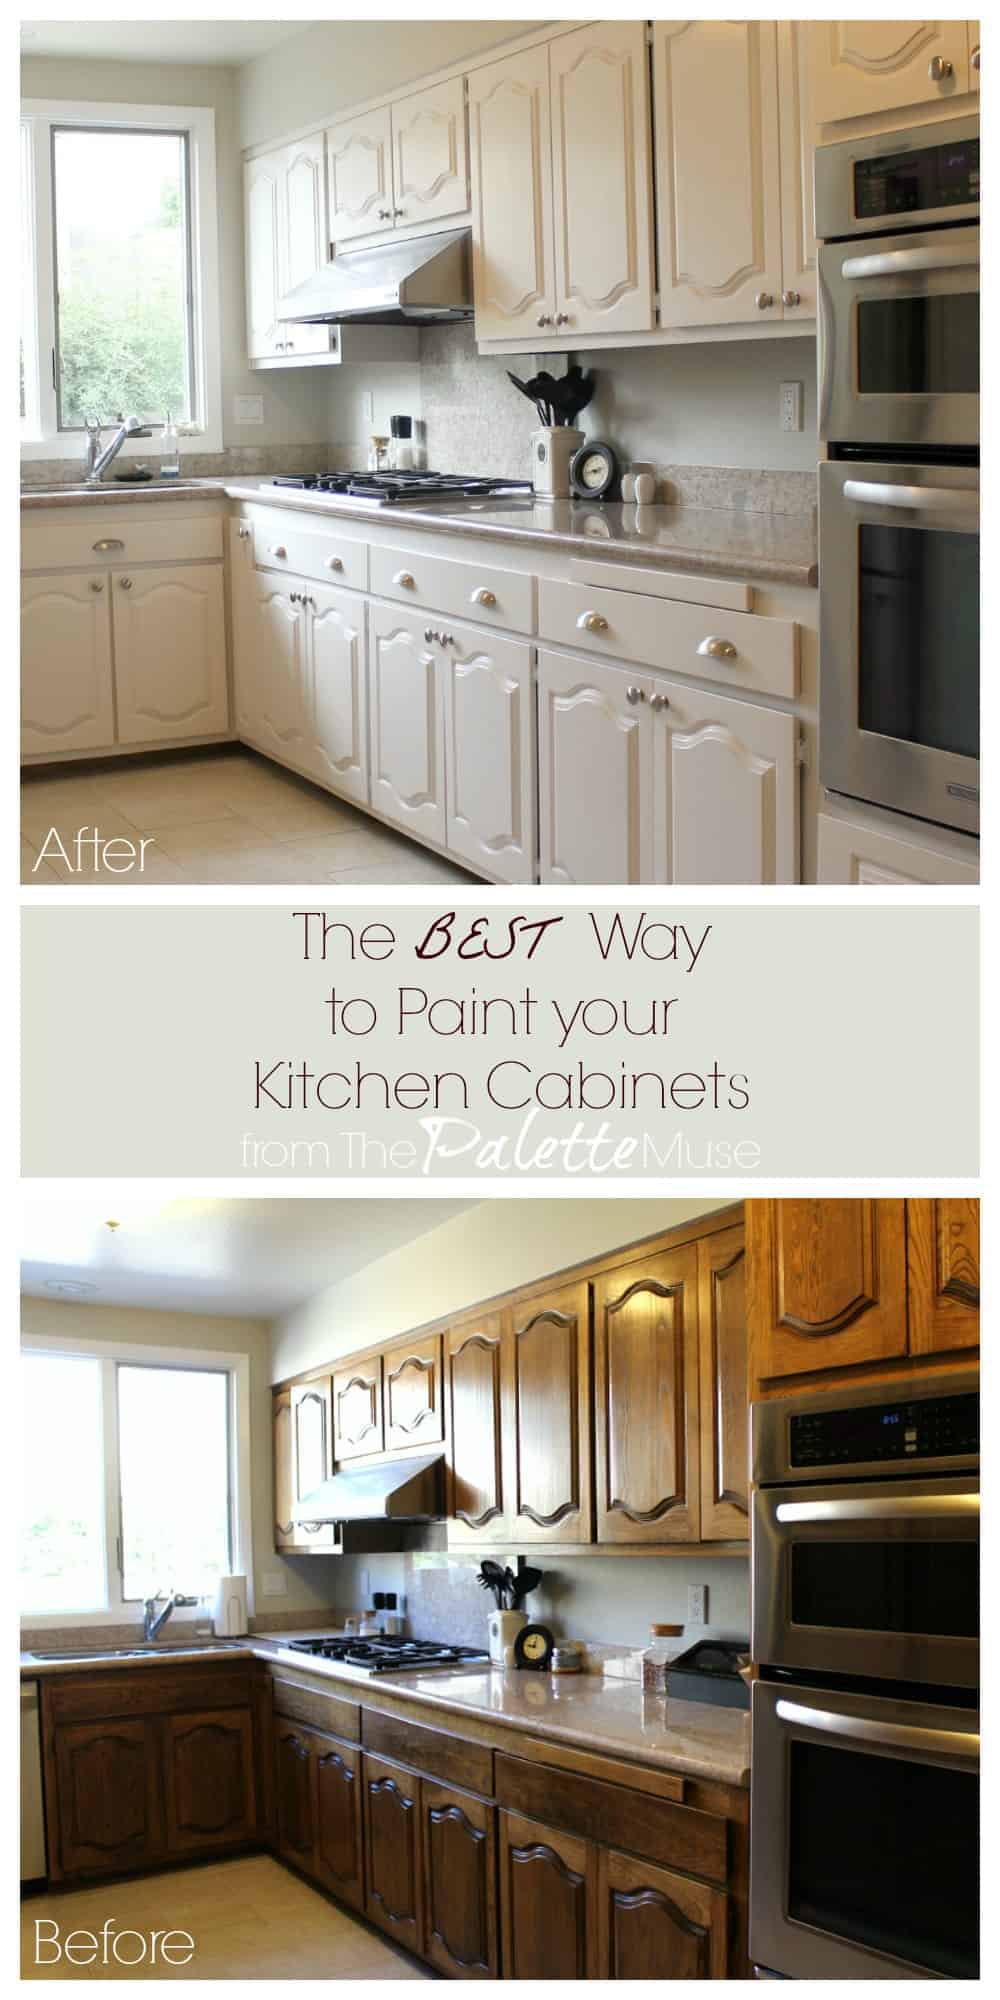
To paint kitchen cabinets, remove the doors and hardware, clean surfaces, sand, prime, and apply paint. Use high-quality brushes or rollers for a smooth finish.
Painting kitchen cabinets can dramatically transform your kitchen’s look. Proper preparation and technique ensure a professional and durable result. Start by removing all cabinet doors, drawers, and hardware. Clean the surfaces thoroughly to remove grease and grime. Sand the cabinets to create a smooth base for the primer and paint to adhere to.
Apply a primer to prevent stains and ensure even coverage. Use high-quality brushes or rollers to apply the paint in thin, even coats. Allow sufficient drying time between coats. Reattach the doors and hardware once everything is dry. With these steps, you can achieve a fresh, new look for your kitchen.
Preparation
Before you start painting your kitchen cabinets, proper preparation is crucial. Preparing ensures a smooth and professional finish. Follow these steps to get your cabinets ready for painting.
Gather Materials
Start by gathering all the necessary materials. Having everything ready saves time and hassle. Below is a list of items you will need:
- Painter’s tape
- Drop cloths
- Screwdriver
- Sandpaper (120 and 220 grit)
- Degreaser or TSP cleaner
- Paint and primer
- Paintbrushes and rollers
Clear The Area
Clear the area around your kitchen cabinets. This step prevents paint from getting on unwanted surfaces. Follow these steps to ensure a clean workspace:
- Remove all items from the countertops.
- Move furniture and appliances away from the cabinets.
- Cover the floors and countertops with drop cloths.
- Use painter’s tape to protect walls and adjacent surfaces.
Remove Cabinet Doors
Removing the cabinet doors makes painting easier and more thorough. Here’s how to do it:
| Step | Description |
|---|---|
| 1 | Use a screwdriver to remove the hinges. |
| 2 | Label each door to its corresponding spot. |
| 3 | Place screws and hinges in a safe container. |
| 4 | Lay doors flat on a covered surface. |
Cleaning Cabinets
Before starting your kitchen cabinet painting project, clean your cabinets. Clean cabinets ensure paint adheres well and looks smooth. This step involves removing dirt, grease, and grime.
Degreasing
Kitchen cabinets often have grease buildup. Use a strong degreaser to remove this. Mix warm water with a few drops of dish soap. Use a sponge to clean each cabinet surface.
For stubborn grease, use a commercial degreaser. Apply it directly and let it sit for a few minutes. Wipe off with a clean cloth. Make sure all grease is gone before moving to the next step.
Sanding Surfaces
After degreasing, sand the cabinet surfaces. Sanding helps paint stick better. Use 120-grit sandpaper for the first pass. Sand lightly to remove the top layer of finish.
Next, use 220-grit sandpaper for a smoother finish. Sand in the direction of the wood grain. Wipe off dust with a damp cloth. Repeat until surfaces feel smooth.
| Step | Tools Needed | Instructions |
|---|---|---|
| Degreasing | Dish soap, sponge, water, commercial degreaser | Mix soap and water, scrub with sponge, use degreaser for tough spots |
| Sanding | 120-grit and 220-grit sandpaper, damp cloth | Sand with 120-grit, then 220-grit, wipe dust |
- Ensure all grease is removed before sanding.
- Sand lightly, focusing on rough areas.
- Wipe cabinets clean after sanding.
Priming Cabinets
Priming your kitchen cabinets is a crucial step. It ensures the paint adheres well and provides a smooth finish. Without a good primer, the final look may not last long.
Choosing Primer
Selecting the right primer is essential. Oil-based primers are durable and block stains. Water-based primers dry quickly and are easier to clean.
Consider the type of wood for your cabinets. For instance, oak cabinets need a heavy-duty primer. MDF cabinets work well with water-based primers. Choose a high-quality primer to achieve the best results.
Applying Primer
Start by stirring the primer well. Use a high-quality brush or roller to apply. Cover all surfaces evenly. Avoid drips and runs.
Apply a thin coat first. Let it dry completely. Lightly sand the surface using fine-grit sandpaper. This helps create a smooth base. Clean the dust with a damp cloth.
Apply a second coat if needed. Follow the same steps as the first coat. Ensure a smooth and even finish.
| Primer Type | Drying Time | Best For |
|---|---|---|
| Oil-based | 24 hours | Stain blocking |
| Water-based | 1-2 hours | Quick projects |
- Stir the primer thoroughly.
- Use a high-quality brush or roller.
- Apply thin, even coats.
- Allow each coat to dry fully.
- Sand lightly between coats.
Following these steps ensures a perfect priming job. Your cabinets will be ready for a beautiful paint finish.

Painting Techniques
Painting kitchen cabinets can transform your kitchen. It can make it look fresh and new. Choosing the right painting technique is crucial for achieving a smooth finish. Each method has its pros and cons. Let’s explore the different painting techniques for kitchen cabinets.
Brush Vs. Roller
Using a brush gives you more control. You can reach tight corners easily. Brushes are great for detailed work. They are also good for small areas. But, they can leave brush marks.
Rollers cover large surfaces quickly. They give a smooth finish. They are perfect for flat doors. Rollers can save you time. But, they may not work well in corners.
| Tool | Pros | Cons |
|---|---|---|
| Brush |
|
|
| Roller |
|
|
Spraying Method
The spraying method offers a professional look. It provides an even finish. Sprayers can reach every nook. You can paint quickly with a sprayer. They are perfect for large kitchens.
But, spraying needs more prep work. You must cover everything you don’t want painted. It also requires practice. An uneven spray can ruin the finish. You may need to buy or rent the equipment.
- Pros:
- Professional finish
- Even coverage
- Fast application
- Cons:
- Needs more prep
- Requires practice
- Equipment cost
Applying Paint
Now that your kitchen cabinets are primed and ready, it’s time to apply the paint. This step involves applying multiple coats to ensure a smooth and durable finish. Follow these steps for a professional look.
First Coat
Start with a high-quality paintbrush or foam roller. Dip your brush into the paint and remove excess. Begin painting the edges and details first. Use long, even strokes to avoid brush marks. After edges, use the roller for flat surfaces. Apply a thin, even layer. Allow the first coat to dry completely. Drying times can vary, but usually, it takes about 4-6 hours.
Second Coat
After the first coat is dry, lightly sand the surfaces. Use fine-grit sandpaper (220-grit works well). Wipe away any dust with a damp cloth. Now, apply the second coat of paint. Follow the same technique as the first coat. Focus on achieving full coverage and a smooth finish. Let the second coat dry for at least 24 hours before reassembling the cabinets.
Drying And Curing
Proper drying and curing of painted kitchen cabinets ensure durability and a smooth finish. This phase is crucial for achieving professional results. Understanding the differences between drying and curing is essential.
Drying Times
Drying times vary based on the type of paint used. Water-based paints dry faster than oil-based paints. Typically, water-based paints dry within 4-6 hours. Oil-based paints need at least 24 hours to dry. Humidity and temperature also affect drying times. Ensure your kitchen is well-ventilated. Use fans to speed up the drying process. Avoid touching the cabinets during this phase.
Curing Process
The curing process is different from drying. Curing means the paint has fully hardened. This process can take up to 30 days. During curing, the paint bonds to the cabinet surface. Avoid heavy usage during this period. Light use is fine after 24 hours. For best results, wait until fully cured.
| Paint Type | Drying Time | Curing Time |
|---|---|---|
| Water-Based | 4-6 hours | 21-30 days |
| Oil-Based | 24 hours | 30 days |
Follow these tips for optimal results:
- Use fans to reduce drying time.
- Maintain a consistent temperature.
- Limit heavy usage until fully cured.
Reassembling Cabinets
Reassembling your kitchen cabinets is the final step in your painting project. This process ensures everything looks neat and operates smoothly. Follow these steps to complete your kitchen transformation.
Attaching Doors
Start by reattaching the cabinet doors to the frames. Use a screwdriver to secure the hinges. Align each door carefully for a uniform look. Tighten the screws but avoid over-tightening to prevent damage.
Check that each door opens and closes smoothly. Adjust the hinges if necessary. This step is crucial to ensure ease of use.
Installing Hardware
Next, install the handles and knobs. This adds a finishing touch to your cabinets. Begin by measuring the placement for each piece of hardware. Use a template for consistent positioning.
Drill holes where you marked the measurements. Attach the handles and knobs using screws. Tighten them securely but gently. Ensure all hardware aligns properly for a polished look.
Reassembling your cabinets carefully ensures your kitchen looks professional and functions well. Follow these steps for a satisfying finish to your painting project.
Final Touches
After painting kitchen cabinets, the final touches make a big difference. These steps ensure your work looks perfect and lasts longer. Let’s dive into the key aspects of finalizing your cabinet painting project.
Touch-up Paint
Inspect the cabinets closely for any missed spots or uneven areas. Use a small brush for touch-up paint. This ensures every part looks smooth and perfect. Keep the original paint handy for color matching. Apply the paint gently to avoid noticeable brush strokes.
Let the touch-up paint dry completely. Then, check again for any missed spots. A second touch-up might be necessary for a flawless finish.
Cleaning Up
After painting, clean your brushes and tools. Use warm soapy water for water-based paints. For oil-based paints, use a suitable solvent. Proper cleaning ensures your tools last longer and are ready for future projects.
Also, clean the surrounding area. Remove any painter’s tape carefully to avoid chipping the paint. Dispose of any used plastic sheets or coverings.
| Task | Materials Needed |
|---|---|
| Touch-Up Paint | Small brush, Original paint |
| Cleaning Brushes | Warm soapy water or solvent |
| Cleaning Area | Garbage bags, Cleaning cloths |
Check the cabinet handles and hinges. Ensure they are clean and properly installed. This adds to the overall polished look of your kitchen.
With these final touches, your kitchen cabinets will look professionally done. Enjoy your refreshed kitchen space!
Frequently Asked Questions
What Materials Are Needed To Paint Kitchen Cabinets?
You will need sandpaper, primer, paint, brushes, rollers, and painter’s tape.
How Do I Prepare Cabinets For Painting?
Clean surfaces, remove hardware, sand thoroughly, and apply primer before painting.
What Type Of Paint Is Best?
Use high-quality latex or oil-based paint for durability and smooth finish.
Should I Remove Cabinet Doors Before Painting?
Yes, removing doors ensures even coverage and easier access to all surfaces.
How Many Coats Of Paint Are Necessary?
Typically, two coats of paint provide the best coverage and finish.
How Long Does The Paint Take To Dry?
Drying time varies, but usually, it’s about 24 hours between coats.
Do I Need To Sand Between Coats?
Yes, light sanding between coats ensures a smooth and professional finish.
Can I Use A Sprayer For Painting Cabinets?
Yes, a paint sprayer can provide a smooth, even finish.
How Do I Avoid Brush Marks?
Use high-quality brushes and apply thin, even coats of paint.
How Do I Protect Painted Cabinets?
Apply a clear topcoat for added protection and durability.
Conclusion
Transforming your kitchen cabinets with paint can rejuvenate your space. Follow our simple steps for a smooth process. Enjoy the satisfaction of a DIY project that adds value and style. With patience and care, your kitchen will look fresh and modern.
Happy painting!

