Yes, kitchen cabinets can be painted. Painting cabinets is a cost-effective way to refresh your kitchen.
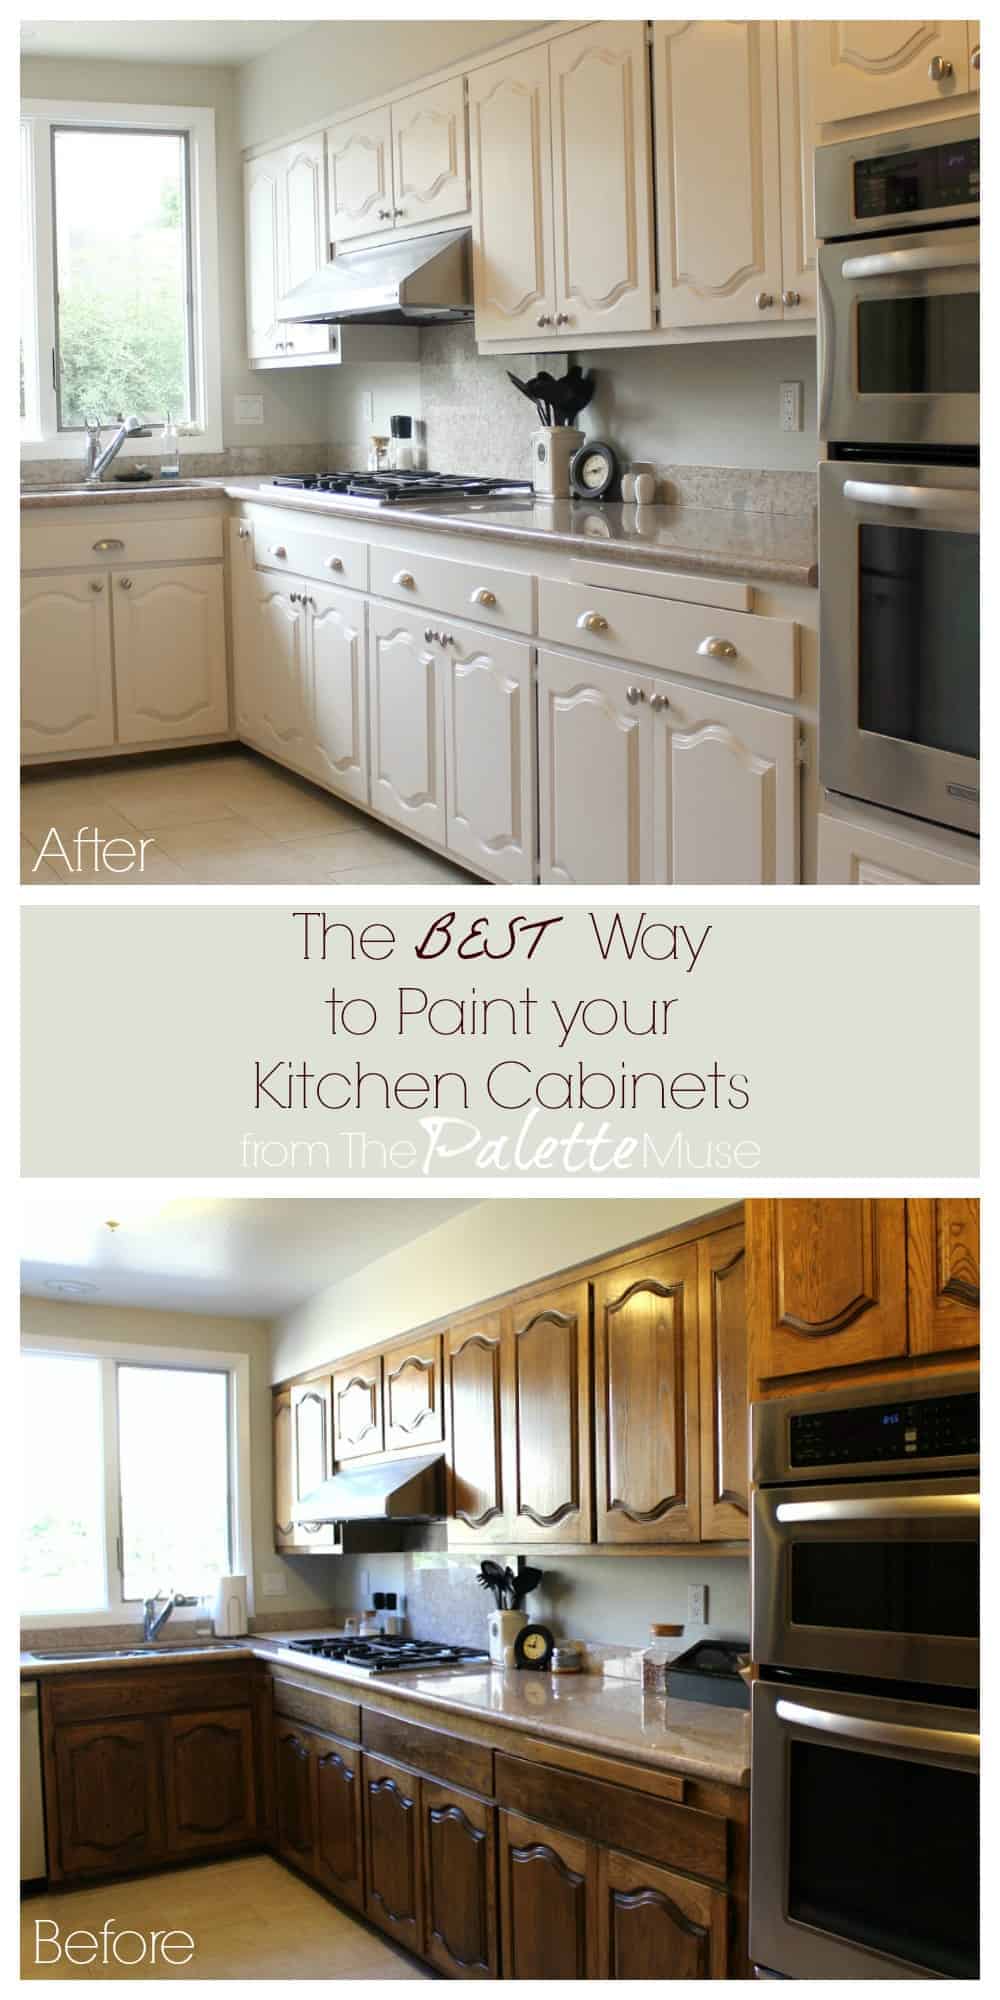
Painting kitchen cabinets offers a budget-friendly alternative to replacing them. It allows for a complete transformation without the high costs associated with new cabinetry. Proper preparation, such as cleaning, sanding, and priming, is crucial to ensure the paint adheres well and lasts long.
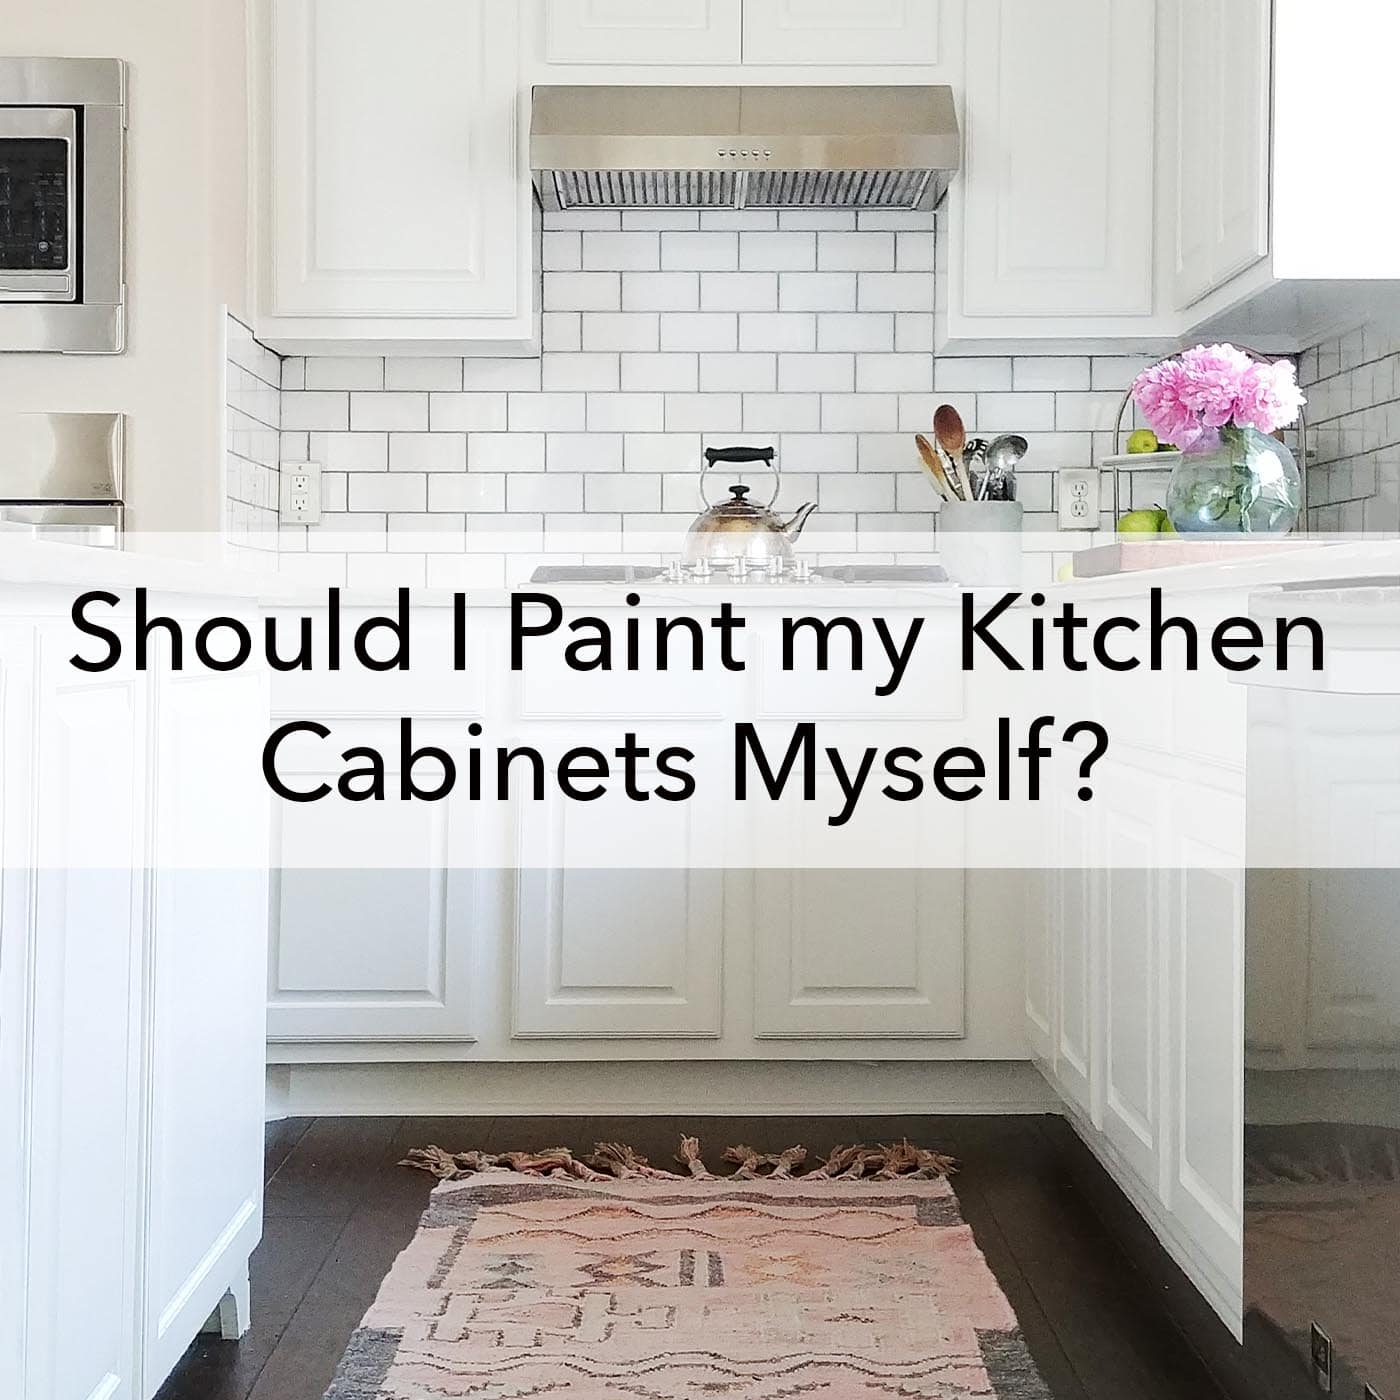
A variety of paint types, including latex and oil-based paints, can be used based on your preference and the cabinet material. The process can be done by homeowners or professionals, depending on skill levels and desired outcomes. Painting kitchen cabinets can significantly enhance the overall look and feel of your kitchen, making it more modern and inviting.
Choosing The Right Paint
Choosing the right paint for kitchen cabinets is crucial. The paint you select will affect the look and durability. With several options available, making an informed choice is essential.
Types Of Paint
There are different types of paint for kitchen cabinets. Each type has unique benefits.
- Latex Paint: Easy to clean and dries quickly.
- Oil-Based Paint: Durable and smooth finish.
- Chalk Paint: Gives a vintage, matte look.
Best Paint Finishes
The finish impacts the look and maintenance of your cabinets. Here are some options:
| Finish Type | Characteristics |
|---|---|
| Matte | Non-reflective, hides imperfections. |
| Eggshell | Slight sheen, easy to clean. |
| Semi-Gloss | Shiny, very durable and easy to clean. |
| Gloss | High shine, very durable. |
Gathering Supplies
To paint kitchen cabinets, gather all the necessary supplies. Proper preparation ensures a smooth and professional finish. Below, we list the essential tools and additional materials you’ll need.
Essential Tools
- Screwdrivers: Remove cabinet doors and hardware.
- Sandpaper: Smooth surfaces before painting.
- Paintbrushes: Quality brushes for a clean finish.
- Rollers: Cover large areas evenly.
- Painter’s Tape: Protect edges and nearby surfaces.
- Drop Cloths: Shield floors from paint spills.
Additional Materials
- Primer: Prepares the surface for paint.
- Paint: Choose a durable, high-quality paint.
- Wood Filler: Fix any dents or scratches.
- Degreaser: Clean cabinets thoroughly before painting.
- Tack Cloth: Remove dust after sanding.
Preparation
Painting kitchen cabinets is a cost-effective way to refresh your kitchen. Proper preparation is crucial for a successful outcome. Below, we will detail the essential steps to prepare your cabinets.
Cleaning Cabinets
Start by removing all cabinet doors and hardware. This makes cleaning easier and ensures you don’t miss any spots. Use a grease-cutting cleaner to remove any dirt or grime. A mixture of water and dish soap works well.
- Mix water and dish soap in a spray bottle.
- Spray the solution on the cabinets.
- Wipe with a clean cloth.
For stubborn grease, use a stronger cleaner. Rinse thoroughly with water to remove any cleaner residue.
Sanding Surfaces
Sanding is necessary for paint adhesion. Use 120-grit sandpaper to rough up the surface. This will help the primer and paint stick better.
- Lightly sand all cabinet surfaces.
- Focus on areas with existing paint or varnish.
- Wipe off the sanding dust with a tack cloth.
After sanding, inspect the surfaces. Fill any holes or cracks with wood filler. Let the filler dry and sand again for a smooth finish.
Using a tack cloth, wipe down the cabinets one last time. This removes any remaining dust, ensuring a clean surface for painting.
Credit: papermoonpainting.com
Priming Cabinets
Priming is a crucial step in painting kitchen cabinets. It ensures the paint adheres well and lasts longer. Skipping this step can lead to peeling paint. Let’s dive into the process of priming your cabinets.
Choosing A Primer
Choosing the right primer is vital. Here are some tips:
- Oil-based primers are great for blocking stains.
- Water-based primers are easier to clean and have less odor.
- Shellac-based primers dry quickly and seal surfaces well.
Check the primer label for compatibility with your cabinet material. Use a primer designed for the type of paint you will use.
| Primer Type | Benefits |
|---|---|
| Oil-based | Blocks stains, durable |
| Water-based | Easy to clean, low odor |
| Shellac-based | Quick drying, good sealing |
Applying Primer
Before applying primer, ensure cabinets are clean and dry. Remove any grease and dirt. Sand surfaces lightly to create a smooth base.
- Use a brush for corners and edges.
- Use a roller for flat surfaces.
- Apply a thin, even coat of primer.
- Allow the primer to dry completely. Follow the drying time on the label.
- Sand the primed surface lightly for a smooth finish.
Once the primer is dry and smooth, your cabinets are ready for paint. Proper priming ensures a durable and beautiful finish.
Painting Techniques
Painting your kitchen cabinets can breathe new life into your kitchen. Choosing the right painting technique is crucial for a professional-looking finish. In this section, we will explore different painting techniques.
Brush Vs. Roller
Both brushes and rollers have their own advantages. Brushes are great for detailed work. You can use them for corners and edges. They offer more control. But, brushes can leave brush strokes if not used carefully.
Rollers provide a smooth finish. They cover large areas quickly. They are ideal for flat surfaces. Rollers can also reduce the risk of streaks. They are less suitable for intricate details.
| Brush | Roller |
|---|---|
| Great for details | Ideal for large areas |
| More control | Smoother finish |
| Risk of brush strokes | Less streaking |
Spray Painting
Spray painting offers a flawless finish. It is faster than brushing or rolling. Spray painting is ideal for large projects. It ensures even coverage and a professional look.
When spray painting, proper setup is essential. Cover all areas you don’t want to paint. Use painter’s tape and plastic sheets. Ensure good ventilation in your workspace. Wear protective gear to avoid inhaling fumes.
Here are some tips for successful spray painting:
- Use a high-quality paint sprayer.
- Practice on a test surface first.
- Keep the sprayer moving to avoid drips.
- Apply multiple light coats instead of one heavy coat.
Spray painting can save you time and effort. It is a great choice for a sleek, modern finish.
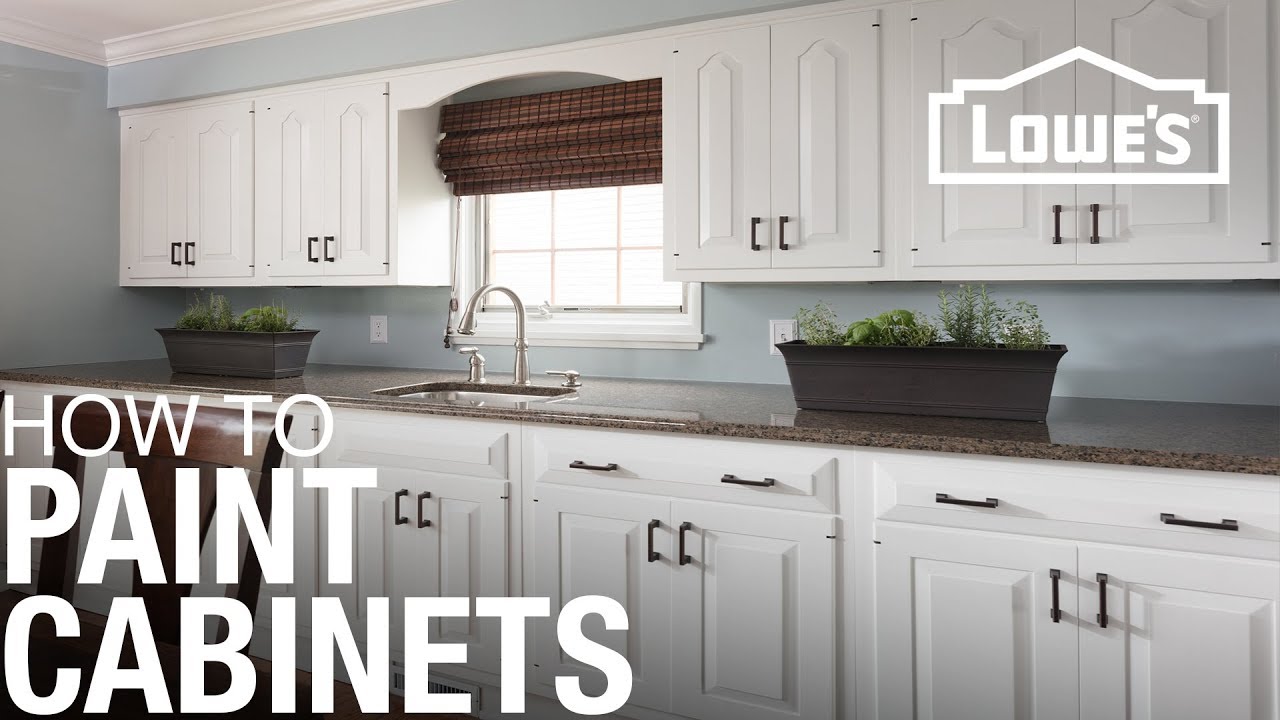
Credit: www.youtube.com
Drying And Curing
Painting kitchen cabinets can refresh your space. But, understanding the drying and curing process is vital for a lasting finish. These steps ensure your cabinets look professional and durable. Let’s explore the essential parts of drying and curing.
Drying Time
The drying time for painted kitchen cabinets varies. Factors include the type of paint used, the environment, and the number of coats applied. Typically, water-based paints dry faster than oil-based ones.
Here’s a quick guide:
| Paint Type | Drying Time |
|---|---|
| Water-Based | 2-4 hours |
| Oil-Based | 6-8 hours |
Ensure each coat dries completely before adding another. This prevents tackiness and ensures a smooth finish.
Ensuring Proper Curing
Curing is different from drying. Curing means the paint has fully hardened. This process can take several weeks. During curing, the paint bonds to the surface and reaches its full durability.
Follow these tips for proper curing:
- Ventilation: Ensure good airflow in the room.
- Temperature: Maintain a stable temperature, ideally between 60°F and 80°F.
- Humidity: Keep humidity levels low to moderate.
Avoid heavy use of cabinets during curing. This prevents damage to the new paint. Patience during this step leads to better results and a longer-lasting finish.
By understanding drying and curing, you can achieve a beautiful, durable finish on your kitchen cabinets.
Reassembly And Final Touches
You’ve painted your kitchen cabinets, and they look stunning. Now, it’s time for the final steps: reassembly and adding the finishing touches. These steps are crucial to ensure your cabinets look polished and professional.
Reinstalling Hardware
Start by reinstalling the hardware. This includes hinges, handles, and knobs. Make sure each piece is clean and free of old paint. Use a screwdriver to attach them securely. Pay close attention to alignment. Misaligned hardware can make cabinets look uneven.
- Gather all screws and bolts.
- Use a level to ensure straight handles and knobs.
- Tighten screws but avoid over-tightening.
Inspecting The Finish
Inspect the finish for any uneven areas or drips. Use a fine-grit sandpaper to smooth out imperfections. Wipe away dust with a damp cloth. Check for consistent color and texture.
- Look for drips or bubbles.
- Gently sand any rough spots.
- Clean the surface after sanding.
By following these steps, your kitchen cabinets will not only look beautiful but also last longer. Enjoy your refreshed kitchen space!
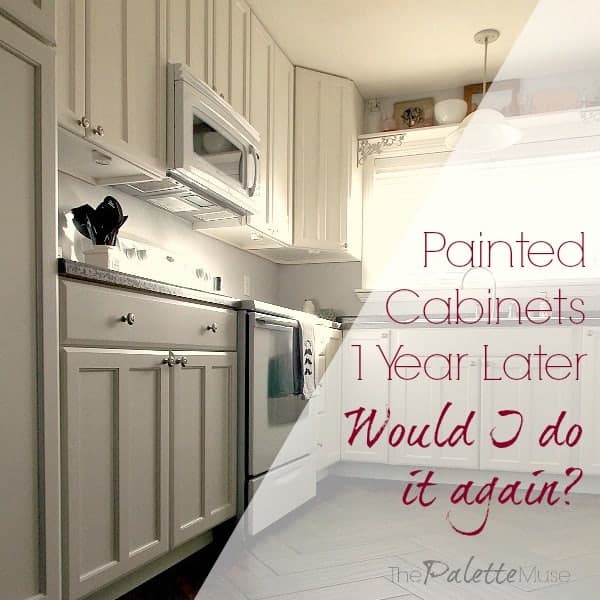
Credit: thepalettemuse.com
Maintenance Tips
Maintaining painted kitchen cabinets ensures they remain vibrant and long-lasting. Proper care can prevent chips, scratches, and dullness. Below are some essential maintenance tips to keep your cabinets looking fresh and new.
Cleaning Painted Cabinets
Regular cleaning is crucial for painted cabinets. Use a soft, damp cloth to wipe them down. Avoid harsh chemicals that can damage the paint. A mixture of mild dish soap and warm water works best. Dry the cabinets with a clean towel after cleaning.
For tougher stains, create a paste with baking soda and water. Apply gently using a soft cloth. Always test on a small area first. This ensures the paint remains intact.
Touch-up Tips
Minor chips and scratches are common. Keep a small amount of the original paint for touch-ups. Use a fine brush for precise application.
Before touching up, clean the area thoroughly. Lightly sand the damaged spot to smooth it out. Apply the paint in thin layers, letting each coat dry completely. This method blends the touch-up seamlessly with the existing paint.
For larger areas, consider repainting the entire section. This ensures a uniform appearance.
Frequently Asked Questions
Can Kitchen Cabinets Be Painted Easily?
Yes, kitchen cabinets can be painted easily with the right preparation and tools.
What Paint Is Best For Kitchen Cabinets?
Acrylic latex paint is best for kitchen cabinets due to its durability and easy cleanup.
Do I Need To Sand Cabinets Before Painting?
Yes, sanding helps the paint adhere better, ensuring a smooth and long-lasting finish.
How Long Does Cabinet Paint Last?
Properly painted cabinets can last 8-10 years with regular use and proper maintenance.
Can I Paint Over Varnished Cabinets?
Yes, but you must sand and prime them first for the paint to adhere properly.
Should I Use A Brush Or Roller?
Use both. A brush for detailed areas and a roller for flat surfaces provide the best finish.
How Many Coats Of Paint Needed?
Typically, two coats of paint are needed for a uniform and durable finish on kitchen cabinets.
Can I Paint Cabinets Without Removing Doors?
Yes, but removing doors ensures a more thorough and even paint job.
What Primer Should I Use For Cabinets?
Use a high-quality bonding primer to ensure the paint adheres well to the cabinet surface.
How Long To Wait Between Coats?
Wait at least 4-6 hours between coats to ensure proper drying and adhesion.
Conclusion
Painting kitchen cabinets is a cost-effective way to refresh your space. It’s a project many homeowners can tackle. With the right prep and materials, you can achieve a stunning transformation. Don’t hesitate to give it a try and enjoy a revitalized kitchen on a budget.
Happy painting!

