
Replacing kitchen cabinets can be challenging. It requires precise measurements and proper installation techniques.
Upgrading kitchen cabinets can significantly enhance your kitchen’s functionality and aesthetics. The process involves removing the old cabinets, ensuring proper measurements, and installing the new ones accurately. While some may find it manageable as a DIY project, it often demands specialized tools and skills.
Professional installation can ensure a perfect fit and finish, avoiding common pitfalls. Whether you’re seeking a modern look or improved storage solutions, new cabinets can transform your kitchen space. Proper planning and execution are crucial for a successful renovation. Consider your budget, style preferences, and the expertise required before starting this home improvement project.
Assessing Your Skills
Replacing kitchen cabinets can be a challenging task. Assessing your skills is crucial before starting the project. This helps you decide if you can handle the job or if you need professional help. Let’s break down the different aspects to consider.
Diy Vs. Professional Help
Are you confident in your carpentry skills? If yes, a DIY approach might be feasible. DIY projects can save money. They also give a sense of accomplishment. But lack of experience can lead to costly mistakes.
Professional help ensures quality work. Experts have the skills and tools required. Hiring a pro can be more expensive. But it saves time and reduces stress. Consider your budget and the complexity of the job.
Evaluating Tools And Equipment
Proper tools are essential for cabinet replacement. Do you own the necessary tools? Basic tools include:
- Hammer
- Screwdriver
- Level
- Measuring tape
Advanced tools like a power drill, jigsaw, and clamps might be needed too. Renting tools is an option if you don’t own them. Check the condition and availability of your tools before starting.
| Tool | Purpose |
|---|---|
| Hammer | For nailing and assembling |
| Screwdriver | For screwing and unscrewing |
| Level | To ensure cabinets are even |
| Measuring Tape | For accurate measurements |
Assess your skills and tools carefully. Make an informed decision to ensure a smooth cabinet replacement process.
Credit: www.reddit.com
Planning Your Project
Replacing kitchen cabinets can seem hard at first. With proper planning, the task becomes manageable. Careful attention to your budget, timeline, and scheduling is essential. Here’s how you can plan your cabinet replacement project effectively.
Budget Considerations
Creating a budget is the first step in your project. Determine how much you can spend. Consider the cost of materials, labor, and unexpected expenses. Here’s a simple table to help you plan:
| Item | Estimated Cost |
|---|---|
| Cabinets | $2000 – $5000 |
| Labor | $1000 – $3000 |
| Additional Materials | $500 – $1500 |
| Unexpected Costs | $500 – $1000 |
Total costs vary based on your choices. Having a clear budget helps avoid overspending. Budget planning is crucial to your project’s success.
Timeline And Scheduling
Setting a timeline ensures your project stays on track. Here are steps to create a timeline:
- Determine the start date.
- Estimate time for each task.
- Include buffer time for delays.
- Set a completion date.
Consider the availability of materials and labor. Scheduling prevents project delays and keeps work organized. For example, ordering cabinets in advance avoids waiting times.
Break the project into manageable phases:
- Planning and budgeting (1 week)
- Ordering materials (2 weeks)
- Removing old cabinets (1 week)
- Installing new cabinets (2 weeks)
Keep track of your progress. Adjust your schedule if needed. A well-planned timeline ensures a smooth replacement process.
Choosing New Cabinets
Replacing kitchen cabinets is a significant task. The first step is selecting the right cabinets for your space. Your choice affects not only the look but also the functionality of your kitchen. This section will guide you through important considerations when choosing new cabinets.
Material Options
Different materials offer various benefits and aesthetics. Some popular choices include:
- Solid Wood: Durable and classic, ideal for a timeless look.
- Plywood: Strong and resistant to moisture, great for longevity.
- Medium-Density Fiberboard (MDF): Smooth surface, perfect for painting.
- Particleboard: Budget-friendly, suitable for low-cost renovations.
- Stainless Steel: Modern and easy to clean, perfect for a sleek design.
Style And Design Choices
Cabinet style and design impact your kitchen’s overall feel. Here are some popular styles:
- Shaker: Clean lines, versatile for both modern and traditional kitchens.
- Flat-Panel: Minimalist and sleek, great for contemporary spaces.
- Inset: Classic and elegant, doors sit inside the cabinet frame.
- Distressed: Vintage look, adds character and charm.
Consider the following design elements:
- Color: Light colors make the space feel larger. Dark colors add warmth.
- Finish: Glossy finishes are modern. Matte finishes are understated.
- Hardware: Knobs and handles can change the look entirely.
Here is a table to summarize key points:
| Material | Pros | Cons |
|---|---|---|
| Solid Wood | Durable, Classic | Expensive |
| Plywood | Strong, Moisture-Resistant | Costly |
| MDF | Smooth Surface, Paintable | Less Durable |
| Particleboard | Budget-Friendly | Less Durable |
| Stainless Steel | Modern, Easy to Clean | Expensive |
Preparation Steps
Replacing kitchen cabinets might seem tough, but preparation makes it easier. Follow these steps to ensure a smooth process. Proper planning saves time and prevents errors.
Measuring Your Space
Accurate measurements are crucial for fitting new cabinets. Use a tape measure and note these dimensions:
- Length of each wall where cabinets will be installed.
- Height from the floor to the ceiling and to the countertop.
- Depth of cabinets to avoid any fitting issues.
Write down all measurements clearly. Create a simple sketch of the kitchen layout. Mark the positions of windows, doors, and appliances. This helps in choosing the right cabinet sizes.
Removing Old Cabinets
Removing old cabinets involves several steps:
- Empty all cabinets. Remove items and store them safely.
- Turn off power to the kitchen to avoid accidents.
- Unscrew cabinet doors using a screwdriver. Keep screws and hinges in a safe place.
- Remove the screws holding the cabinets to the wall. Use a drill for faster removal.
- Carefully take down the cabinets with a helper’s assistance.
After removal, inspect the wall for any damage. Repair holes or marks to prepare for new cabinets. Cleaning the area ensures a smooth installation.
Installation Techniques
Replacing kitchen cabinets can be a rewarding project. Understanding proper installation techniques is key to success. Let’s break down the process, focusing on mounting upper cabinets and installing lower cabinets.
Mounting Upper Cabinets
Start by marking the wall where the top of the cabinets will go. Use a level to ensure your marks are straight. Find the wall studs using a stud finder. Studs provide the necessary support for your cabinets.
Drill pilot holes into the studs at your marks. This makes it easier to drive screws later. It’s best to have a helper hold the cabinet in place. Lift the cabinet and line it up with your marks. Use cabinet screws to secure the cabinet to the wall.
Ensure the cabinet is level before tightening all screws. Repeat the process for each upper cabinet. Use clamps to hold cabinets together while securing them.
Installing Lower Cabinets
Begin by marking the highest point on the floor where cabinets will sit. This ensures your cabinets will be level. Use a level to draw a line around the room. This line will guide your cabinet placement.
Place the corner cabinet first. This will serve as your anchor. Use shims to level the cabinet. Secure the cabinet to the wall studs with screws.
Align the next cabinet with the corner cabinet. Use clamps to hold them together. Check for level and secure it to the wall. Repeat for each lower cabinet, ensuring they are level and plumb.
Use filler strips between cabinets and walls if needed. This provides a clean, finished look. Finally, attach the cabinet doors and hardware.

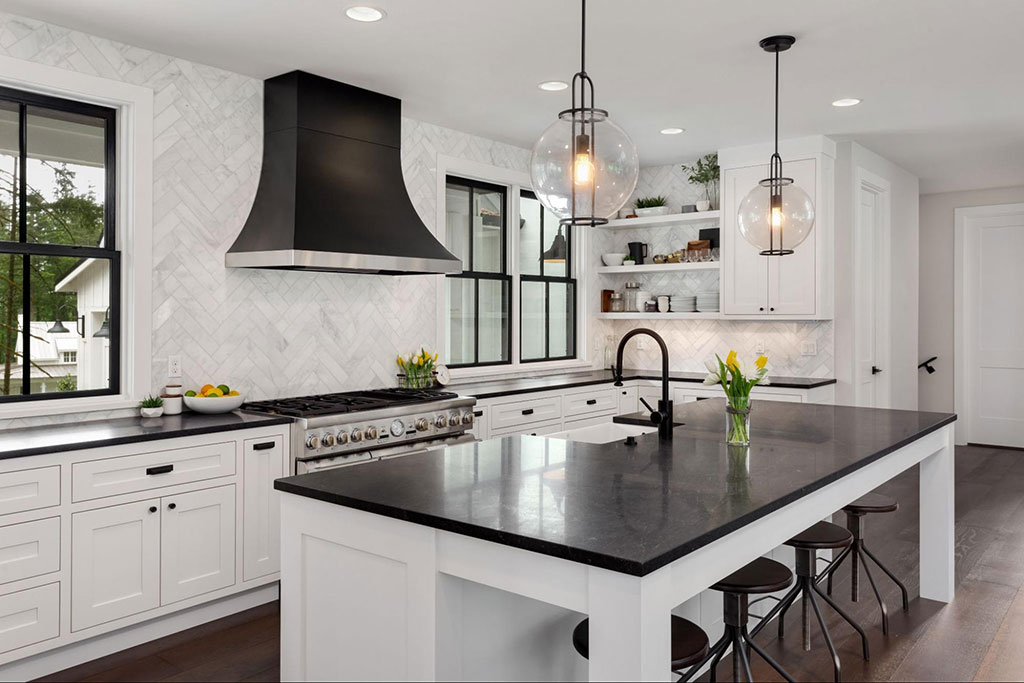
Credit: www.create-enjoy.com
Dealing With Common Issues
Replacing kitchen cabinets can be a rewarding project. Yet, common issues can arise during the process. Knowing how to handle these problems can save you time and stress. Below, we dive into some of the most frequent issues and how to address them effectively.
Handling Uneven Walls
Uneven walls can cause challenges when installing new cabinets. These imperfections can make cabinets look misaligned. To tackle this issue, follow these steps:
- Use a level to check your walls.
- Identify any high or low spots.
- Mark these spots with a pencil.
- Use shims to fill gaps between the wall and cabinets.
- Screw cabinets securely into the studs.
Shims are thin, wedge-shaped pieces of wood or plastic. They help level cabinets on uneven surfaces. Always check for gaps before finalizing the installation.
Fixing Misaligned Doors
Misaligned doors can be frustrating. They can make your kitchen look unprofessional. Here’s how to fix them:
- Check if the hinges are loose.
- Tighten any loose screws.
- Adjust the screws on the hinge to align the door.
- Use a level to ensure the door is straight.
- Replace any damaged hinges.
Properly aligned doors enhance the look of your kitchen. Regularly check and adjust hinges to keep them in good shape.
| Common Issues | Solutions |
|---|---|
| Uneven Walls | Use shims and a level |
| Misaligned Doors | Adjust hinges and tighten screws |
By understanding these common issues, you can effectively tackle them. This ensures your kitchen cabinet replacement project is smooth and successful.
Finishing Touches
You’ve installed new kitchen cabinets, but the job isn’t done yet. The finishing touches make your cabinets look polished and professional. This part of the process is crucial. It involves adding hardware and applying caulking and sealant.
Adding Hardware
Adding hardware to your kitchen cabinets can dramatically change their look. Choose from a variety of knobs, pulls, and handles. Match them with your kitchen’s style. Use a template to ensure consistent placement. Install the hardware with a screwdriver or a drill. Be careful not to over-tighten the screws. This could damage the cabinet doors.
Applying Caulking And Sealant
Applying caulking and sealant protects your cabinets from moisture. It also gives a smooth finish. Choose a high-quality caulk that matches your cabinet color. Use a caulking gun for even application. Apply caulk to gaps between the cabinet and wall. Smooth it out with a caulking tool or your finger. Let it dry completely before using the cabinets.
Sealant is the next step. It provides an extra layer of protection. Apply the sealant with a brush or a spray. Follow the manufacturer’s instructions for best results. Allow the sealant to dry thoroughly. This ensures your cabinets stay protected and look great for years.
Maintenance Tips
Replacing kitchen cabinets can seem daunting. Proper maintenance can extend their life. This section covers essential tips to keep your cabinets in top shape.
Cleaning And Care
Regular cleaning keeps cabinets looking new. Use a soft cloth and mild detergent. Avoid abrasive cleaners; they can scratch surfaces.
For wooden cabinets, use a wood cleaner. Apply it with the grain. Dry immediately to prevent water damage.
- Wipe spills immediately.
- Dust weekly.
- Use shelf liners to protect from stains.
Long-term Durability
Long-term durability depends on maintenance. Tighten loose screws regularly. Check for any signs of wear.
| Task | Frequency |
|---|---|
| Tighten Screws | Every 3 months |
| Check Hinges | Every 6 months |
| Inspect for Damage | Annually |
Seal wooden cabinets yearly. This prevents moisture damage. Use a high-quality sealant for best results.
Credit: standardcompanies.com
Frequently Asked Questions
Is Replacing Kitchen Cabinets Difficult?
Replacing cabinets can be challenging. It requires skill and experience for proper alignment and installation.
How Long Does Cabinet Replacement Take?
Cabinet replacement typically takes 2-4 days, depending on the kitchen size and complexity.
What Tools Are Needed For Cabinet Replacement?
Basic tools include a drill, level, tape measure, and screwdriver. Specialized tools may also be required.
Can I Replace Kitchen Cabinets Myself?
Yes, but it demands precision and patience. Hiring a professional is advisable for best results.
How Much Does Cabinet Replacement Cost?
Costs vary widely. Expect to pay $3,000 to $10,000 for a standard kitchen.
Do I Need To Remove Old Cabinets First?
Yes, old cabinets must be removed. This ensures proper fit and finish for new installations.
What Materials Are Best For Cabinets?
Wood, MDF, and plywood are popular choices. Each offers different durability and aesthetic options.
Should I Replace Or Reface Cabinets?
If cabinets are structurally sound, refacing is cost-effective. Replace if they are damaged or outdated.
Do I Need Permits To Replace Cabinets?
Usually, no permits are required for cabinet replacement. Check local regulations to be sure.
What Are Common Mistakes In Cabinet Replacement?
Misalignment, improper measurements, and ignoring wall studs are common errors. Proper planning prevents these issues.
Conclusion
Replacing kitchen cabinets can be a manageable task with proper planning and tools. Assess your skills, gather materials, and follow detailed guides. With patience and effort, you can transform your kitchen. Always remember, professional help is available if needed. Dive in and enjoy your kitchen makeover journey!

