To protect kitchen cabinets from paint, use painter’s tape and plastic sheeting to cover all surfaces. Ensure proper ventilation and use drop cloths on the floor.
Painting a kitchen can freshen up the space, but it’s crucial to protect your cabinets from paint splatters. Prep work is key to maintaining the integrity of your cabinets while you work. Painter’s tape is essential for covering the edges, handles, and hinges of your cabinets.
Plastic sheeting is effective for wrapping larger areas to shield them from accidental spills or sprays. Drop cloths on the floor will catch any drips, making cleanup easier. Good ventilation helps in reducing the risk of paint fumes lingering in the space. Taking these precautions ensures your kitchen makeover is both beautiful and hassle-free.
Preparation Steps
Preparing to protect your kitchen cabinets from paint requires some steps. Proper preparation ensures a clean and smooth painting process. Follow these steps for the best results.
Clear The Area
First, clear the area around your kitchen cabinets. Remove all items from the countertops. Take down any hanging decorations or kitchen tools. You can use a table for this:
| Step | Action |
|---|---|
| 1 | Remove countertop items |
| 2 | Take down hanging items |
| 3 | Move small appliances |
Cover the floor with a drop cloth to catch any paint spills. Use painter’s tape to cover any nearby surfaces. This prevents accidental paint splashes.
Clean The Cabinets
Next, clean the cabinets thoroughly. This removes grease and grime, ensuring the paint adheres well. Follow these steps:
- Remove cabinet doors and hardware.
- Mix warm water and mild detergent.
- Use a soft cloth to wipe down the surfaces.
- Rinse with clean water and dry completely.
Sand the cabinet surfaces lightly to remove any gloss. This helps the new paint stick better. Wipe away the dust with a tack cloth.
With these preparation steps, your cabinets are ready for painting. Clear the area and clean the cabinets well for the best results.
Choosing The Right Materials
Choosing the right materials is crucial for protecting your kitchen cabinets from paint. The right materials make the job easier and ensure better results. This section will guide you through the types of paint and protective gear needed.
Types Of Paint
Using the correct type of paint is essential. Here are some options:
- Oil-based paint: Durable and smooth finish. Requires proper ventilation.
- Latex paint: Water-based and easy to clean. Dries quickly.
- Chalk paint: Gives a matte finish. No need for priming or sanding.
- Acrylic paint: Water-resistant and long-lasting. Good for high-moisture areas.
Protective Gear
Wearing protective gear keeps you safe while painting. Here’s what you need:
| Gear | Purpose |
|---|---|
| Gloves | Protects your hands from paint and chemicals. |
| Goggles | Keeps paint and dust out of your eyes. |
| Mask | Prevents inhalation of fumes and dust. |
| Coveralls | Protects your clothes from spills and splashes. |
Using Protective Coverings
Protecting your kitchen cabinets from paint spills is crucial. Using protective coverings ensures your cabinets stay pristine. Here are some effective methods to shield your cabinets.
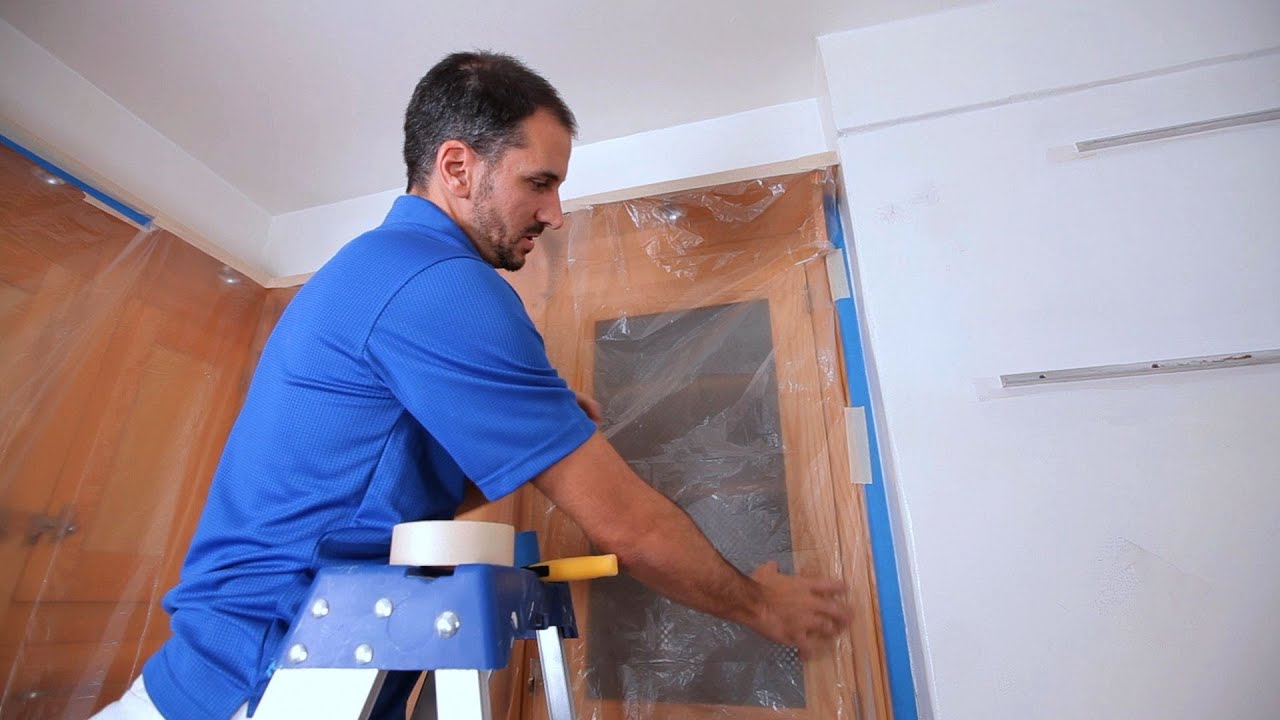
Plastic Sheeting
Plastic sheeting is a versatile and affordable option for cabinet protection. It is easy to apply and remove, making it a convenient choice.
- Step 1: Measure the area you want to cover.
- Step 2: Cut the plastic sheeting accordingly.
- Step 3: Secure the plastic sheeting using painter’s tape.
Plastic sheeting keeps paint off your cabinets. It also prevents dust and debris from settling on your cabinets.
Painter’s Tape
Painter’s tape is another essential tool for protecting your kitchen cabinets. It is easy to use and leaves no residue behind.
- Step 1: Choose a high-quality painter’s tape.
- Step 2: Apply the tape around the edges of your cabinets.
- Step 3: Ensure the tape is firmly pressed down to avoid paint seeping through.
Painter’s tape ensures clean lines and protects the edges of your cabinets. It is ideal for intricate areas where plastic sheeting might not fit.
Using these protective coverings will save you time and effort. Your kitchen cabinets will remain spotless and beautiful, even after a painting project.

Credit: diy.stackexchange.com
Proper Sanding Techniques
Proper sanding techniques play a crucial role in protecting kitchen cabinets from paint. By using the right sanding tools and following specific steps, you can achieve a smooth and durable finish. This guide will walk you through the essential sanding tools and the correct sanding steps to ensure your kitchen cabinets look flawless.
Sanding Tools
Having the right sanding tools is the first step toward achieving a smooth finish. Here are some tools you will need:
- Sandpaper: Use a range of grits from coarse to fine.
- Sanding block: Ensures even pressure and smooth sanding.
- Orbital sander: Ideal for large, flat surfaces.
- Tack cloth: Removes dust after sanding.
- Safety gear: Wear goggles and a dust mask.
Sanding Steps
Follow these steps to sand your kitchen cabinets properly:
- Remove all hardware from the cabinets.
- Start with coarse grit sandpaper (80-120 grit) to remove old paint.
- Sand in the direction of the wood grain to avoid scratches.
- Switch to medium grit sandpaper (150-180 grit) for a smoother finish.
- Use a fine grit sandpaper (220-240 grit) for the final pass.
- Wipe the surface with a tack cloth to remove dust.
- Inspect the surface for any missed spots and sand again if necessary.
By following these steps and using the right tools, you can ensure your kitchen cabinets are well-prepared for a fresh coat of paint. Proper sanding not only enhances the appearance but also improves the longevity of the paint job.
Priming The Cabinets
Priming your kitchen cabinets is a crucial step in protecting them from paint. It ensures a smooth finish and enhances paint adhesion. This guide will help you choose the right primer and apply it correctly.
Choosing Primer
Choosing the right primer is essential for a durable finish. Consider these types:
- Oil-based primers: Ideal for wood surfaces, offering excellent adhesion.
- Water-based primers: Easier to clean up, dries quickly.
- Shellac-based primers: Great for sealing stains and odors.
Choose a primer suitable for your cabinet material. Consult the product label for details.
Application Tips
Applying primer correctly ensures a smooth, lasting finish. Follow these tips:
- Clean the cabinets: Remove dirt, grease, and old paint.
- Sand the surface: Lightly sand to create a smooth base.
- Remove dust: Wipe with a damp cloth to remove all dust.
- Apply primer: Use a brush or roller for even coverage.
- Let it dry: Allow the primer to dry completely before painting.
Proper application prevents peeling and ensures a flawless finish. Follow these steps for the best results.
Credit: foothillspainting.co
Applying Paint Evenly
Applying paint evenly on kitchen cabinets is crucial for a smooth finish. Proper technique ensures your cabinets look professionally done. Follow these simple steps for best results.
Brush Vs. Roller
Choosing between a brush and a roller impacts the final look.
- Brushes: Ideal for detail work and edges. They provide precision.
- Rollers: Great for larger surfaces. They offer a smooth, even coat.
Using both tools can be the best option. Use a brush for corners and edges. Use a roller for flat surfaces.
Layering Coats
Layering coats of paint ensures even coverage and durability.
- First Coat: Apply a thin, even layer. Let it dry completely.
- Second Coat: Apply another thin layer. Ensure it covers all areas.
- Final Coat: If needed, apply a third coat for a perfect finish.
Allow each coat to dry before applying the next. This prevents streaks and uneven surfaces.
| Tool | Best For | Notes |
|---|---|---|
| Brush | Edges and details | Provides precision |
| Roller | Large surfaces | Ensures smooth coat |
Drying And Curing
Protecting your kitchen cabinets from paint requires proper drying and curing. These steps ensure the paint lasts long and looks great. Let’s dive into the details of drying time and the curing process.
Drying Time
The drying time of paint is crucial. It allows the surface to become touch-dry. This initial stage is essential to prevent smudges and fingerprints. Typically, water-based paints dry faster than oil-based ones.
Water-based paints dry in about 1-2 hours. Oil-based paints take 6-8 hours to dry. Always check the manufacturer’s instructions for specific drying times.
| Paint Type | Drying Time |
|---|---|
| Water-based | 1-2 hours |
| Oil-based | 6-8 hours |
Curing Process
Curing is different from drying. During curing, the paint fully hardens. This process is vital for durability. A fully cured paint resists scratches and chipping better.
Water-based paints typically cure in about 21 days. Oil-based paints may take up to 30 days to cure. Proper ventilation speeds up the curing process.
Here are some tips for faster curing:
- Maintain a consistent temperature.
- Ensure good ventilation.
- Avoid heavy use of cabinets during curing.
Understanding these stages helps protect your kitchen cabinets from paint damage. Ensure you follow the proper drying and curing times for the best results.
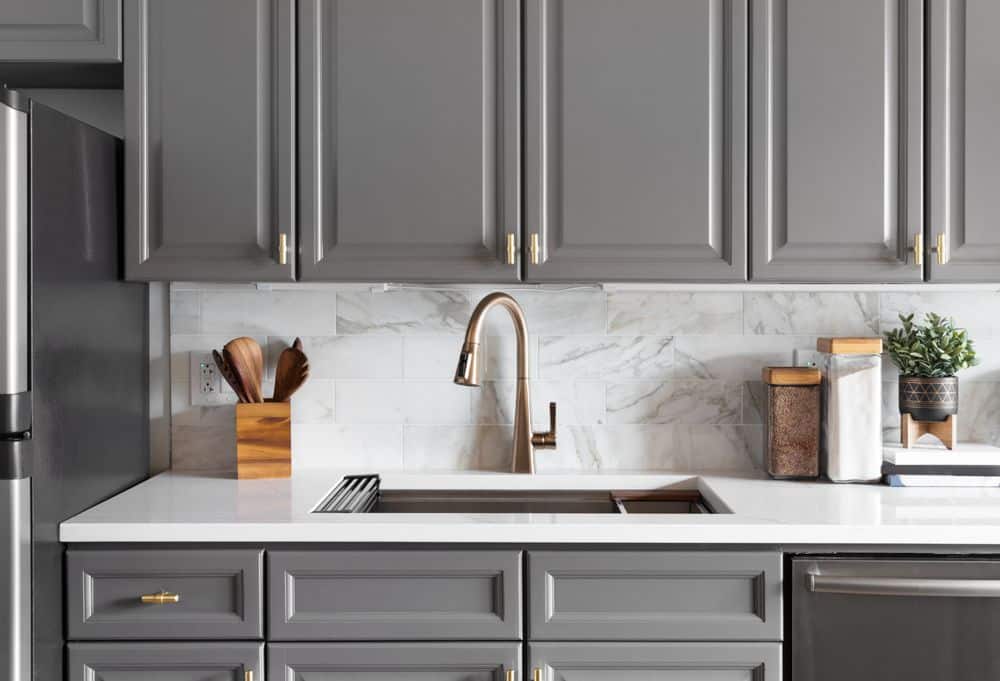
Maintaining Painted Cabinets
Maintaining painted cabinets is essential for keeping your kitchen looking fresh. Proper care ensures your cabinets remain beautiful and durable. Let’s explore some effective ways to maintain painted cabinets.
Regular Cleaning
Regular cleaning is key to preserving painted cabinets. Use a soft, damp cloth to wipe down surfaces. Avoid harsh chemicals, which can damage the paint. Mix mild dish soap with warm water for a gentle cleaning solution. Ensure you dry the cabinets with a soft towel to prevent moisture damage.
Touch-up Tips
Over time, painted cabinets may get chipped or scratched. Touching up these areas keeps them looking new. Keep a small container of the original paint for quick fixes. Use a fine brush to apply paint to chipped spots. Allow the paint to dry completely before using the cabinet. For larger areas, lightly sand the surface before painting. This ensures the new paint adheres well.

Credit: www.cleanlinespaint.com
Frequently Asked Questions
How To Protect Kitchen Cabinets From Paint?
Use painter’s tape and plastic sheeting to cover cabinets before painting nearby surfaces.
What Materials Can Shield Cabinets From Paint?
Plastic sheeting, drop cloths, and painter’s tape are effective for shielding cabinets from paint splatters.
Can Painter’s Tape Damage Cabinet Surfaces?
Painter’s tape is designed to be removed without damaging surfaces, making it ideal for protecting cabinets.
Best Way To Cover Cabinets During Painting?
Cover cabinets with plastic sheeting and secure with painter’s tape for complete protection.
Tips For Avoiding Paint On Cabinet Hardware?
Remove or cover cabinet hardware with painter’s tape or aluminum foil to prevent paint contact.
Should I Remove Cabinet Doors Before Painting?
Removing cabinet doors can make it easier to protect them and achieve a cleaner paint job.
What Is The Ideal Tape For Cabinets?
Painter’s tape is the best option for protecting cabinets from paint without causing damage.
How To Clean Paint Off Cabinets?
Use a damp cloth and mild detergent to gently remove paint from cabinet surfaces.
Can I Use Drop Cloths For Cabinet Protection?
Drop cloths can be used but should be securely taped to prevent slipping and ensure full coverage.
Is It Necessary To Sand Cabinets Before Painting?
Sanding can help paint adhere better, but if protecting cabinets, sanding isn’t required unless repainting them.
Conclusion
Protecting kitchen cabinets from paint is crucial for maintaining their beauty and longevity. Follow the right techniques to prevent damage. Use drop cloths, painter’s tape, and cover all surfaces. This ensures a clean, professional finish every time. Safeguard your investment and keep your kitchen looking pristine.
Happy painting!

